My son’s Samsung SA300 LED (LS22A300) suddenly stopped working – the LED display screen wouldn’t turn on at all. I tested to see if it was the power supply (PN3014 @ 14V and 2.14A) that could be the issue by using a working unit (we have 2 of the Samsung SA300 display screens) and was able to confirm that the power supply was not the issue. There was something wrong with the actual display screen so I decided to open it up and see what was wrong.
The Samsung LED display screen doesn’t have any screens on the back that you can remove to open the panel. In order to open up the panel, you need to remove the bezel by using a prying tool (I used my hands) to remove the middle top section of the front bezel.
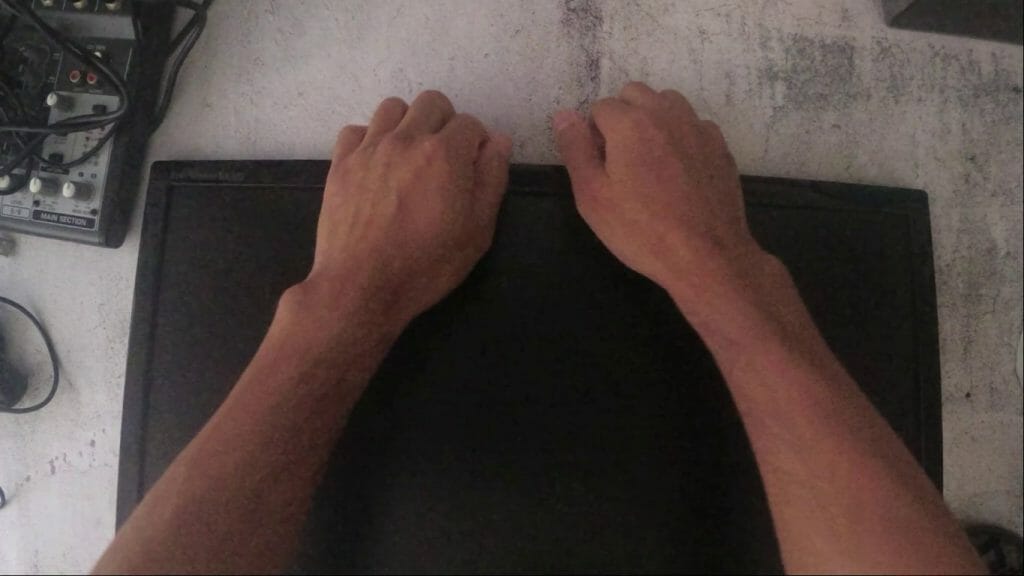
Then go around the edges and pull the bezel and you should hear some clicks.
You will need to remove the cable connected from the motherboard to the controller board that is on the bezel.
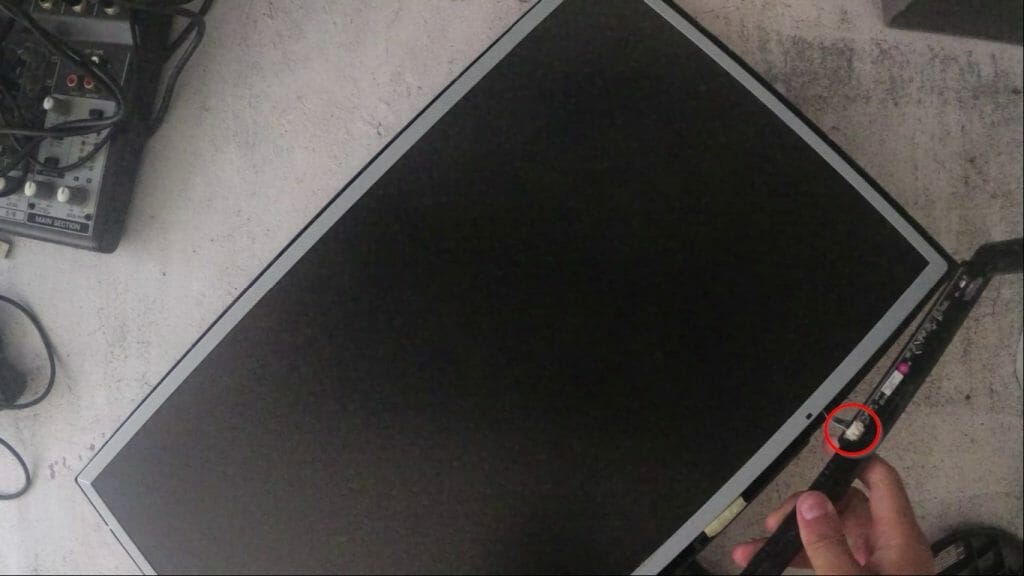
You then need to turn the display screen over and remove the back panel.
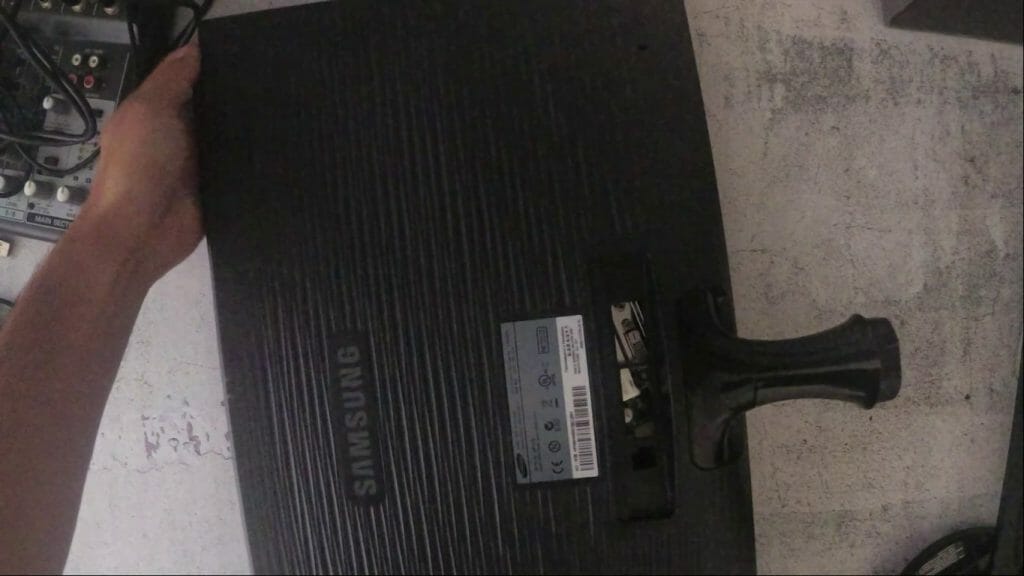
Once removed, you will see the motherboard and some cables connected to it.
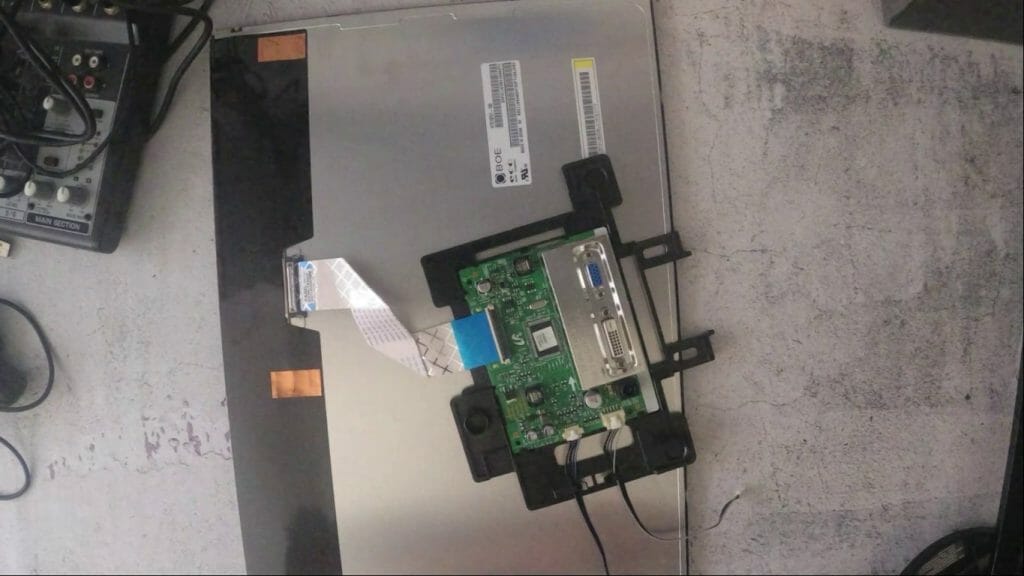
There were no signs of damage to the panel and the motherboard appeared to look fine. I decided to go online and look for a replacement motherboard and the model number was: SA300
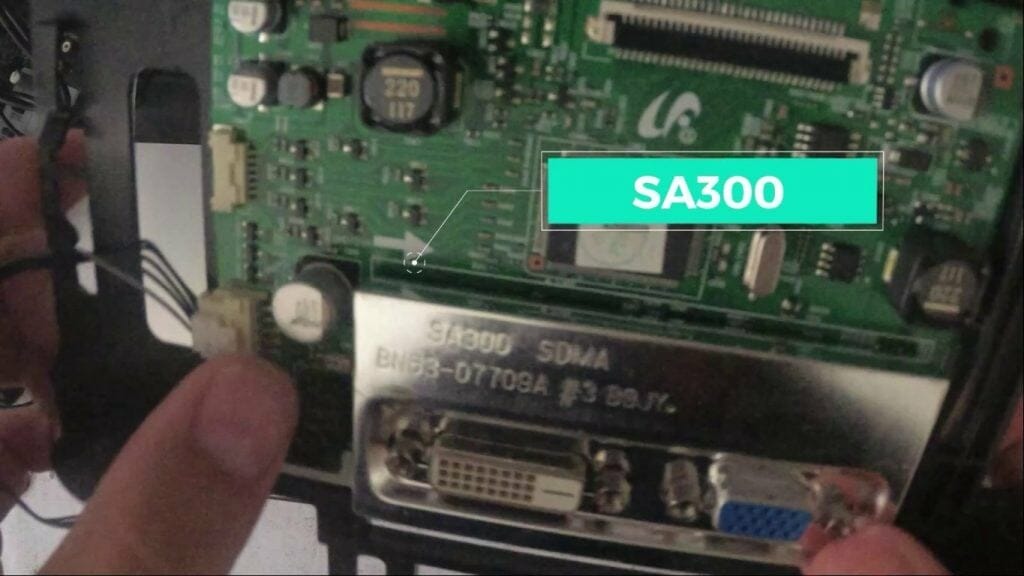
I purchased the new motherboard from here: Samsung SA300 Motherboard Replacement:
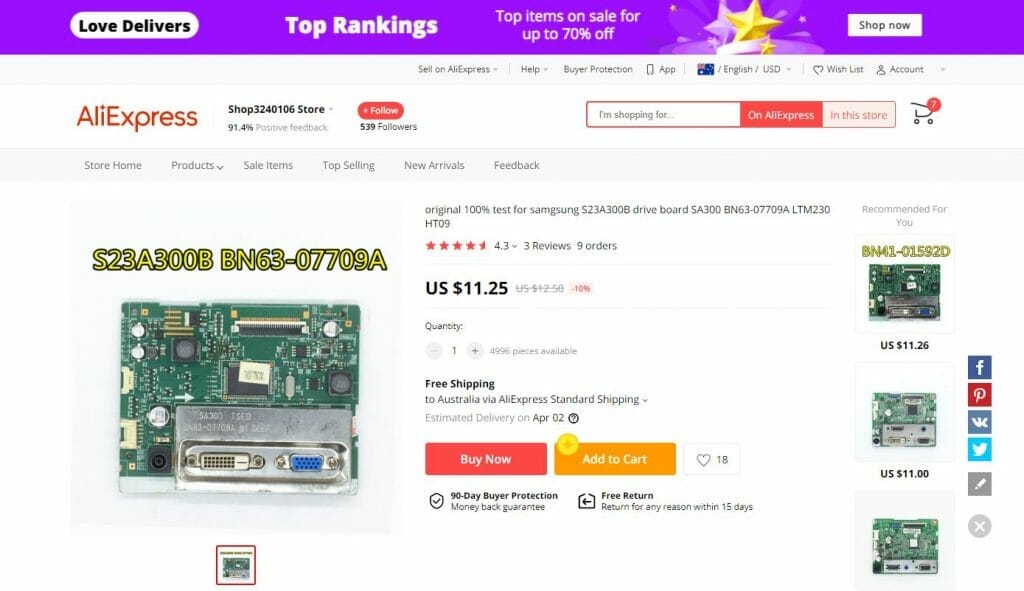
It only took around a week before I received the item which was quick. Especially since it came from overseas (I think). The price is also very reasonable and it’s much cheaper than purchasing a replacement screen. More importantly, I didn’t have to throw the display screen away and dump it as waste. Replacing the motherboard was a success and the screen was back to normal. You can watch the video below on how to open and replace the motherboard on the Samsung SA300 display screen.
If you need to change the menu language watch this video: