I have a Eufy Security Floodlight 2 Pro and I was so amazed at the quality of the video. It’s a 2k camera with a full 360 pan camera and has 3 led flood light panels. My wife was also amazed at the quality and didn’t complain about me buying it which was a bonus. The brightness on these is also amazing and you have full control over the brightness level and colour tones (3000~5700 kelvin).
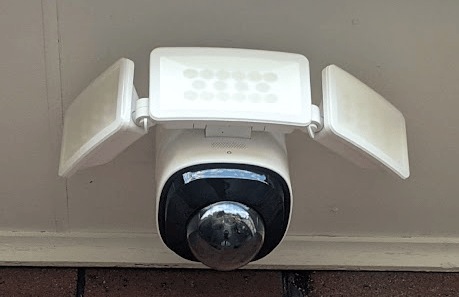
The Eufy Security Flood has a lot of features such as motion detection using On-Device AI detection, subject lock and tracking and out-of-view detection.
You will need a qualified electrician to install this camera as per the recommended instructions and it is fairly easy to set up with your mobile phone and WiFi. You just need to make sure you set it up before it gets installed otherwise it will be difficult to reach the reset buttons on the unit.
You should also check you have wireless coverage at the location where you intend to install the Eufy Floodlight camera. The easy way to check if there is coverage is to use your mobile phone and go to the location where the camera will be installed to see if there is a WiFi signal. If there isn’t, you may need to get wireless extenders or mesh devices to increase the wireless coverage. I have heard good things about the Google Nest Hubs which have worked wonders for friends who could not get a good signal with wifi extenders. Check them out below:

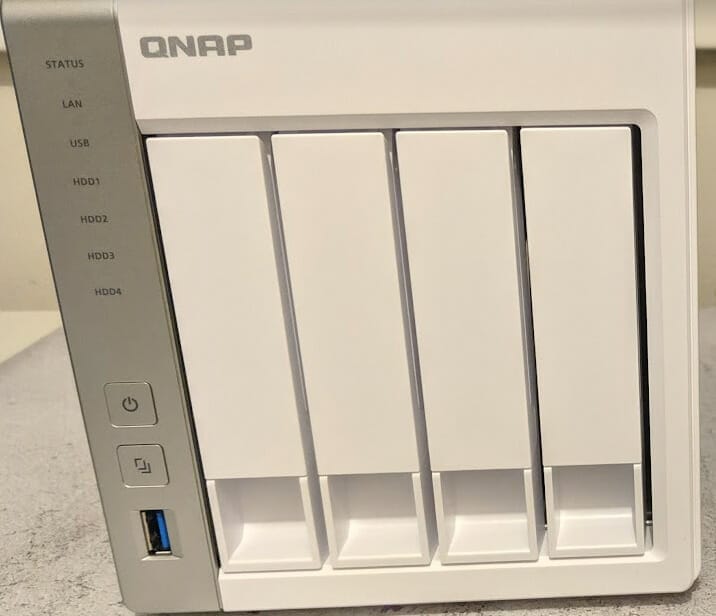
The camera has also 8 GB of local storage which should store about 30 days (45 activations/day) of motion-detected footage (not live streams for replay) and those who want more storage can either buy a cloud subscription or set up a NAS for RTSP recording and storage. I decided to do the latter since I already have a QNAP NAS. There are a few steps required to connect the Eufy Floodlight Camera to the QNAP NAS using RTSP.
I’ve created a video for this and you can see it below.
In summary, the steps are:
- Setup the Eufy Mobile app and enable RTSP
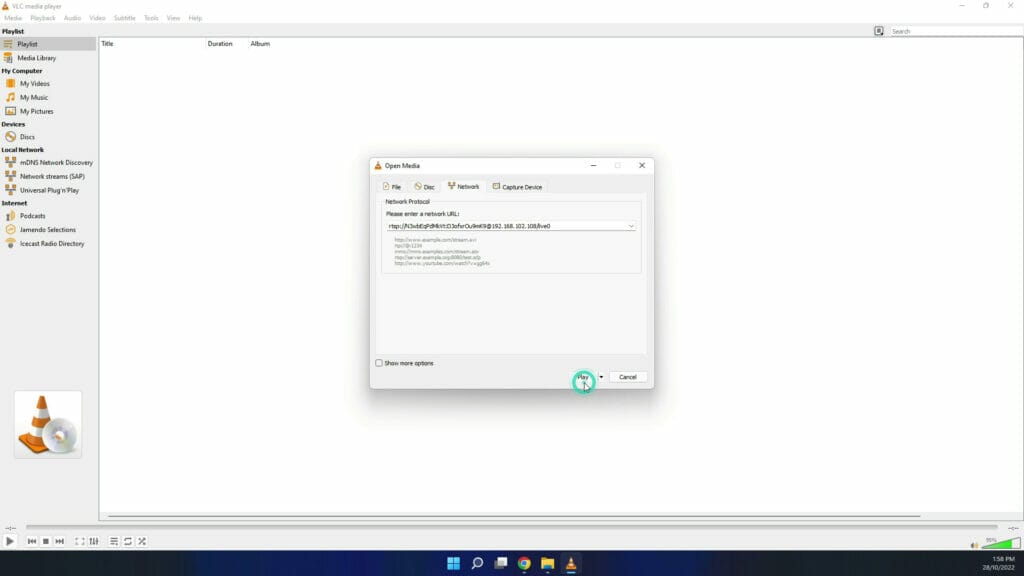
- Test using VLC media player
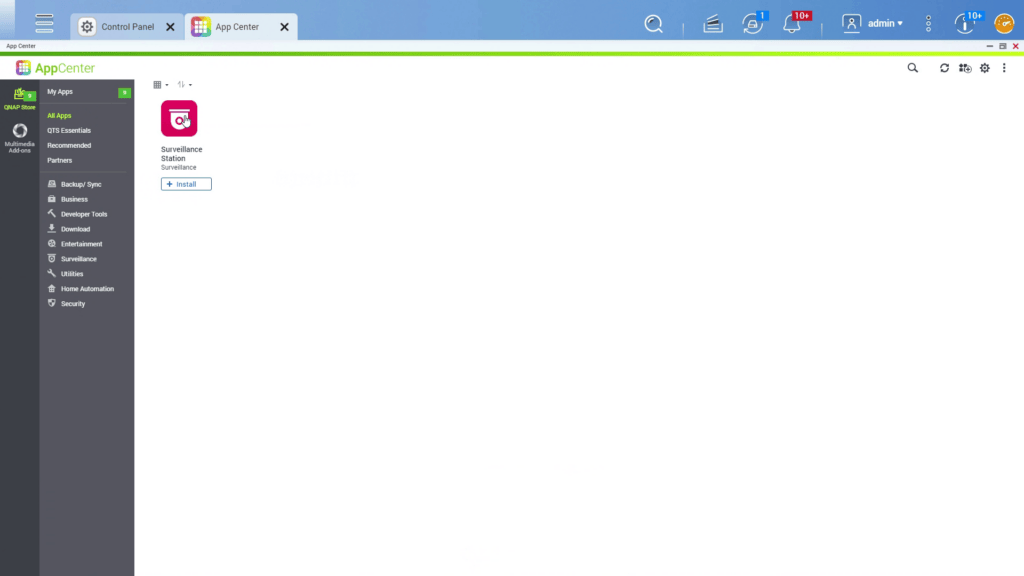
- Install QNAP Surveillance Station app
- Setup QNAP Surveillance Station app
- Setup Camera configuration
- Manually add the Eufy App settings
- Download and install QMon app
- Test Monitor and Playback using QMon
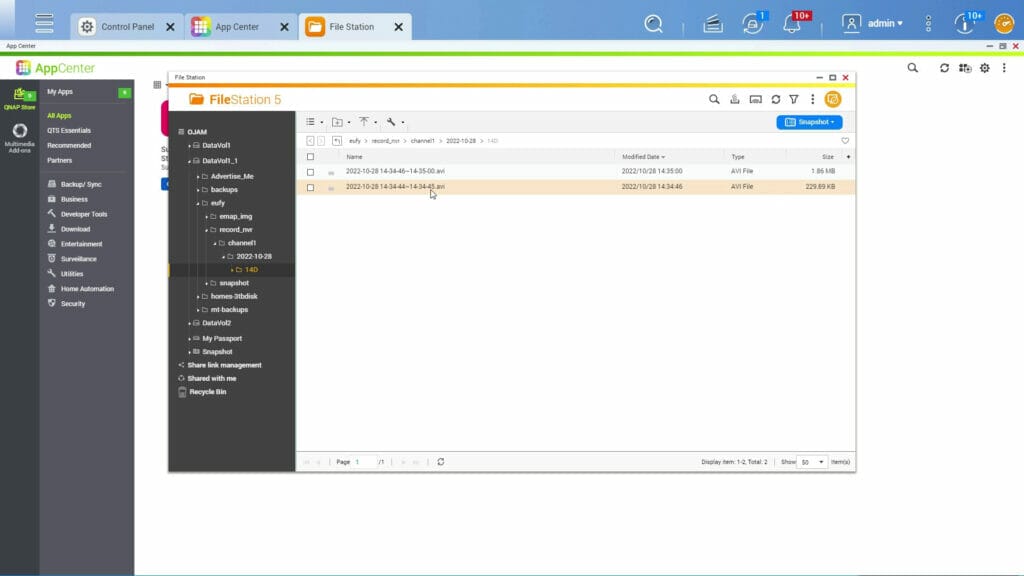
- Check recorded files on NAS
That’s it and you will have the Eufy camera recording saved on the QNAP NAS.
Here’s a transcript of the video:
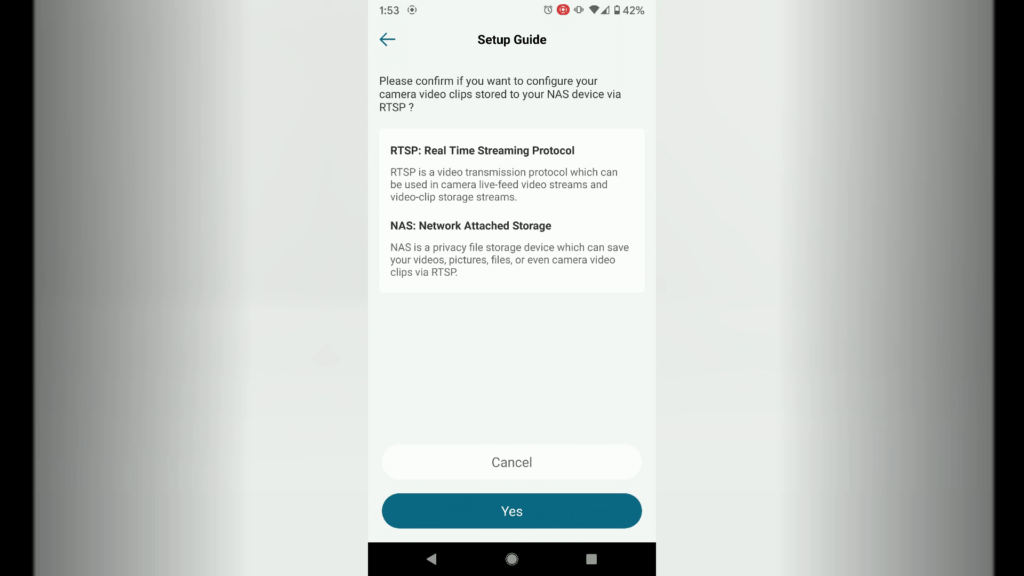
Hello everybody in this video I’m going to show you how to connect the UV floodlight cam 2 Pro to a Nez device such as the QNAP ts-431p so let’s get started to start your Eufy mobile app and then go to settings once you’re in settings just scroll down to the general section and you see all the different options
Available for storage so go to local storage this is how much I’m currently using but I don’t want to use that I want to use the NAS so tap on Nas just go next just have to make sure you have a static IP address assigned on the flashlight camera so just uh say that you have and now enable it now that is enabled you’ll be able to
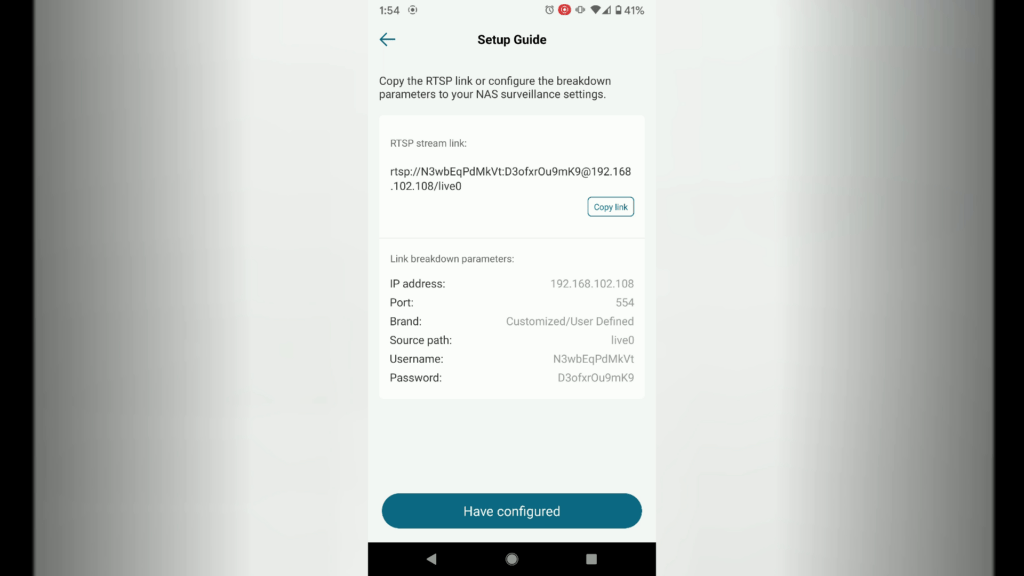
See the username and password you can change it if you want or just leave it as the default and tap ok so these are the settings that are going to be configured on the floodlight camera these are the RTSP settings so we look at that later on just make sure that all these settings are captured you might want to write it down or you just copy it so the RTSP link you can copy the link
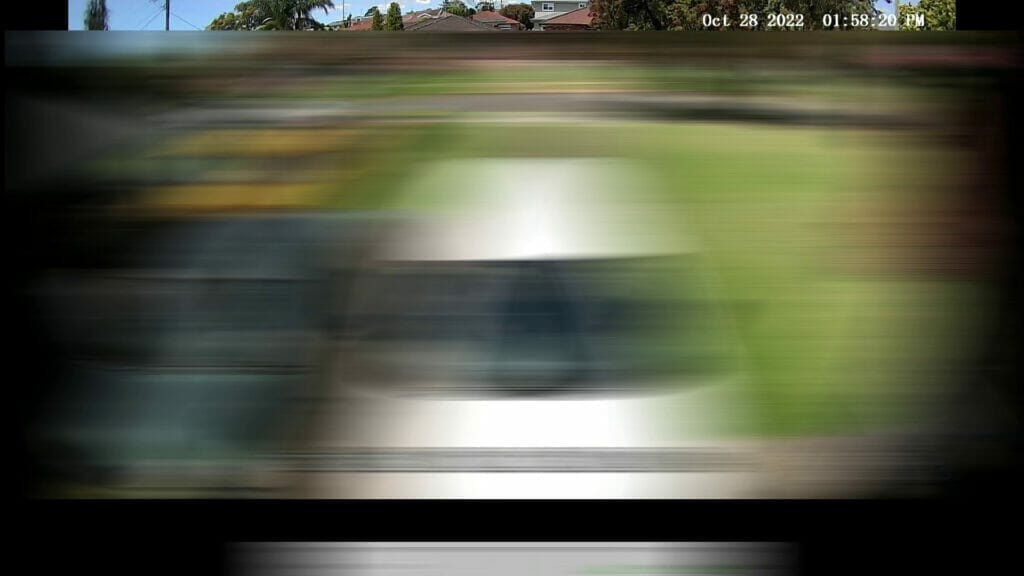
And I’m going to use VOC to just test it so just paste that link and see if with it works and there you go so you’re able to see what’s currently being streamed from the Eufy flat light I’m going to use on my Nas there’s a surveillance app that you can install on the QNAP so that’s the one I’m going to use so just literally install and then we’ll configure it and test it and once it’s installed just open it up
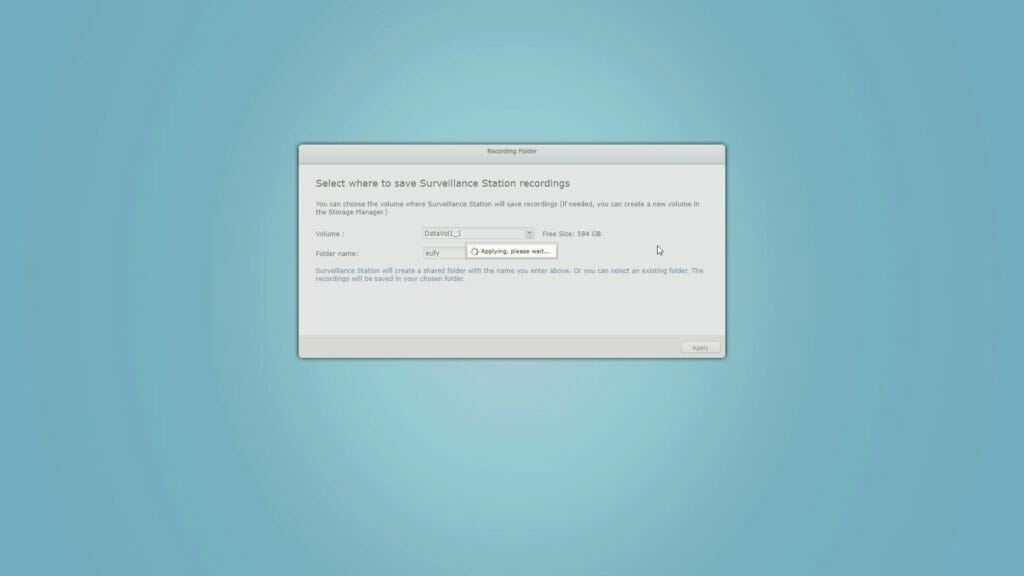
Just need to enter your username and password so just put that in with the same password to connect it to your QNAP device okay now we’re just gonna set up which volume on the NAS it’s gonna store the videos pick the biggest one so I’ve picked one that has about 500 GB free space
Just let it apply the settings might just take a little while but just let it run once that’s done you go to the camera configuration to add one of the cameras now with the QNAP device yeah the surveillance app only allows you to have two cameras for the free license if you need to upgrade that there are additional costs so if you’ve got more than one camera you might want to look at it using
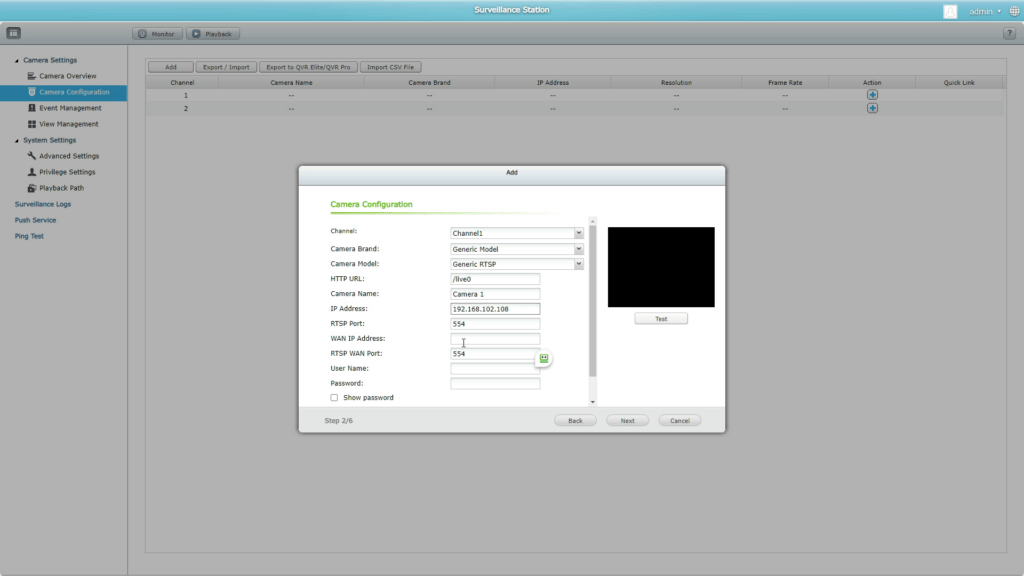
Another app and just store the files onto the that is but I’m gonna go through and just configure the cameras okay so click on ADD and then don’t worry about searching for it we have to manually add it scroll through and select the generic model and for the camera just put generic RTSP now for the URL you gotta put live zero and the camera name just give it any
Name then add the IP address should be the same one that was configured on the app and then put the username and password or it should be the default and then just click on test now if it works that’s great if you work you’ll see that checkbox and a tick there you go so now click on click on next you can change the resolution if you want but just uh take all defaults
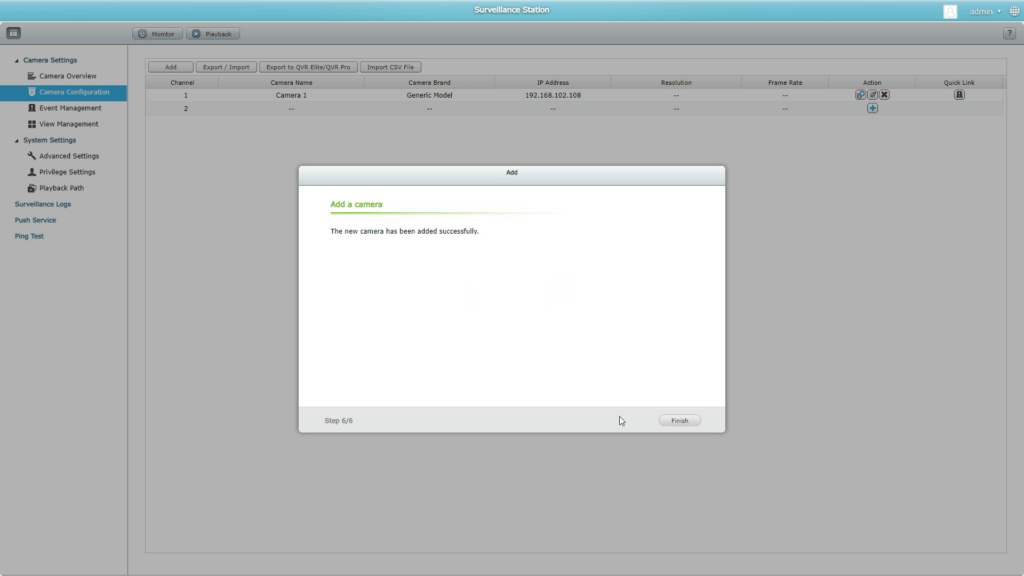
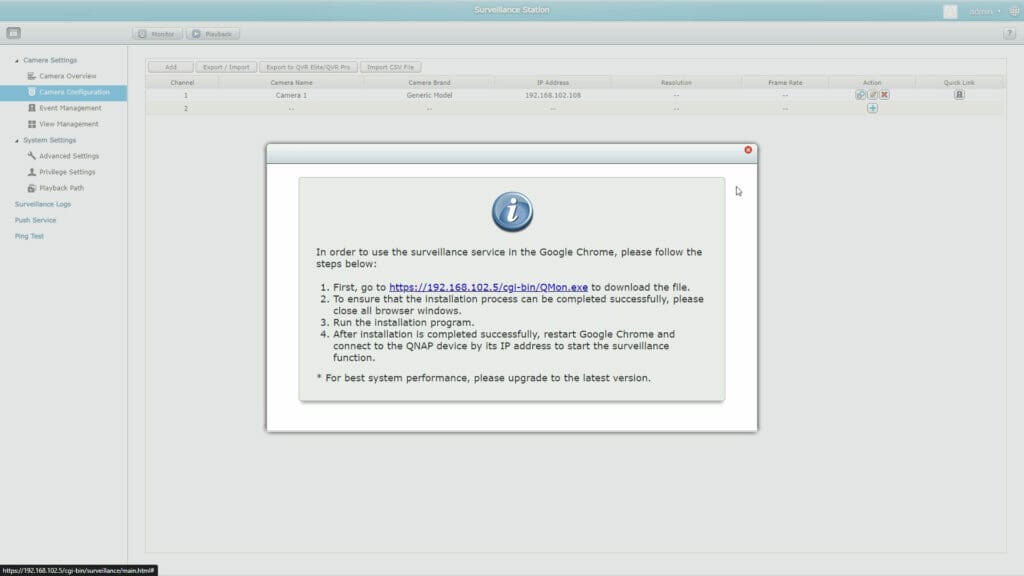
And just go next select all these options and go next you can select when to set the schedule it’s going to take all the defaults to go next just wait until the camera has been added just finish this and then you can click on the top button here you can actually view a monitor or you can do playback in order to use any of these two options you have to install the app called QMon
Let me just download this QMon up just save it and then just install it all you have to do now is just run the app so let’s install it and here we go is just running in the background and it’s installing just let it run take all the defaults and here we go to finish installing so let’s launch the human app and see what happens let’s close this
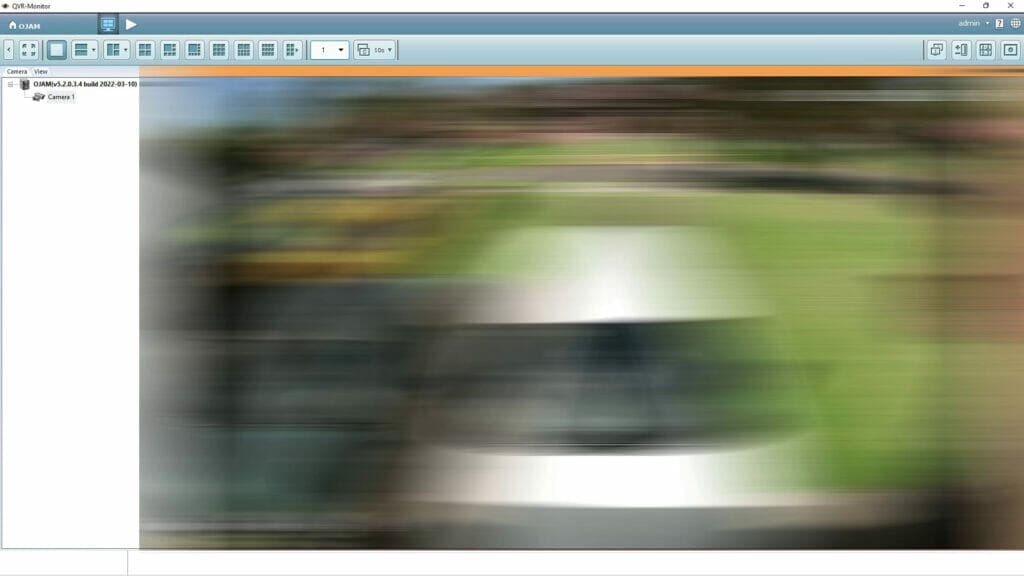
Down-click on the monitor and here we go so this is the q1 app and as you can see upload the actual footage but you can see that it’s actually capturing the streaming video from the Eufy camera you do have the option to change the different settings on this if you wanted to let’s go and test the playback so the playback allows you to go through some
Of the saved footage and just preview it so you can go back and see what happened the other thing that the UV does is that he can create events that only stores events that trigger some motion it has facial recognition but you will need a UV home base so it currently has facial detection so it can detect whether it’s a face or not but if you want to set up facial recognition to determine you know who’s who then you need to buy a license or
You need to buy the home base so that’s pretty much it now it’s all configured you can go and see where the video is stored so I’m going to go through the Nas and check the actual files and those were the files that were stored.