As an entrepreneur, learning never stops. In particular, since I have a technical background in technology, there is always something to learn. In this article, I want to share with you how to install Hyper V on Windows 10. Hyper V is a virtualization software tool from Microsoft and it allows you to create virtual computer environments either on a physical server or on a computer. There are other similar tools I previously used such as Azure Virtual Machine, Oracle VM Virtual Box and VMWare. They all allow you to create virtual machines to emulate a physical device all running from 1 machine.
There are no additional software costs for using Hyper V, so I thought since I have a Metabox laptop with powerful specs (an i7 processor, 16 GB ram, Nvidia GeForce GTX 1060 Graphics card), I wouldn’t have a problem running multiple virtual machines with these specs.
The reason why I decided to install Hyper V was to create a virtual webserver to clone websites I manage on my local laptop. Instead of installing the webserver directly on the Windows 10 OS of the laptop I’m using, I plan to create the virtual machine and then install WAMP.
The process to install Hyper V is easy. Follow these steps or watch the video below.
STEPS TO INSTALL HYPER V ON WINDOWS 10
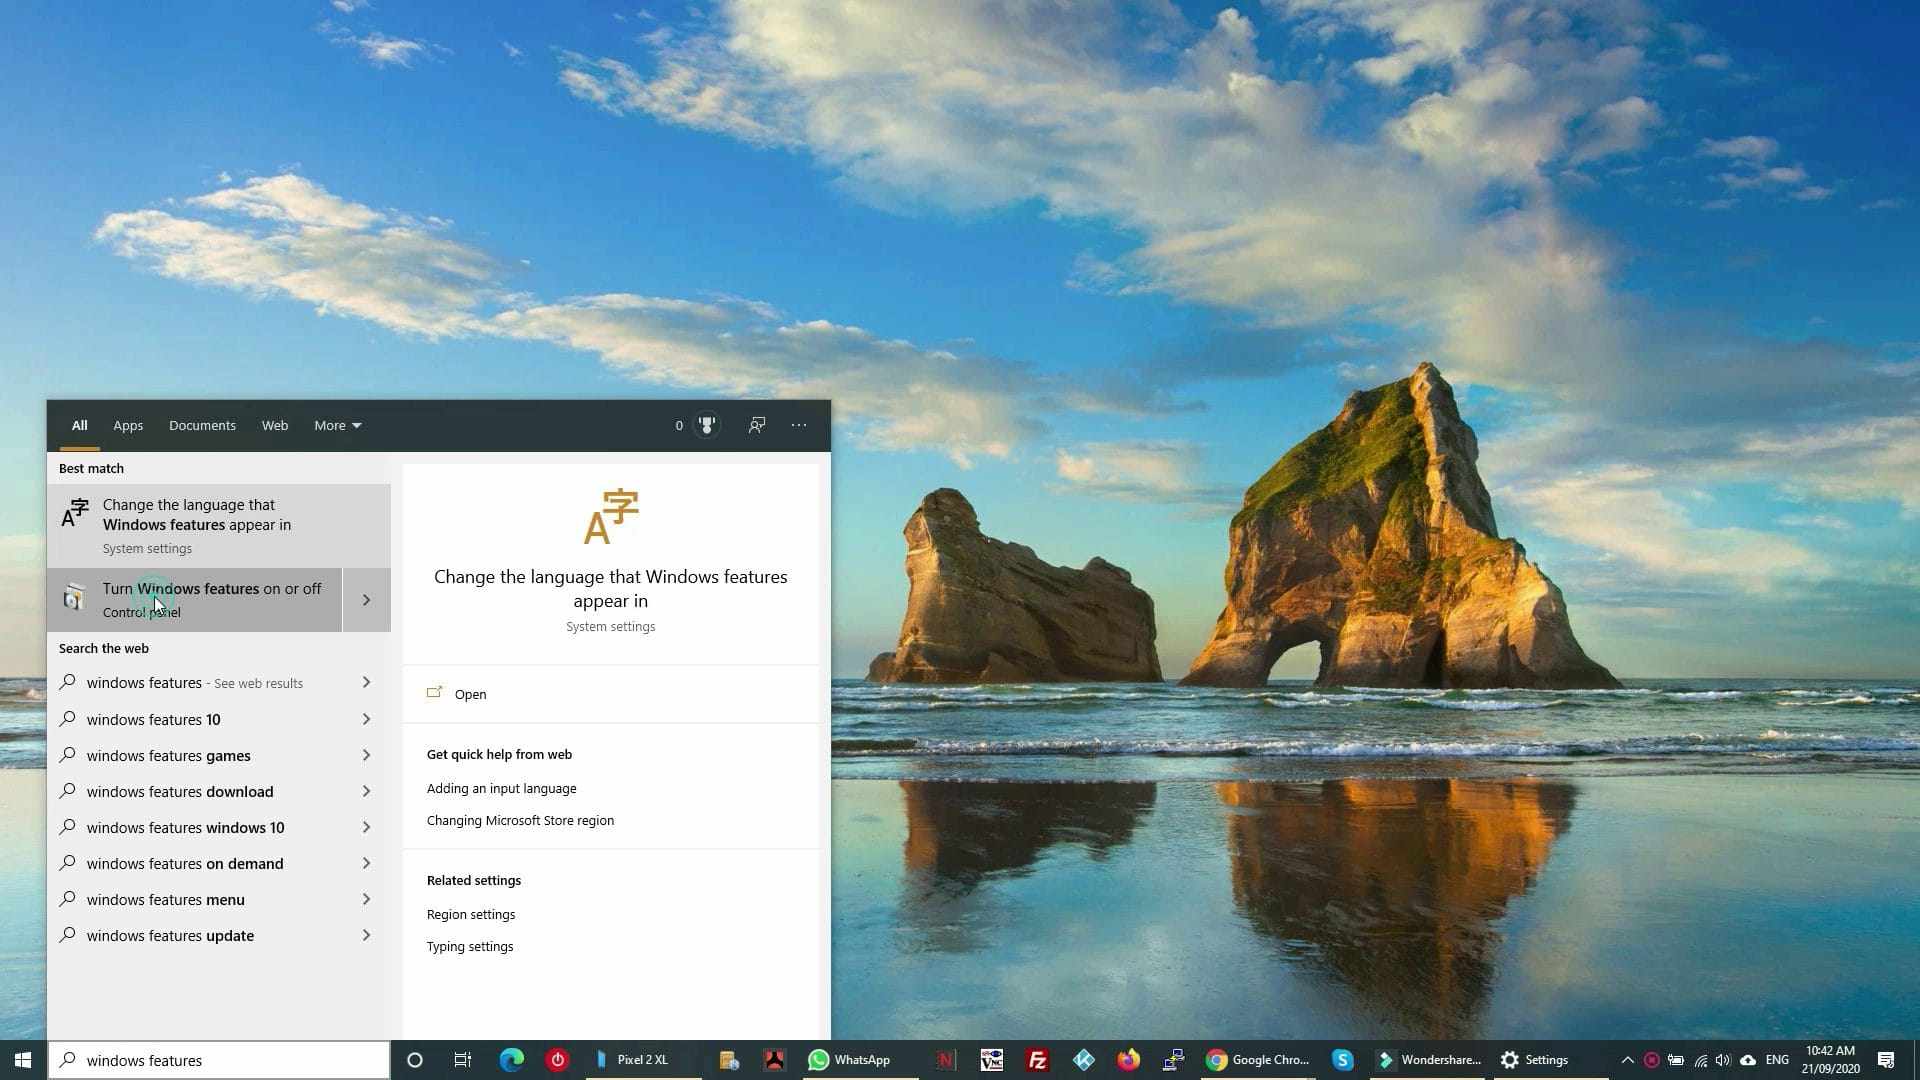
- Click on Windows button and in the search bar type Windows Features
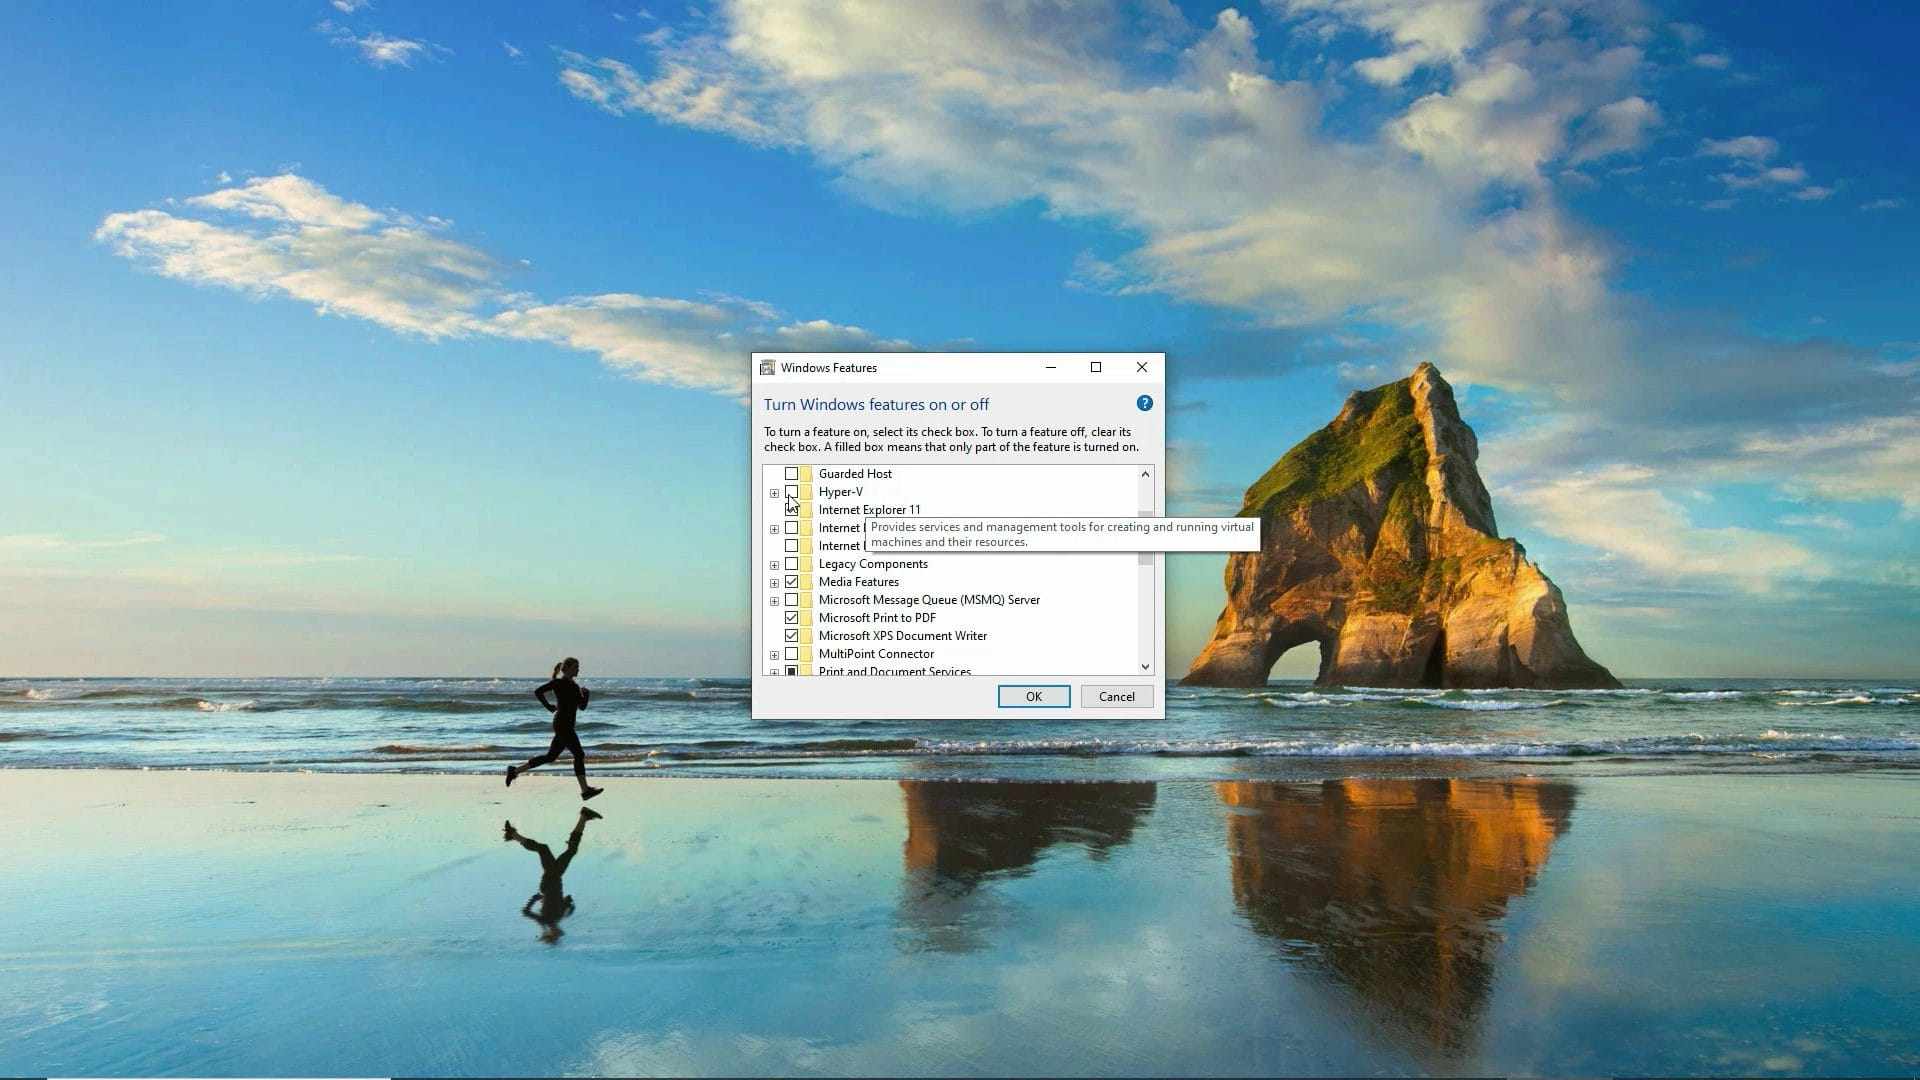
- Select Hyper V from the list
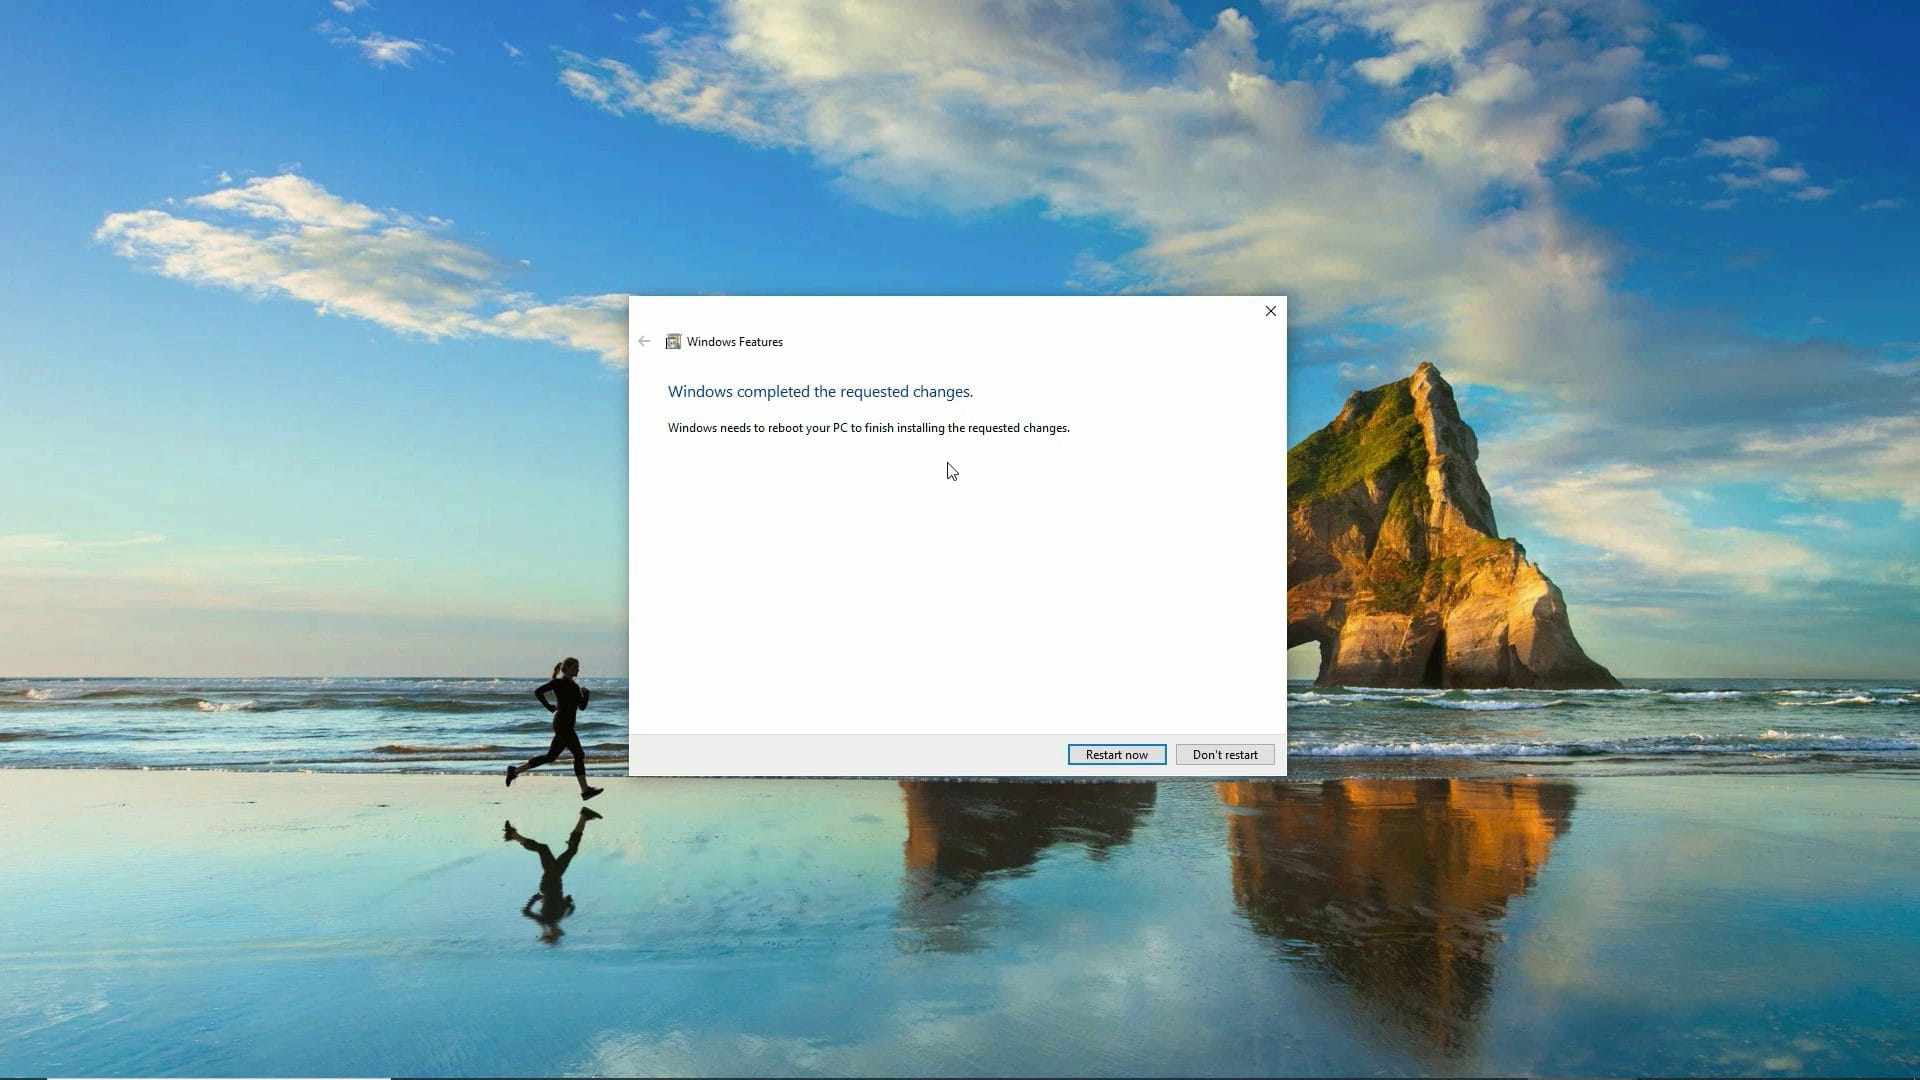
- Restart the computer once Hyper V has been installed
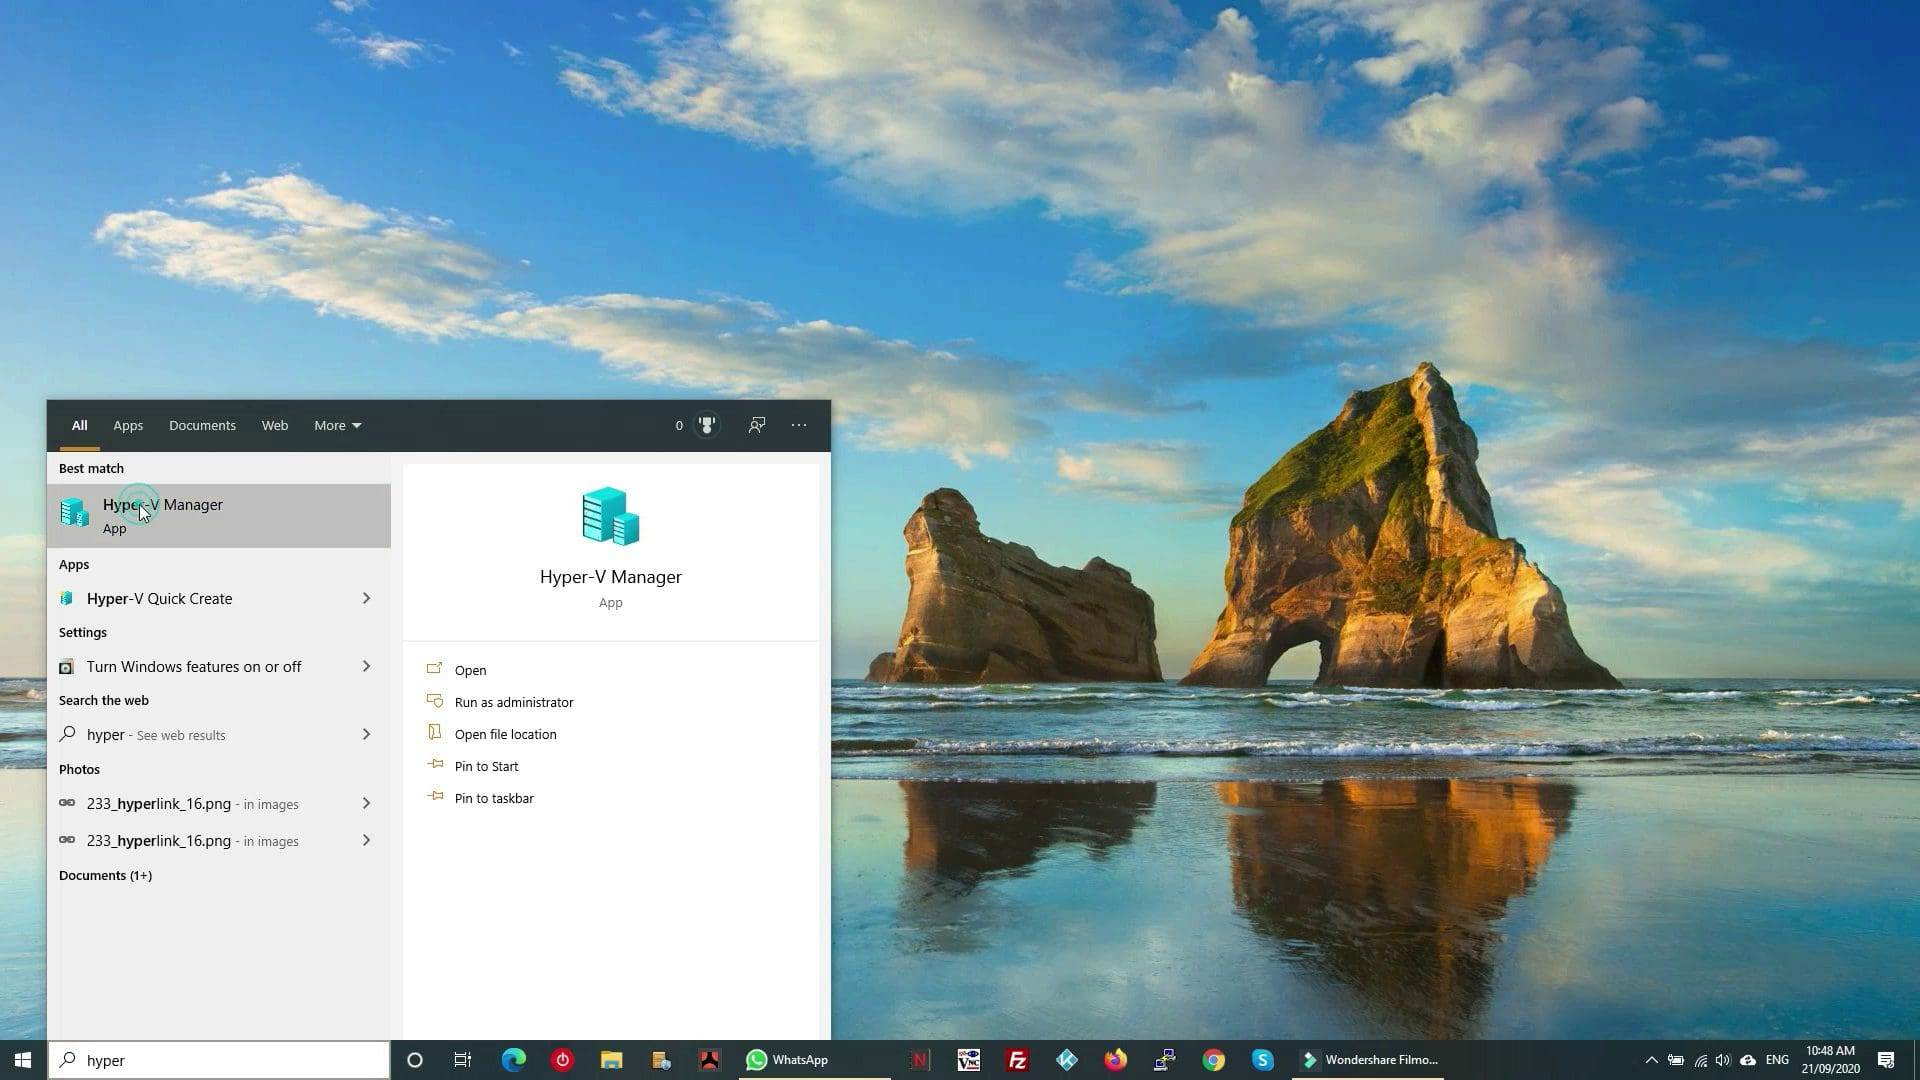
- Once you restart the computer, click on the start menu and type Hyper and in the list click on Hyper V Manager
- Click on the name of your computer
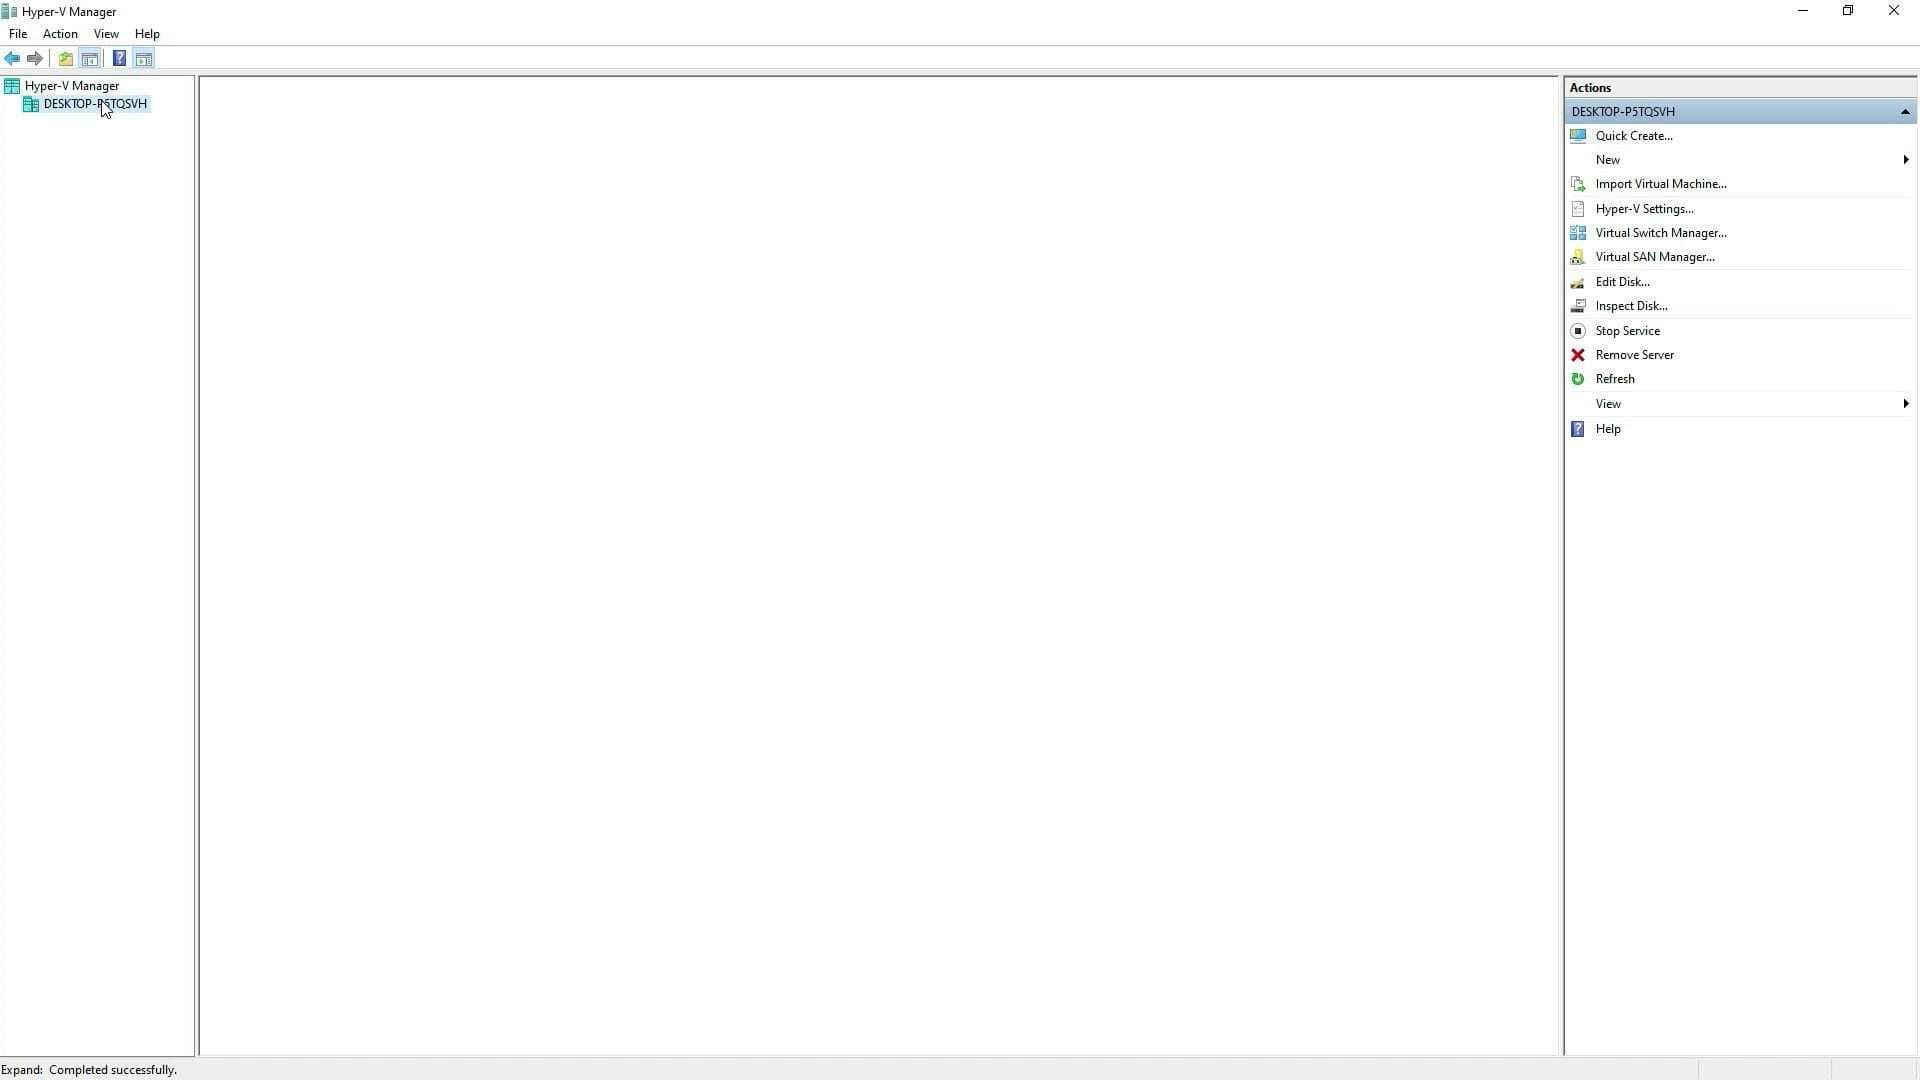
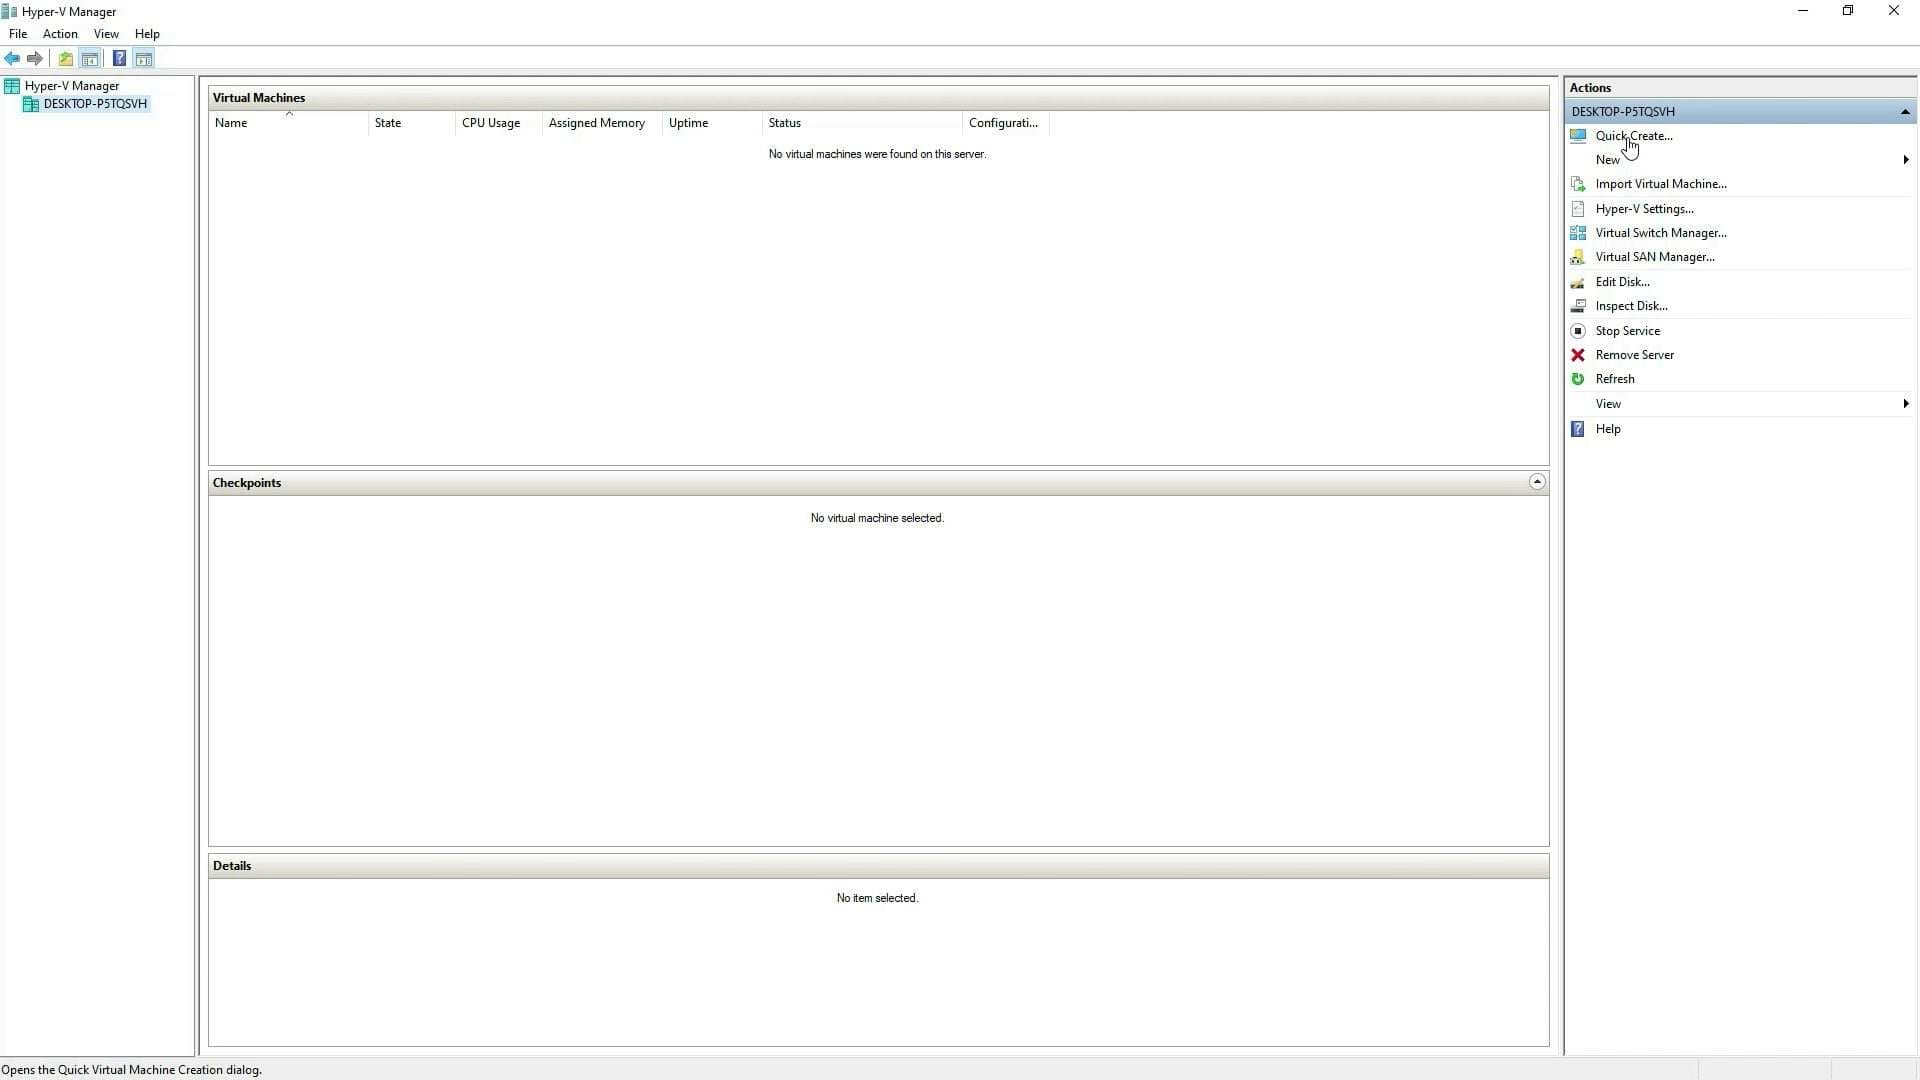
- Select quick create
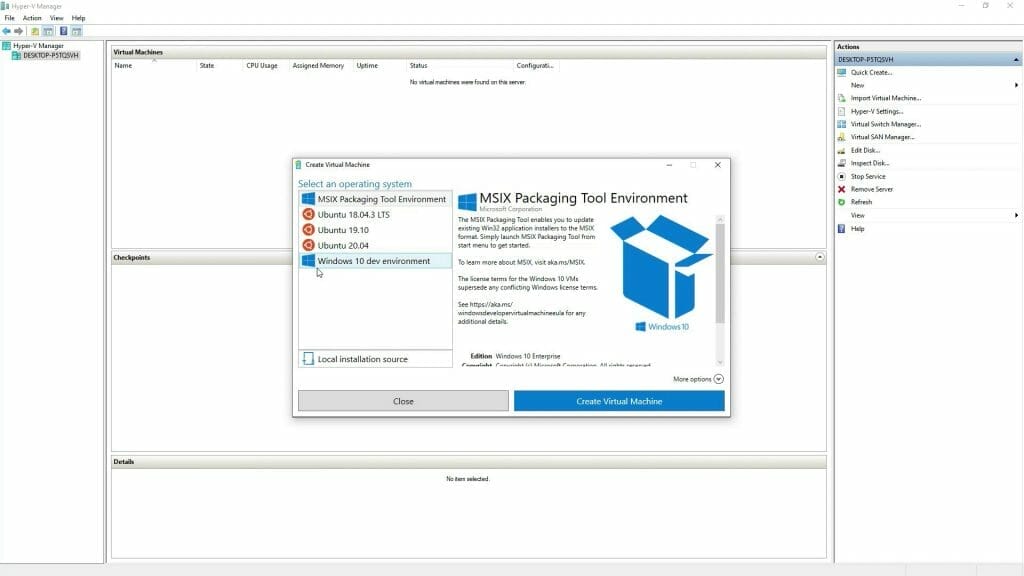
- Select Windows 10 Dev environment
- Let Hyper V download and setup the virtual machine (will take a while since the file is over 17 GB)

- Once virtual machine has been created successfully, click on Connect and this will start the Windows 10 Dev virtual machine

- The virtual machine will start
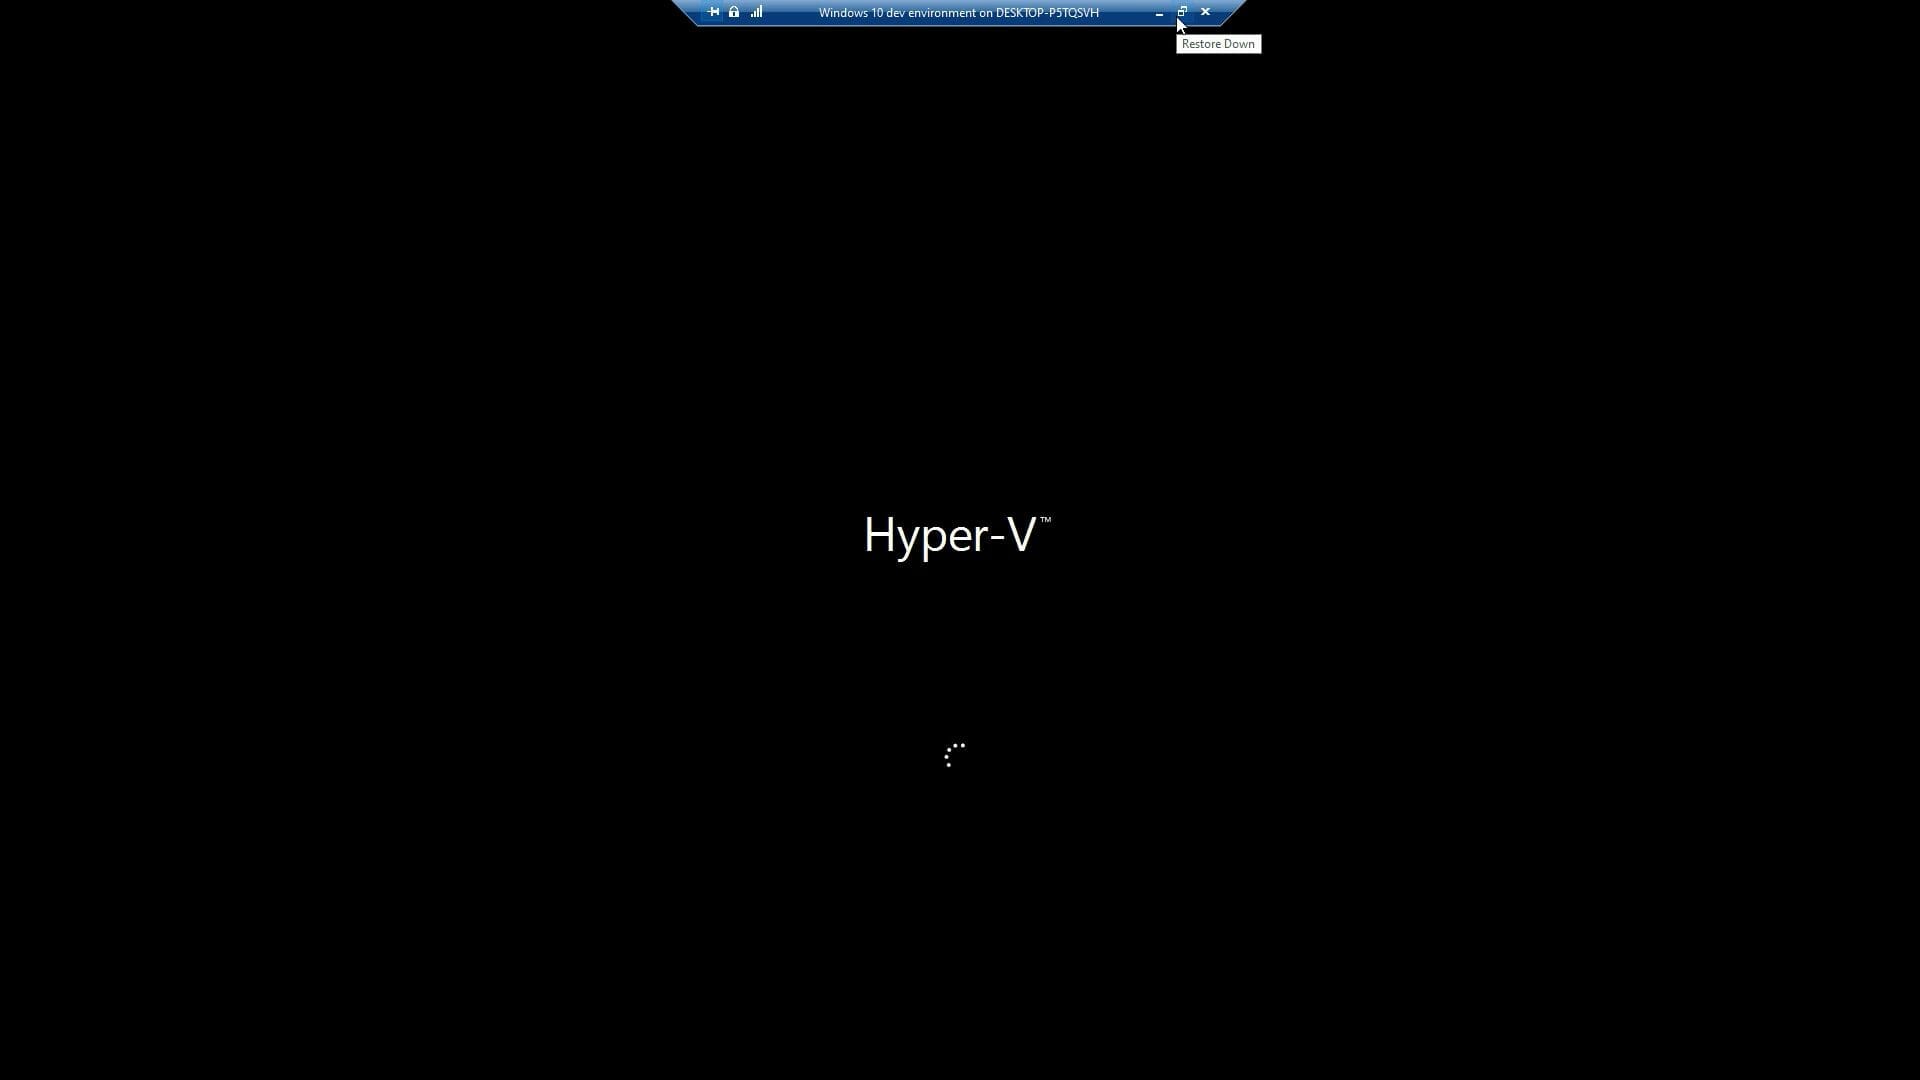

You can now install any Windows application you want to test. As I mentioned previously, I plan to install WAMP and other apps for video recording purposes. That way I will avoid recording videos that may have apps or shortcuts included in the video that I do not want to include just like some of the screenshots above. You can see on some of the apps I actually use or have running in the background which I don’t want. Hope this article helped.