Unboxing a new bit of kit is always exciting, but it’s even better when that kit solves a very specific, real-world problem. In this case, the Kiorafoto dual magnetic phone mount is designed to make mounting your phone to metal surfaces fast, secure, and reliable — ideal for runners, content creators, and anyone who needs a sturdy, fuss-free attachment on the move. In the video, the presenter refers to it as a “Cura Photo” mount, but the product name and screenshots clearly point to Kiorafoto. Whether you’re lacing up for a 5K or setting up a hands-free filming station on a telegraph pole, the core appeal is the same: strong dual-sided magnetism, minimal setup, and flexible mounting options.
Below, I’ll walk through what’s demonstrated in the unboxing while expanding on how this mount works, where it shines, and how to get the most out of it. You’ll find each screenshot placed where it’s relevant, and I’ll add practical tips that go beyond the initial look inside the box.

Why a Dual Magnetic Mount Matters
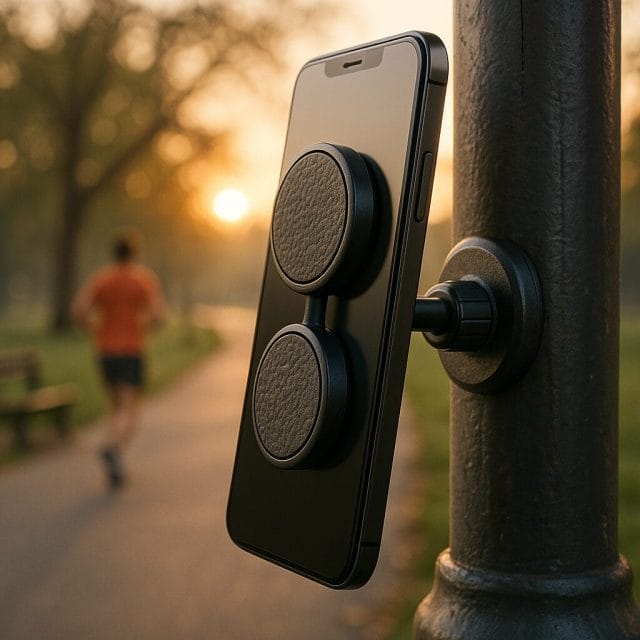
The idea behind a dual magnetic mount is wonderfully straightforward: one side interfaces with your phone (usually via a magnetic case or plate), and the other sticks to any ferrous, magnetic surface. For runners, that means you can quickly attach your phone to a telegraph pole, a lamp post, or even metal railings while you warm up, set a timer, film a short clip, or grab a quick group photo without juggling tripods and clamps.
Even beyond running, the use cases are plentiful. Think of setting up a time-lapse on a construction site, filming a skate session by attaching your phone to a metal bench, or having your phone at eye level while you do circuit training at the gym. The beauty of magnets is how they eliminate faff: there’s no threading, minimal adjustment, and far fewer moving parts compared to traditional mounts.
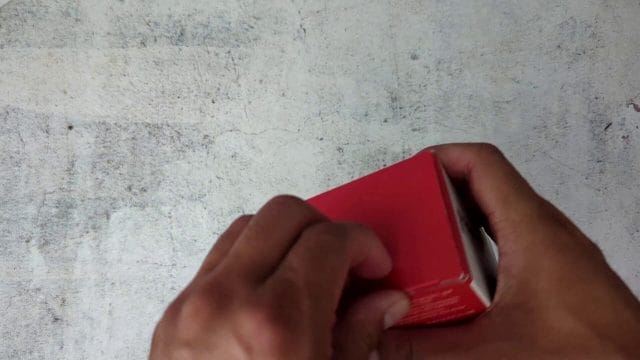
Unboxing and First Impressions
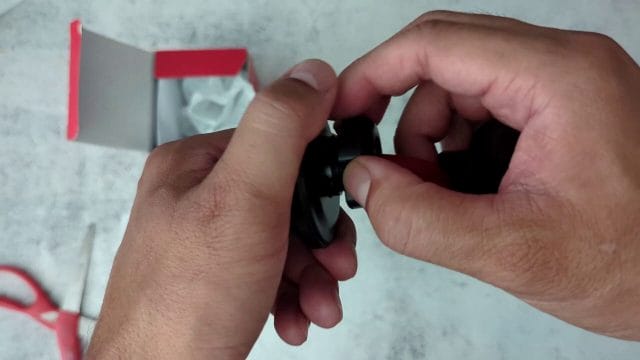
From the video, we see the presenter introduce the mount he uses for runs. Unboxings tend to be brisk, but it’s worth noting a few things you can expect with a device like this:
- A compact, robust housing. Magnetic mounts usually have weight to them — that’s a good sign, suggesting solid build quality and stronger magnets.
- Two distinct faces. One face is designed to mate with your phone (or case/plate), and the other is optimised for sticking to metal surfaces.
- A locking mechanism. This might be a collar or dial that tightens parts of the mount, ensuring your setup doesn’t wobble or rotate unintentionally.
- Interchangeable necks. As the presenter notes later, you can swap the neck for a straight one, which is handy when you want either flexibility (with a gooseneck) or absolute rigidity (with a straight extension).
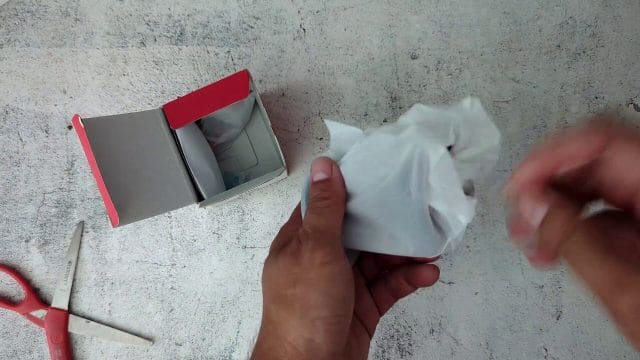
Good packaging typically prevents scuffs and scratches and can include a brief manual. With mounts like this, even if the paperwork is thin, the use is largely intuitive — the “right way round” matters most.
Designed for Magnetic Cases: What You Need to Know
The presenter mentions using this mount especially if you have a case that has a magnet in it. Many modern phones — especially those in the Apple ecosystem with MagSafe — play nicely with magnetic accessories. If your case is MagSafe-compatible or includes a built-in metal plate, the mount should snap into place with reassuring strength. If your case isn’t magnetic, you’ve got options:
- Adhesive magnetic plates. Slim steel plates can be stuck inside or onto your case (ideally inside to keep a cleaner look). Ensure the plate doesn’t interfere with wireless charging.
- MagSafe-compatible cases. If you’re using an iPhone with MagSafe, a MagSafe-ready case gives you excellent alignment and consistent holding power.
- Direct phone mounting. Not recommended, but if you must, you can attach a plate directly to the phone. You’ll want to be careful about heat dissipation and warranty considerations.
The presenter also demonstrates attaching the mount to metal objects like telegraph poles. This is where a larger surface area on the “surface side” helps, spreading the magnetic force and boosting stability. It means less slippage and more confidence that your phone will stay put, even if you brush past or if there’s a bit of wind.
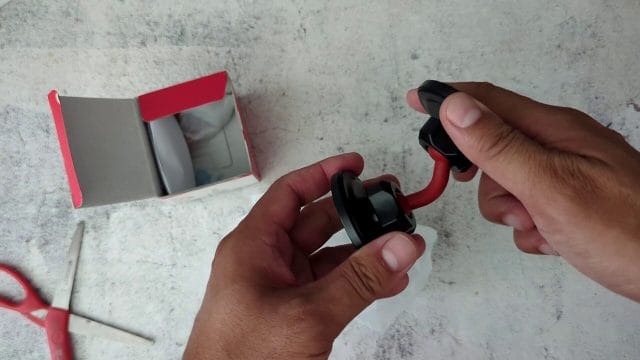
The Two Faces of the Magnet: Correct Orientation Matters
One small detail from the video makes a big difference: the side with the visible magnet (the “phone side”) is meant to attach to your device or magnetic case. The other side — described as “all black” — is your surface-facing magnet. This arrangement isn’t just aesthetic; it’s about function. The surface-facing side typically maximises contact area and may have a protective coating to reduce scratches on metal posts while enhancing friction.
If you flip the mount and try to use the phone on the “surface side”, you may get a weaker hold or awkward alignment. Proper orientation maximises the magnetic field where it’s intended and encourages a better centre-of-gravity balance when the phone is mounted vertically. It’s a small habit that pays off in reliable, repeatable setups.
When placing the mount, think about the composition of your shot and the physical leverage at play. A heavier phone (or one in a rugged case) hanging at an angle can introduce torque that encourages slippage. Align the mount so gravity works with you, not against you — straight up-and-down on a pole is usually safest. For filming, a slight tilt can be fine if you test the grip first.
Lock, Unlock, and Swap: The Mount’s Adjustment Features
In the video, the presenter mentions locking and unlocking, as well as changing the neck to a straight one. Most mounts offer a locking collar or dial that clamps down on a ball head or neck joint, preventing unwanted rotation or droop. Here’s how to use these features effectively:
- Locking the angle. If your mount includes a ball joint, set your framing, then tighten the collar until you feel firm resistance. Avoid overtightening — it can wear the joint and make future adjustments jerky.
- Unlock for repositioning. Fully loosen only if you’re drastically changing orientation. Otherwise, a quarter-turn can be enough to refine tilt or roll without losing your composition entirely.
- Swapping necks. A flexible gooseneck gives you creative freedom for unusual angles or to reduce glare. A straight neck is your best friend when you want maximum rigidity — for running footage, time-lapses, or anything where micro-movements would be noticeable.
If the mount’s neck threads are exposed when you remove one neck to attach another, keep them clean. Dust or grit can cause grinding and reduce the lifespan of the connection. A quick wipe and a snug, not overly tight, fit is all you need.
Real-World Use for Runners
Runners often want to travel light, and few accessories justify their weight. A dual magnetic mount can earn its place by making warm-up videos, quick stretch demos, or pace check-ins a breeze. Imagine pulling up to a park, spotting a lamp post, and in seconds having your phone mounted at chest height for a stable clip. There’s no tripod to balance on uneven grass, and you’re not propping your phone against a tree hoping it doesn’t slide mid-shot.
For best results, aim for consistent positions: eye level for talking to camera, waist level for form checks, and slightly higher for group shots. If you’re filming drills, a straight neck will minimise wobble. If you need to clear obstacles or align around a curved pole, the flexible neck could help you find the perfect angle. Remember to test the magnet’s grip with a gentle tug before you walk away — a pre-flight check that takes one second and could save your screen.
Mounting on Different Surfaces
The Kiorafoto’s “dual magnet” concept invites experimentation. Here are common surfaces and considerations:
- Telegraph poles and lamp posts. Excellent for urban runs. Clean any dirt or moisture from the contact point; water and grit can reduce grip.
- Gym equipment. Metal racks or squat stands work well, but always check with the gym staff and make sure you’re not interfering with other users or safety markings.
- Railings and benches. The curvature and paint finish might affect hold. If the railing is narrow, the mount could twist; choose flatter sections when possible.
- Vehicles. Proceed with caution. Painted panels can be scratched, and vibrations can be significant. If you must, use a protective pad and keep your speed very low.
In wet or cold conditions, magnets generally perform consistently, but some coatings become more slippery. A quick wipe, firm placement, and choosing vertical rather than diagonal alignment can offset most issues.
Safety and Compatibility Tips
Magnets are powerful and useful — but they come with caveats. Keep these in mind:
- Credit cards and hotel keys. Strong magnets can demagnetise stripe-based cards. Don’t store your wallet in the same pocket as your mount.
- Pacemakers and medical devices. If you use such devices, consult your doctor about proximity guidelines for magnets and keep the mount at a safe distance.
- Phone sensors. Modern smartphones are robust, and MagSafe-compatible models are designed to work with magnets, but be mindful of compasses and NFC. If your compass seems off, move away from the mounted setup to recalibrate.
- Wireless charging. If you add a metal plate to a non-MagSafe case, you may reduce charging efficiency or cause heat build-up. Choose MagSafe-compatible accessories where possible.
Setup and Best Practices
A few habits will make the Kiorafoto mount feel rock-solid every time:
- Clean contact surfaces. Wipe both the mount’s surface-facing side and the pole with a microfibre cloth. Even fingerprints can affect friction.
- Align centrally. Match the phone-side magnet with the centre of your case’s magnet/plate to avoid off-axis torque.
- Use the lock. Once you’ve framed your shot, tighten the lock gently to prevent creep. If you’re swapping necks, choose straight for stability, flex for creative angles.
- Test the hold. A small tug and tilt check goes a long way. If you feel any slip, reposition or choose a flatter area.
For runners who film regularly, consider marking your favourite mounting spots on a familiar route. Knowing where you’ll get the best light, background, and surface makes filming quicker and more consistent.
Creative Filming Ideas
Beyond straightforward vlogs, a magnetic mount opens up playful, high-impact shots:
- Start-line energy. Mount at knee height on a pole to capture dynamic leg movement as you set off.
- Interval countdowns. Stick the phone at eye level and film short clips with on-screen timers — perfect for social posts showing discipline and variety.
- Recovery reflections. Attach to a bench or railing post-run and record quick thoughts about pace and form while it’s fresh.
- Time-lapses. A straight neck gives a steady base for sunrise or crowd scenes at events.
The key is to use the mount’s speed: attach, frame, lock, shoot. No fuss, no fiddling — back to the run.
Care and Longevity
To keep the mount performing well for years:
- Wipe the magnets and coatings. Dirt can reduce holding power and scratch surfaces.
- Store dry. If you’ve used it in the rain, dry it off to avoid corrosion on exposed metal parts.
- Inspect threads. When swapping necks, make sure threads are clean and lightly lubricated if the manufacturer recommends it.
- Avoid impacts. Magnets are tough, but sharp knocks can misalign housings or chip coatings.
Final Thoughts
The Kiorafoto dual magnetic phone mount strikes a sensible balance between strength, simplicity, and flexibility. For runners, the ability to quickly mount a phone to a telegraph pole or any magnetic-friendly surface is surprisingly liberating — the mount becomes a mini filming assistant you can carry in a pocket. The two-face design ensures you always know which way round to use it: phone-side magnet for your device, the “all black” surface-side for poles and posts. Add the lock/unlock control and the option to swap to a straight neck, and you have a small, adaptable tool that’s more capable than it looks.
Whether you’re documenting training sessions, filming technique, or just taking hands-free snaps along the route, this kind of mount helps you spend less time wrestling gear and more time moving. If your case has built-in magnet compatibility (or you add a plate), you’ll find the Kiorafoto snaps into your routine quickly — and stays put exactly where you want it.

If this article helped you in any way and you want to show your appreciation, I am more than happy to receive donations through PayPal. This will help me maintain and improve this website so I can help more people out there. Thank you for your help.
HELP OTHERS AND SHARE THIS ARTICLE
LEAVE A COMMENT
I am an entrepreneur based in Sydney Australia. I was born in Vietnam, grew up in Italy and currently residing in Australia. I started my first business venture Advertise Me from a random idea and have never looked back since. My passion is in the digital space, affiliate marketing, fitness and I launched several digital products. You will find these on the portfolio page.
I’ve decided to change from a Vegetarian to a Vegan diet and started a website called Veggie Meals.
I started this blog so I could leave a digital footprint of my random thoughts, ideas and life in general.
If any of the articles helped you in any way, please donate. Thank you for your help.
Affiliate Compensated: there are some articles with links to products or services that I may receive a commission.