Cloning your operating system (OS) drive is one of the smartest ways to protect your setup from drive failure and to make upgrades painless. In this walkthrough, I’ll show you how to migrate your Windows OS from your current C: drive to another disk using MiniTool Partition Wizard Pro, following the exact steps and prompts from the demo.
Before you start
- Back up any important data from the destination drive. The cloning process will erase its contents.
- Use a destination disk that’s the same size or larger than your OS data footprint. If it’s smaller, MiniTool may refuse to proceed.
- Connect your new drive and make sure it’s visible in Disk Management (it can be unallocated).
- Have MiniTool Partition Wizard Pro installed and run it as an administrator.
Step-by-step: Migrate your OS to another disk
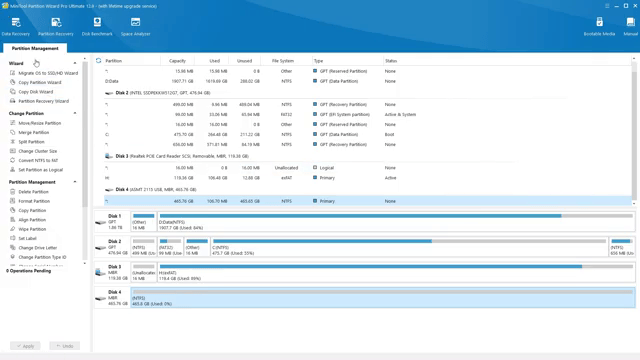
- Launch MiniTool Partition Wizard Pro and click “Migrate OS to SSD/HD.”
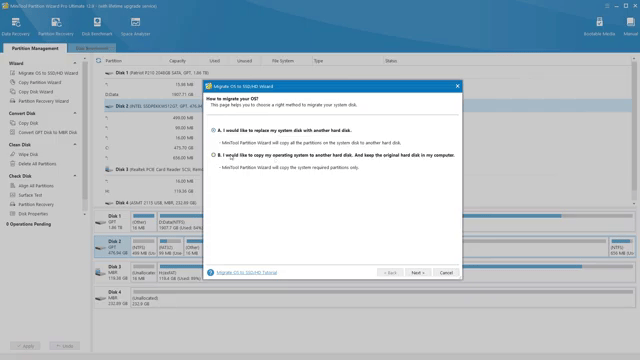
- Choose the migration method: select “I would like to copy my operating system to another disk and keep the original hard disk in my computer.” This preserves your current C: drive and creates a bootable clone on the new drive.
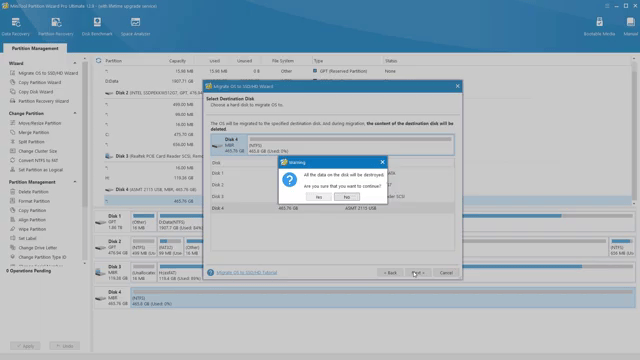
- Select your destination disk. If MiniTool tells you the disk is too small, choose another drive that’s the same size or larger than the used space on your OS drive. When you’ve picked the right one, MiniTool will warn you that all data on that disk will be destroyed—confirm to continue.
On the next screen, pick how you want to handle partitions on the target:
- Fit partitions to entire disk: Best when the destination is a bit larger; it scales your partitions proportionally.
- Copy partitions without resizing: Keeps the exact sizes—useful when both disks are identical.
You’ll also see a note reminding you to change your BIOS/UEFI boot order if you plan to boot from the new drive—keep that in mind for later.
- Click Finish, then Apply to start the migration. MiniTool will queue the operations and begin copying data.
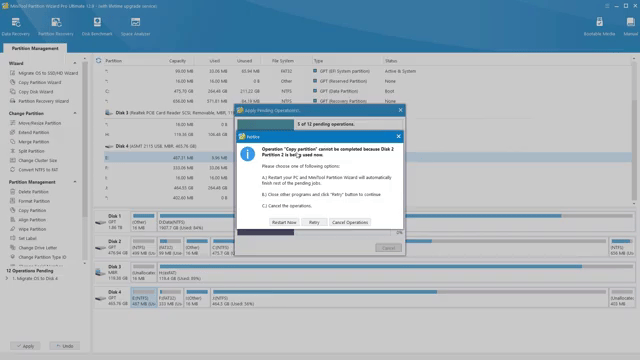
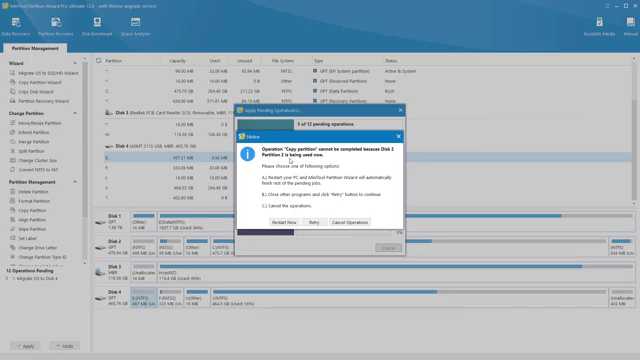
If you see a message saying the OS partition is in use and the copy can’t proceed, that’s normal. MiniTool will prompt you to restart so it can complete the clone outside of Windows.
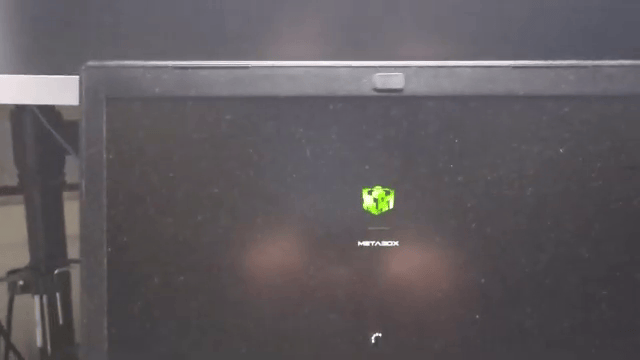
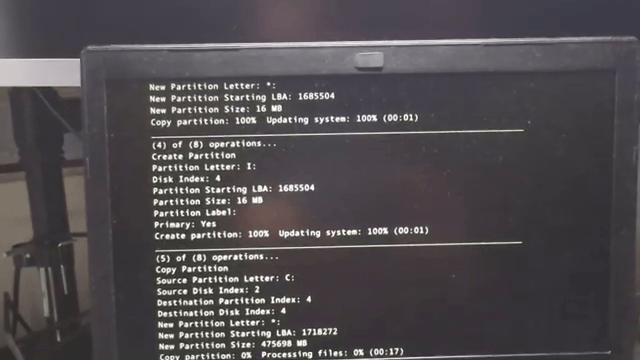
- Restart your PC when prompted. MiniTool’s pre-OS engine will take over and complete the clone automatically. You’ll see a countdown (“This magic will start in 2 seconds”) and a progress screen.
The duration depends on how much data you have and your drive speeds. In the demo, the source disk was around 400 GB with about 200 GB used, so it took a while.
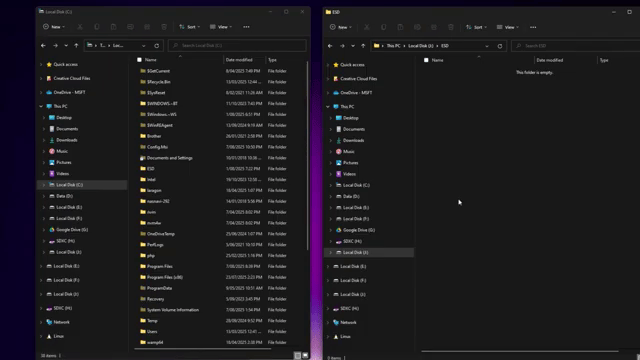
- When the process finishes, your PC will boot back into Windows. Open File Explorer or Disk Management to verify the clone. You should see your original C: drive and the cloned drive with identical folders and partitions.
At this point, the clone is ready. The final test is to boot from the cloned drive to confirm it works end to end.
How to boot from your cloned drive
If you plan to replace your old drive or just want to test the clone, adjust your boot order:
- Shut down and power on your PC.
- Enter BIOS/UEFI (usually by pressing Del, F2, F10, or Esc at startup).
- Find the Boot section and set your cloned drive as the first boot device.
- Save and exit. Your system should now boot from the cloned disk.
If everything loads normally and your apps and files are in place, your clone is successful.
Tips, gotchas, and troubleshooting
- Disk too small: If MiniTool says the target disk is too small, pick a larger drive or free space on the source before cloning. The destination must accommodate all used data plus partition overhead.
- Unallocated space: The destination disk can be unallocated; MiniTool will create and size the partitions for you during the migration.
- Partition layout: “Fit partitions to entire disk” is a safe default. If you’re moving to a smaller SSD but your used space fits, consider shrinking partitions on the source first.
- BIOS vs. UEFI: If your original disk is GPT/UEFI, it’s best for the destination to be initialized the same way for seamless booting.
- After cloning: Only keep one bootable OS drive connected while testing, to be sure you’re booting from the clone.
Why use MiniTool Partition Wizard Pro?
MiniTool Partition Wizard Pro streamlines OS migration with a wizard-driven flow, pre-OS copy engine, and smart partition resizing. If you need a reliable way to back up or move your Windows installation, it’s a solid choice.
That’s it—your OS is cloned, your data is safe, and you’re ready to swap drives or keep the clone as a bootable backup. Happy migrating!

If this article helped you in any way and you want to show your appreciation, I am more than happy to receive donations through PayPal. This will help me maintain and improve this website so I can help more people out there. Thank you for your help.
HELP OTHERS AND SHARE THIS ARTICLE
LEAVE A COMMENT
I am an entrepreneur based in Sydney Australia. I was born in Vietnam, grew up in Italy and currently residing in Australia. I started my first business venture Advertise Me from a random idea and have never looked back since. My passion is in the digital space, affiliate marketing, fitness and I launched several digital products. You will find these on the portfolio page.
I’ve decided to change from a Vegetarian to a Vegan diet and started a website called Veggie Meals.
I started this blog so I could leave a digital footprint of my random thoughts, ideas and life in general.
If any of the articles helped you in any way, please donate. Thank you for your help.
Affiliate Compensated: there are some articles with links to products or services that I may receive a commission.