In this article, I will show you how I add a date counter on a WordPress website. As you can probably tell, I use the WordPress CMS self-hosted platform for this website and the majority of websites I manage.
The date counter is a great way to share your stories, show birthday announcements, share a date when an event is going to take place, or any other date-related information. I use the date counter to display my running streak. You will see this on the right-hand sidebar of my blog posts and it basically displays the number of days I’ve been running at least 5 KM per day.
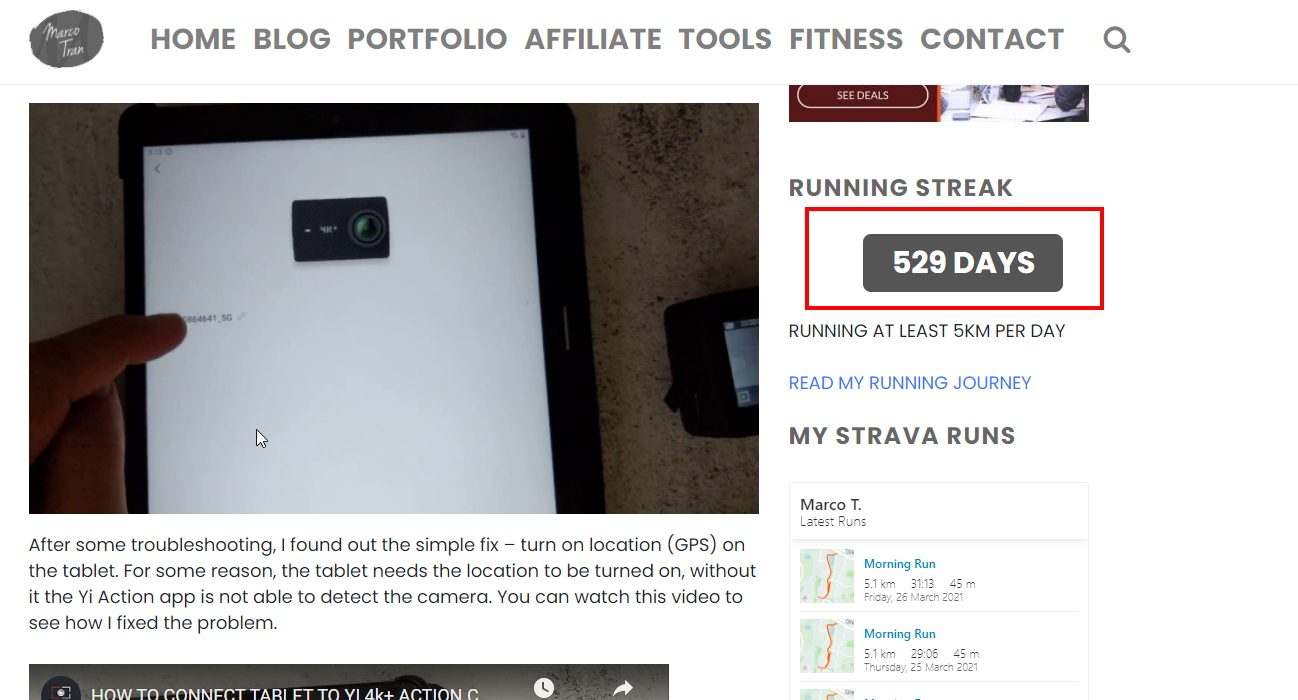
You want to do something similar or display any type of date counter then follow these steps.
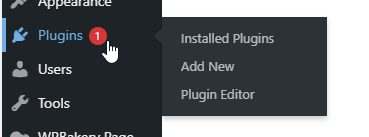
- Go to the Plugins and click on Add New
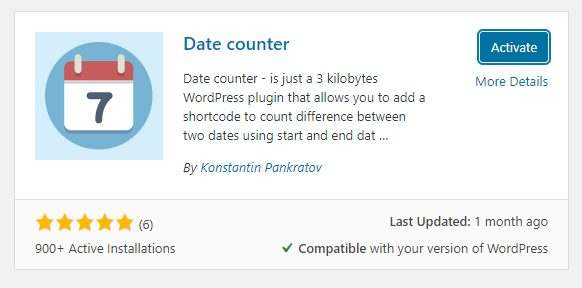
- Search for date counter

- Click on Install Now

- Click on Activate
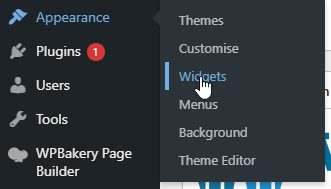
- Go to the Appearance and click on Widget
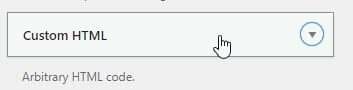
- Add a Custom HTML widget
- Use the shortcode
[DateCounter startDate="2019-10-14" endDate="now" format="Days"]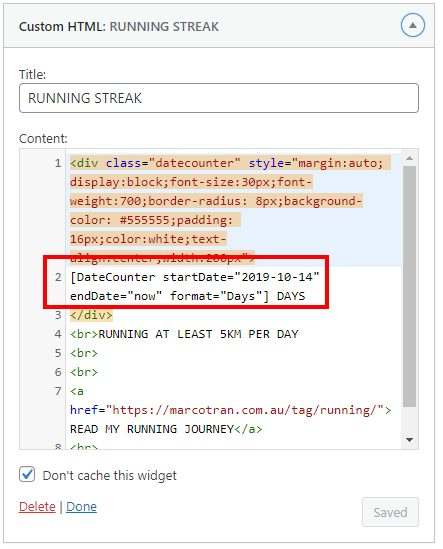
You can also use this on a blog post or page. All you have to do is add the shortcode in the content.
In my example, I made the date counter stand out by using HTML styles. If you want something similar use the following code:
<div class="datecounter" style="margin:auto; display:block;font-size:30px;font-weight:700;border-radius: 8px;background-color: #555555;padding: 16px;color:white;text-align:center;width:200px">
2551 DAYS
</div>
Here’s also a video showing you how Ive added a date counter to my WordPress website.