I’ve had an under sink 3 stage water filter for several years and it was that time of the year to replace all 3 filters. I decided to take a video and write a blog post so I can track which filters I need which may also help you.
If you have the same 3 stage water filter system as the one below then you will need 3 types of filters
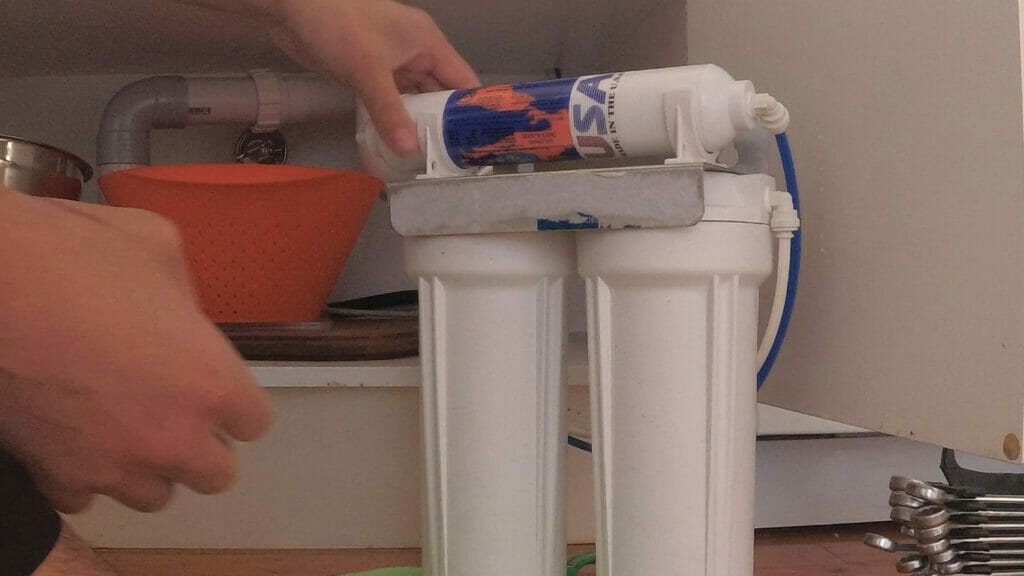
Carbon and Sediment Water Filters: https://ebay.us/WXnW2N
Inline Water Filter: https://ebay.us/ewlzps
You may also need this wrench spanner to remove the filter cartridge: https://ebay.us/tZWhjD
In summary, the steps to replace all three water filters (Carbon, Sediment and Inline) is as follows:
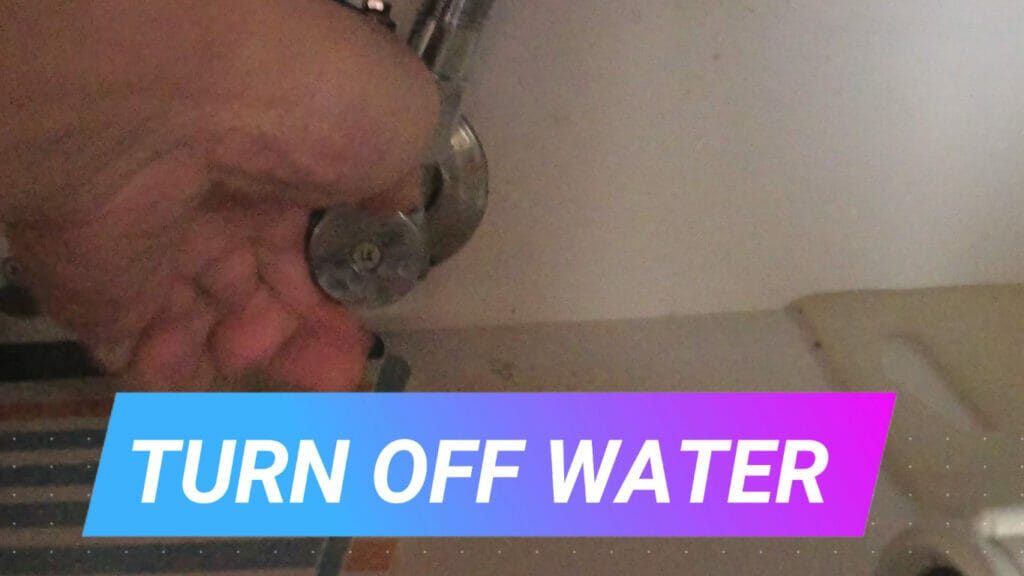
- Turn off the cold water under the sink
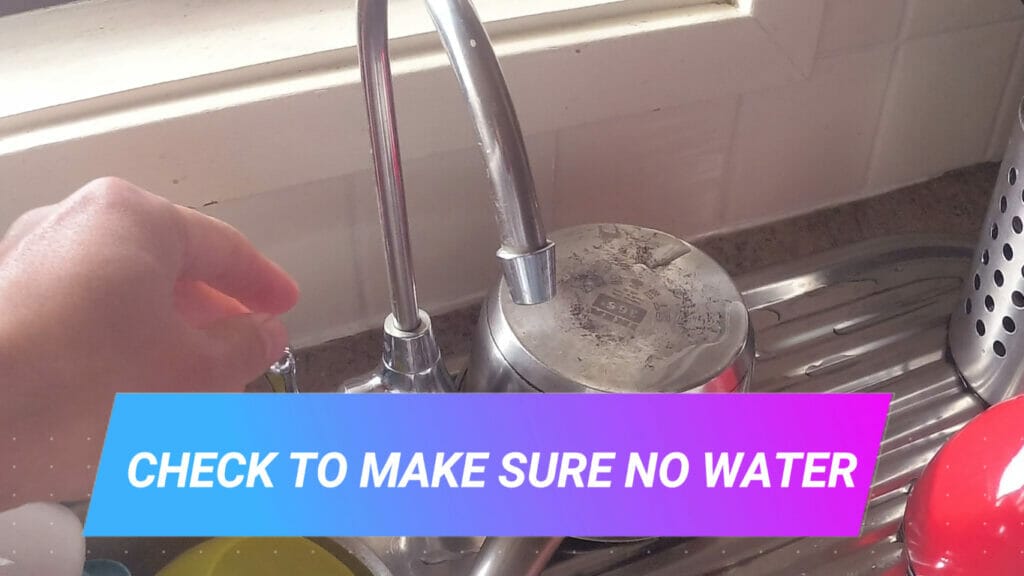
- Check to make sure no water is flowing from the water filter tap
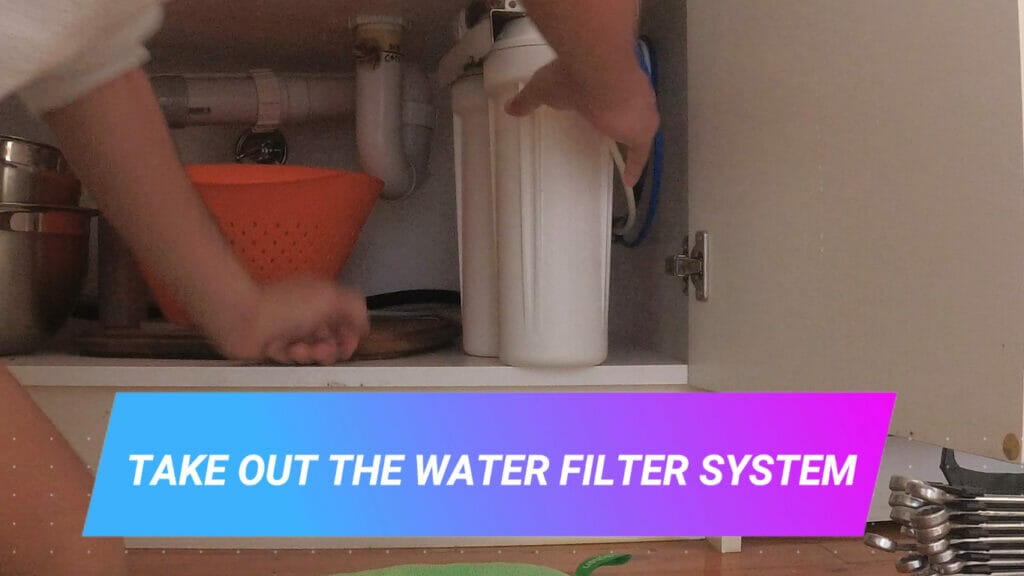
- Take out the water filter system if it’s not easily accessible
- Remove inline filter so the pipes do not get tangled
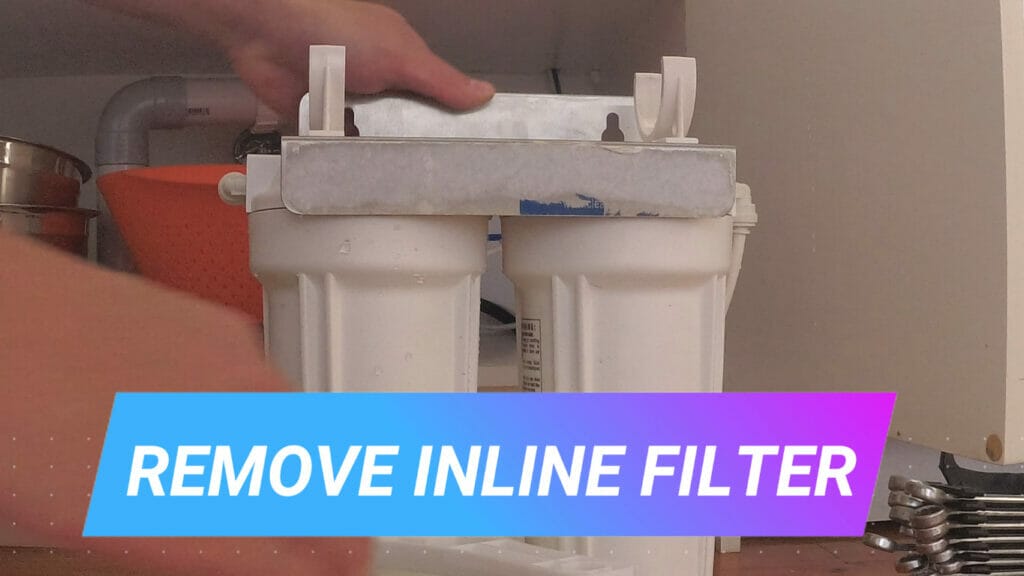
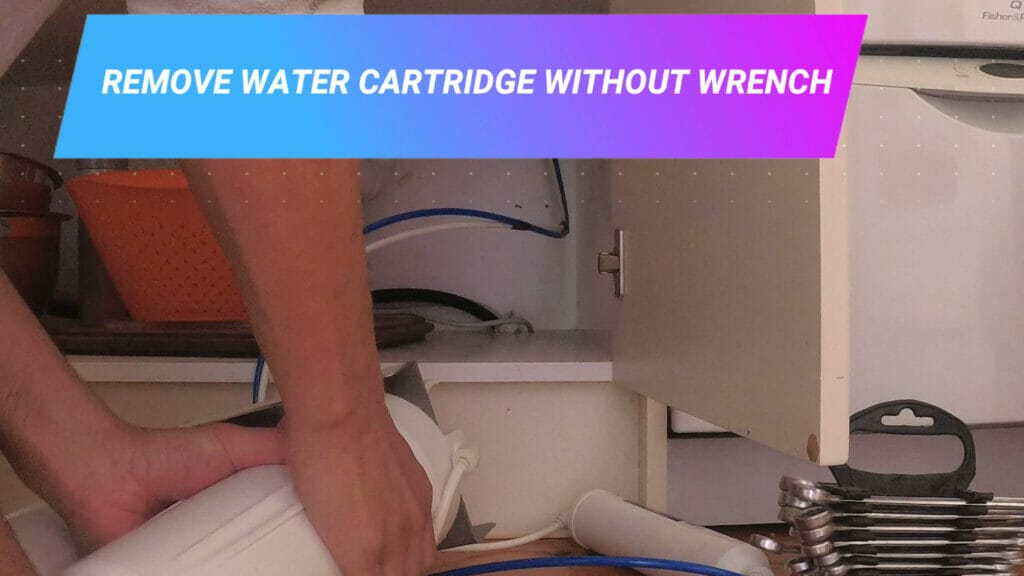
- Remove water cartridge using the wrench spanner. If you don’t have one get one from the above link
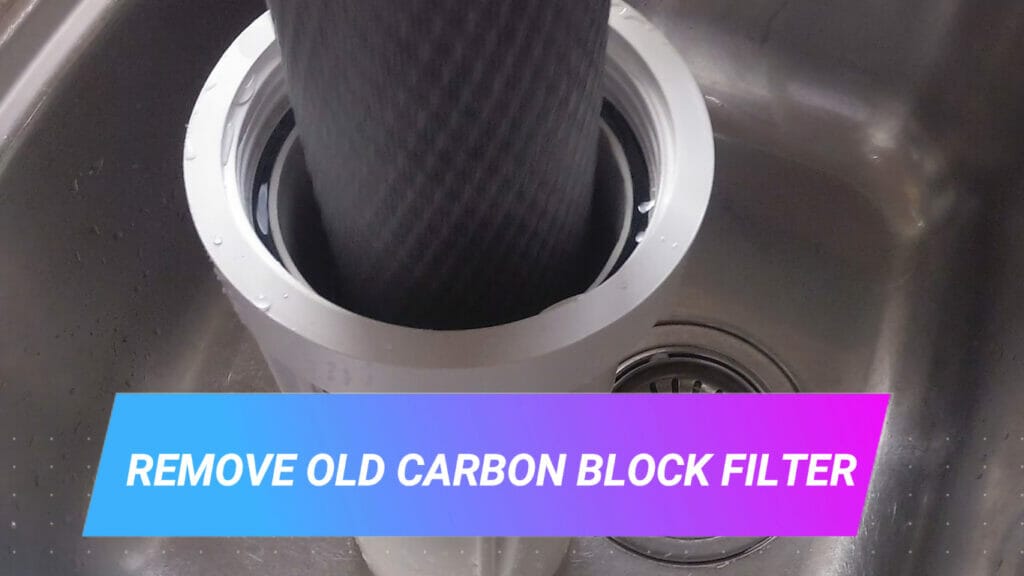
- Remove old carbon block filter
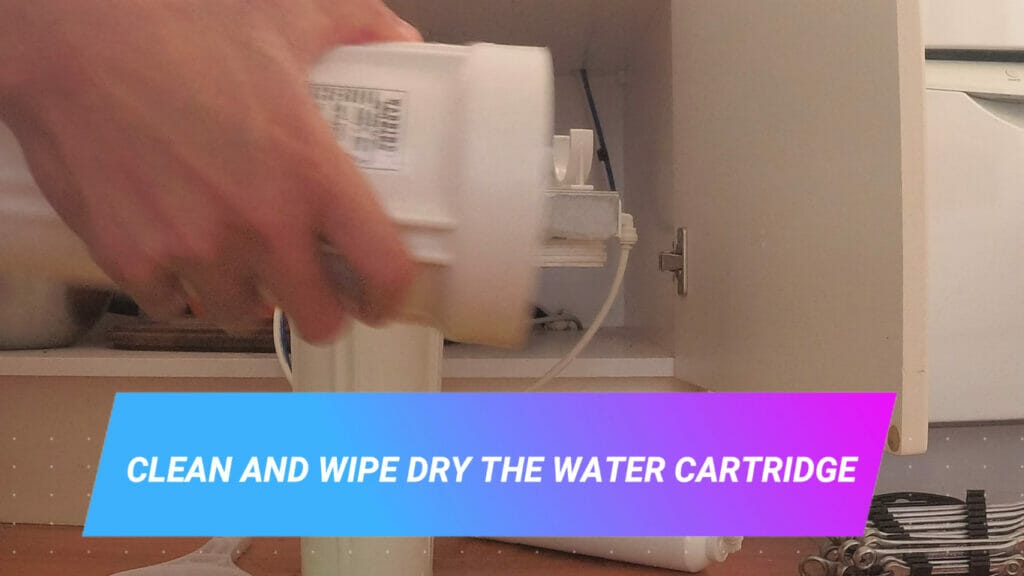
- Clean and wipe dry the water cartridge
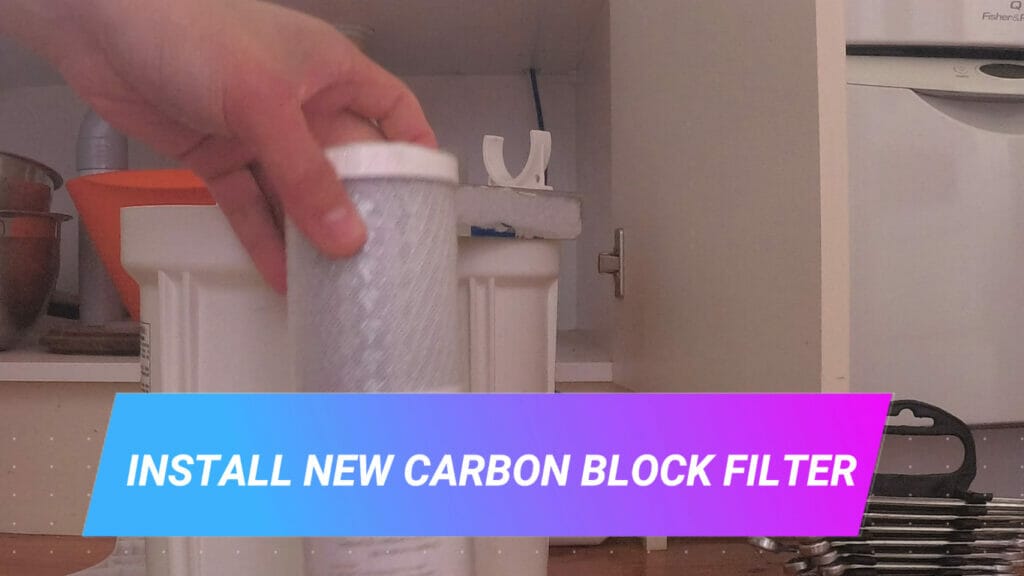
- Install new carbon block filter
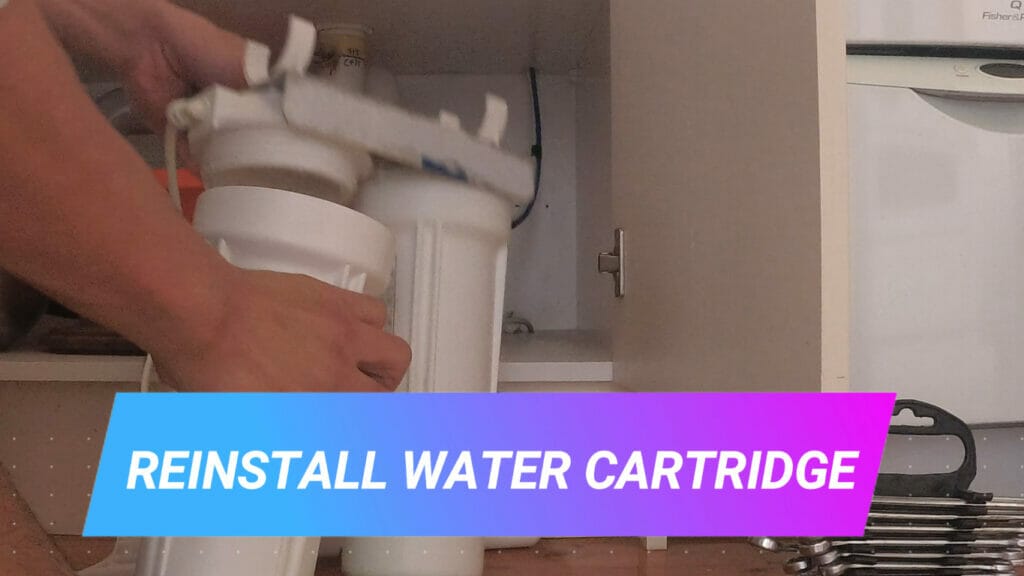
- Reinstall water cartridge using the wrench spanner. Make sure it’s tight so there is no water leaking
- You can also remove water cartridge without wrench just by using your hands and twisting the cartridge anti-clockwise
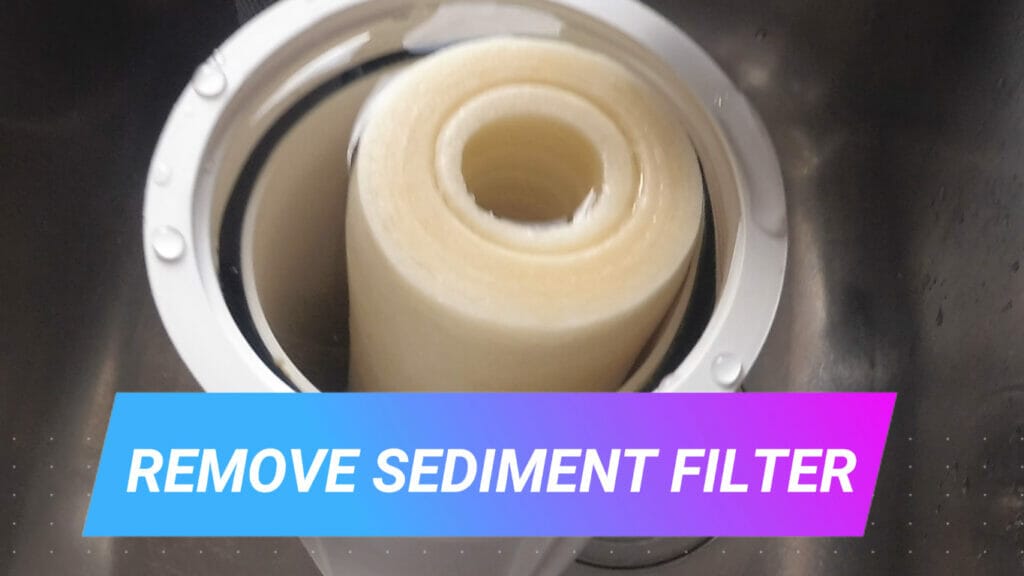
- Remove sediment filter
- Clean and wipe dry the water cartridge
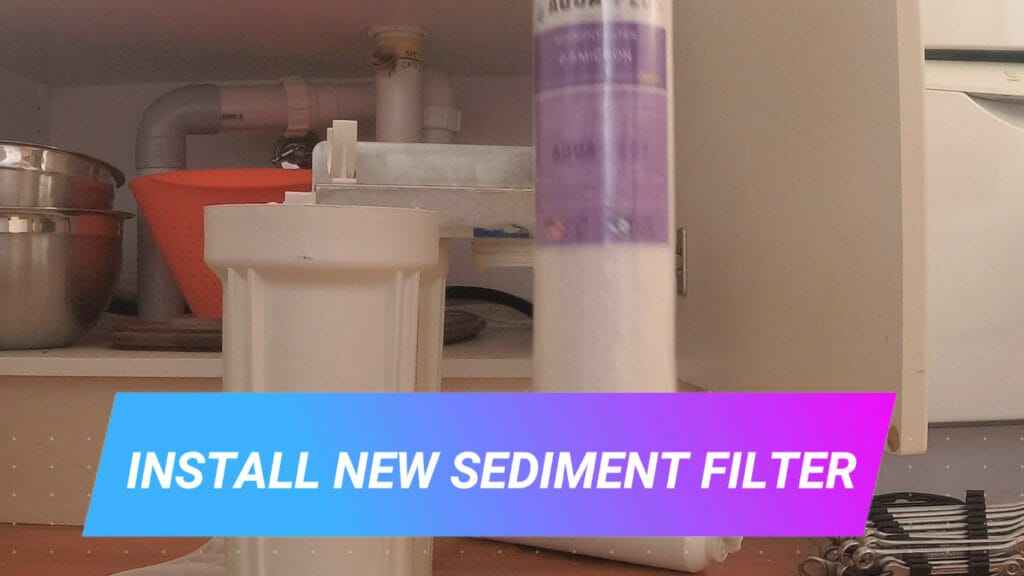
- Install new sediment filter
- Reinstall the water cartridge and use wrench spanner to tighten
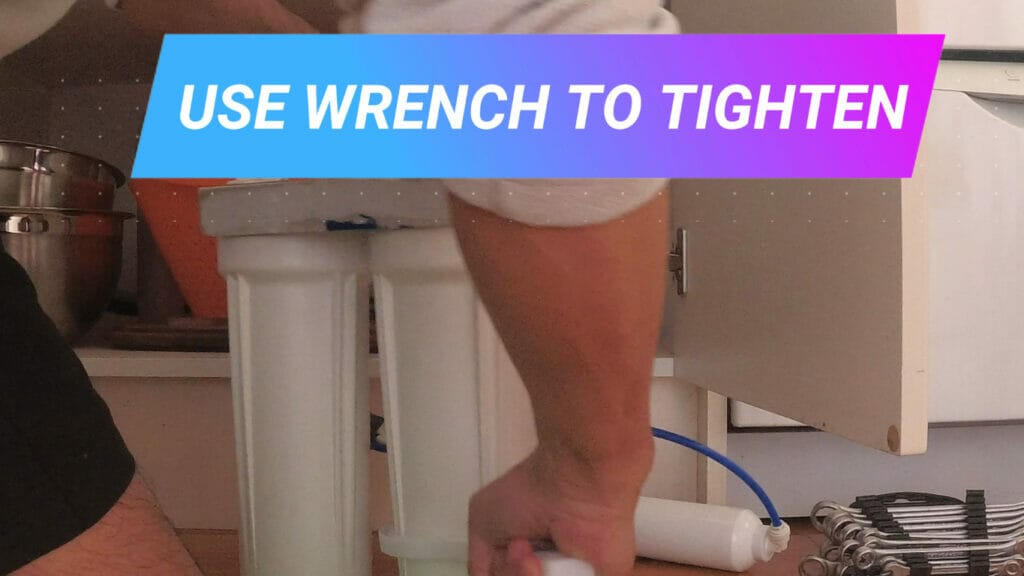
- Remove pipes from inline water filter system from both ends. Make sure you remember or note down which side is the white and blue pipes connected to
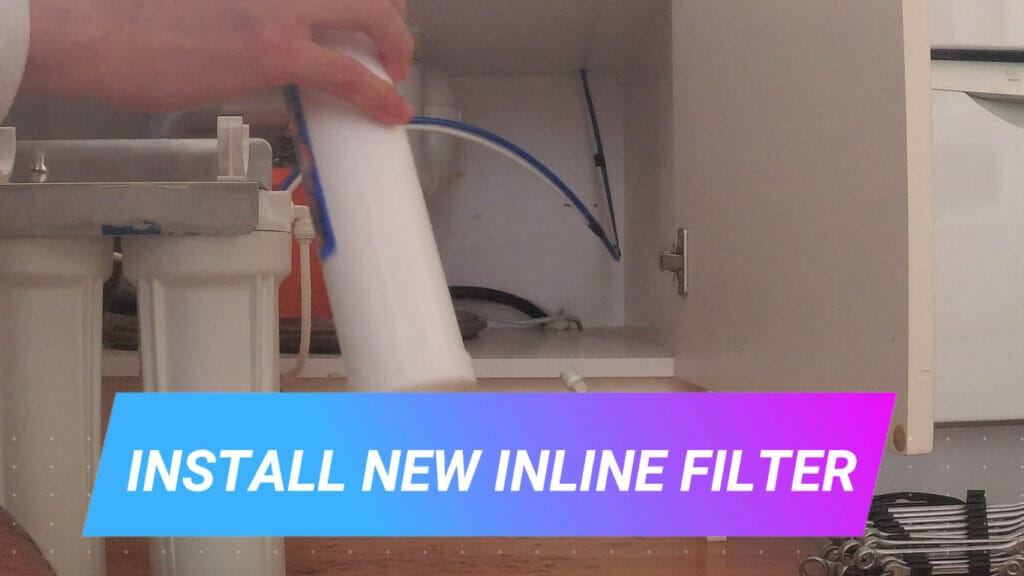
- Install new inline filter
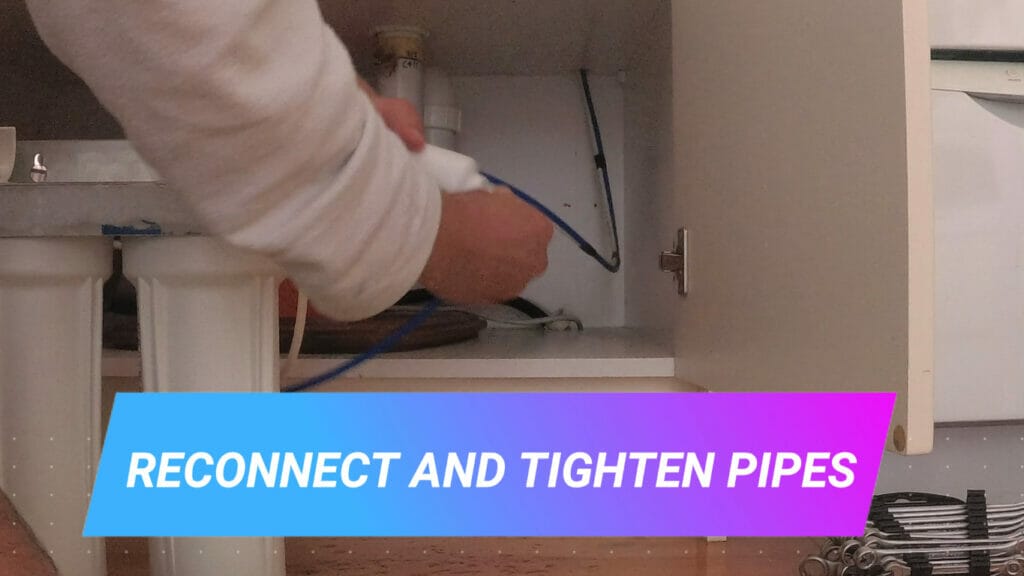
- Reconnect and tighten pipes
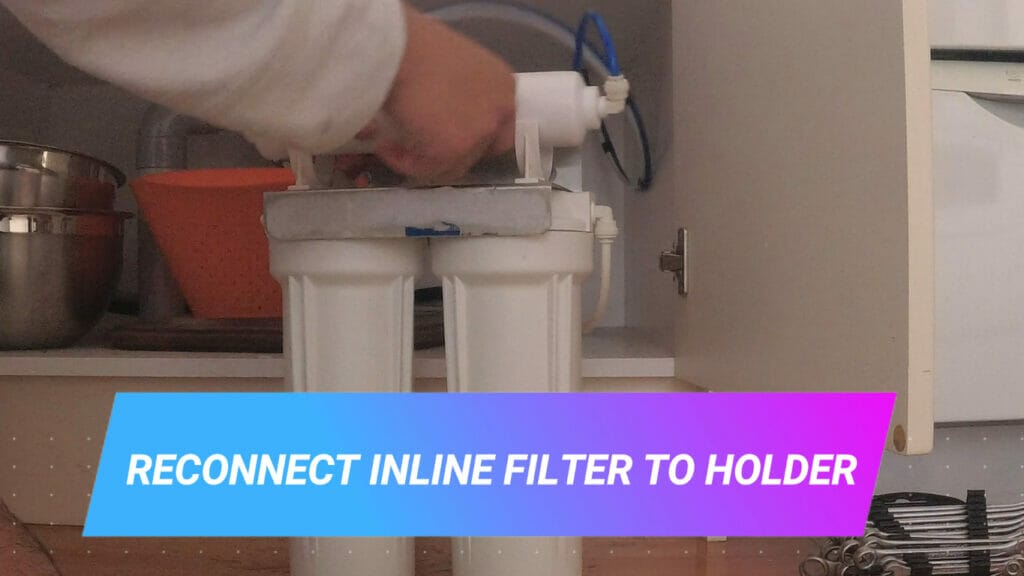
- Reconnect inline filter to holder
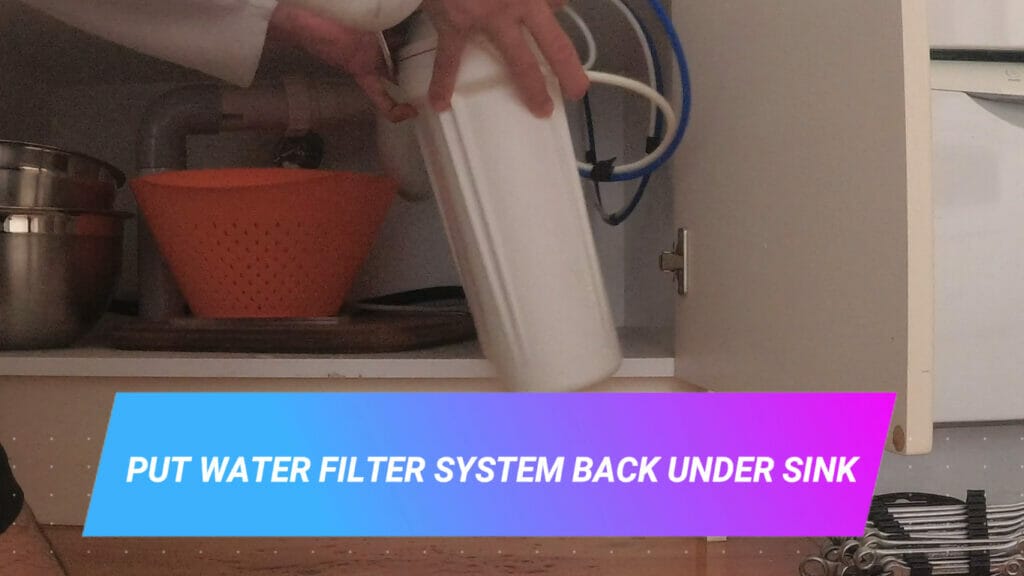
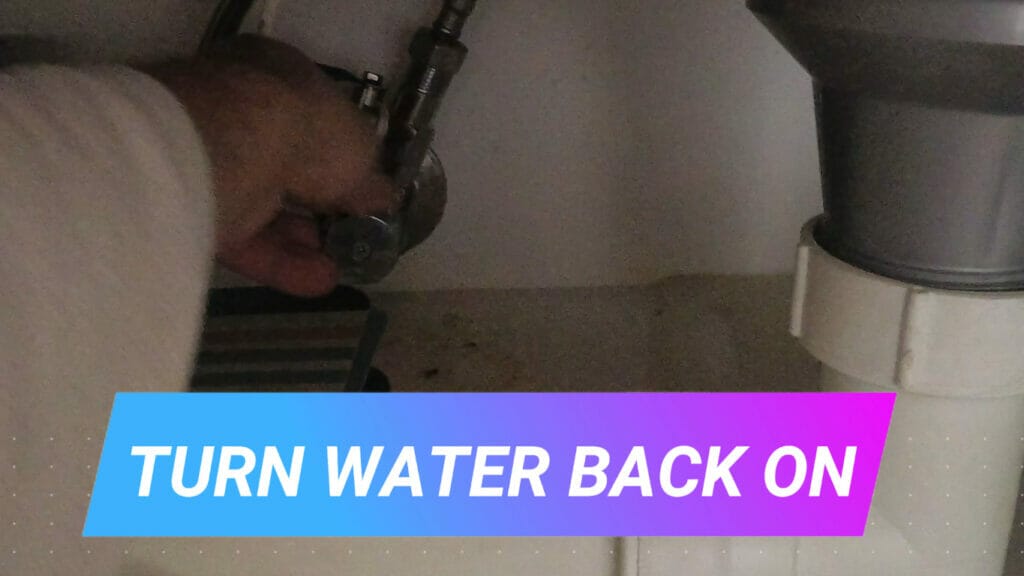
- Put water filter system back under sink and turn cold water back on from under the sink
- Let water run for 5 – 10 minutes to make sure the water passes through all the 3 filters
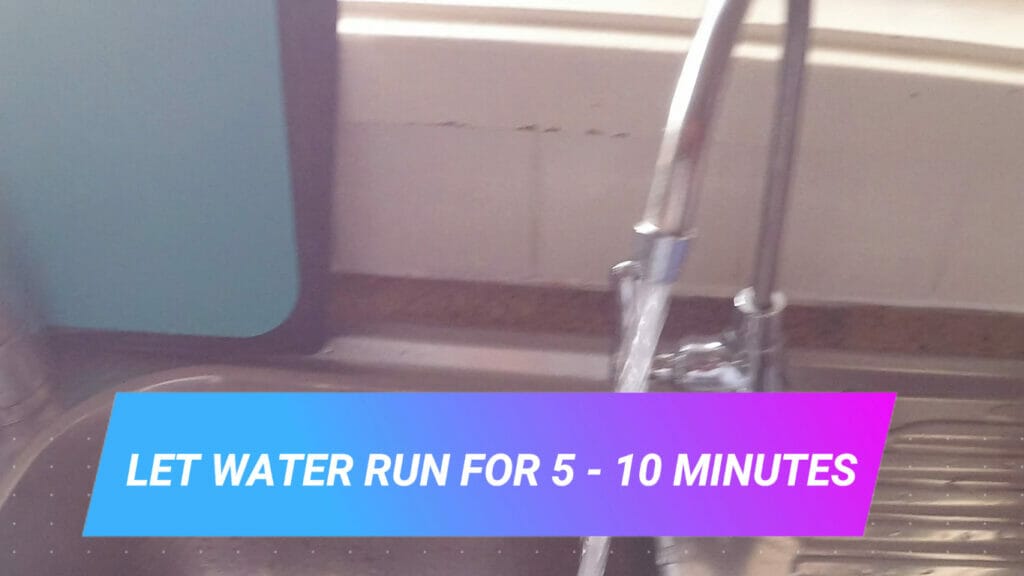
That’s it! You now have 3 new water filters installed. I’m not sure if you will notice a difference in the taste of the water filter but you can also check the pH levels by using a TDS device. I have the Xiaomi one which I’ve previously used.
If you need further help, you can watch this video which shows you how to replace the 3 water filters: HOW TO REPLACE THE FILTERS IN A 3 STAGE WATER FILTER SYSTEM
Here’s a transcription of the video as well:
Hello, everybody in this video I’m going to show you how to replace the filters in this three-stage: water filter system. This is the water filter system that I have in my house in the kitchen and it’s under the sink filter set.
The first thing you need to do is turn off the water. It’s the cold water side, so just turn the knob clockwise to close the water and then just test it for the water filter, turn it on and off, and there shouldn’t be any water coming out. The next thing to do is bring out the water filter system, so you have access to it.
This is the one that I have I’ve had it for a couple of years. It’s a three-stage water filter system. So there are three components that I need to change in this three-stage water filter system.
I will put a link in the description of where you can buy the filters from another item that you may need. Is this wrench spanner handle to remove the water filter, cartridge Housing, which is that white bottom part, but before we remove the bottom water cartridge, I prefer to remove the inline filter. That is the top section, remove that first then remove the water cartridge in the bottom.
So I’ll start off with the left-hand side first, so you just need to use the wrench turn it anti-clockwise And there you go just make sure you have a cloth just underneath this so that you can catch any water. That is spilled. So I will show you the actual filter that I’ll be replacing.
So this is the carbon block filter, which is part of the second stage filter system. So you need to remove the actual filter. Then just pour the water out inspect the black rubber ring.
Make sure It’s not damaged once it’s fully intact, you can still reuse it rinse the inside. There might be still some residue that is left so rinse the cartridge holder and then also wipe it down dry. Just make sure the inside is also cleaned.
Grab the new carbon block filter. This is how it looks like this is the One that I purchased just remove the wrapping and then just slide it inside there’s only one way you can go just make sure it’s centred correctly and positioned. Now you just have to put it back to position the thread and then twist it clockwise Until it’s tight, you may want to use the wrench again to tighten it, but for now, just hand tighten it as hard as you can and then just use the Wrench if you have to now we’ll go to the right-hand side.
So, for this side, I’m going to show you how to remove it without using the wrench, and all you need to do is use a little bit of force and just turn it anti-clockwise. Once it’s loose, just keep removing it by hand, keep turning it. Anti-Clockwise and you’ll be able to remove it.
Once again, there will be some waters leakage. This is how the sediment filter looks like So the sediment filter is the first stage of the water filter system. Just remove that and once again pour the water out and just clean the inside just inspect the rubber ring again once it’s all clean and dry, all you have to do is put in the new cinnamon filter And then just tie them back in.
So this is the new sediment filter. It’s the brand that I use. There are many brands, so just pick the one that you prefer to use.
I don’t think there are any big differences. Just put it in the middle again make sure it fits and sits right and then put it back into the thread. Just turn it clockwise.
Until it’s fully tight, you can use the wrench to tighten. Just make sure it’s tight so that you don’t get any water leaks. You don’t want to have any water leaks.
Otherwise, it’s going to damage your cupboard. Now we’re going to move on to the inline filter system, which is this top part, And all you have to do – is there are two pipes on each side. The best thing to do is, if you grab the new one, just make sure it’s exactly the same orientation where the logo is located instead of doing it.
This way it has to be the same position, so this is the right way and just match And make sure that it is exactly the same position so in my case, the USA logo, on the right-hand side. So I’m going to start off by removing the pipe on the right hand, side, which is the colour blue. In this particular case, it may be different on your system.
You might get a bit tricky, but you just have to turn maybe each side slowly, once you removed one end, and here we go, I’ve removed the blue side. There will be some water leakage just make sure you wipe it later on. Now I’m going to remove the left-hand side and there we go.
So that’s the old one. You’ve got the new one, just remove the blue tabs and I’ll start off with the right-hand side. So, once again, that’s where the logo is the USA logo.
So connect that up first and then you can just keep tightening it. You don’t have to have it fully tight yet so, once that’s done, Do the other side remove that blue tab there we go, remove the blue tab and now do the left-hand side, which is the white pipe, just keep turning it until it’s tight once you’ve got both of them in you can try to hand tighten it as hard as you can just make sure that it’s fully tight as you don’t want to have any leaks there. We go so both sides.
Both sides are now tight, just have to place it back into the holder at the top and reposition the cables, so that they’re not in the way just clip it in just got to push it down. And then, if you like, just uh twist the inline filter and there, you go just make sure that all the cables Are not in the way. The next step is to turn the water back on so turn it anti-clockwise and you can probably start hearing the water going into the water filter just like that, so give it a couple of minutes to just fill up once.
That’s done, all you need to do is run the water through the water filter system. For a couple of minutes. In my particular case, I ran it for about five to ten minutes once again, I’ll put the link in the description of where to buy the products from if this video helped you in any way give it a like and subscribe to the channel and I’ll see You next time.

If this article helped you in any way and you want to show your appreciation, I am more than happy to receive donations through PayPal. This will help me maintain and improve this website so I can help more people out there. Thank you for your help.
HELP OTHERS AND SHARE THIS ARTICLE
LEAVE A COMMENT
I am an entrepreneur based in Sydney Australia. I was born in Vietnam, grew up in Italy and currently residing in Australia. I started my first business venture Advertise Me from a random idea and have never looked back since. My passion is in the digital space, affiliate marketing, fitness and I launched several digital products. You will find these on the portfolio page.
I’ve decided to change from a Vegetarian to a Vegan diet and started a website called Veggie Meals.
I started this blog so I could leave a digital footprint of my random thoughts, ideas and life in general.
If any of the articles helped you in any way, please donate. Thank you for your help.
Affiliate Compensated: there are some articles with links to products or services that I may receive a commission.


