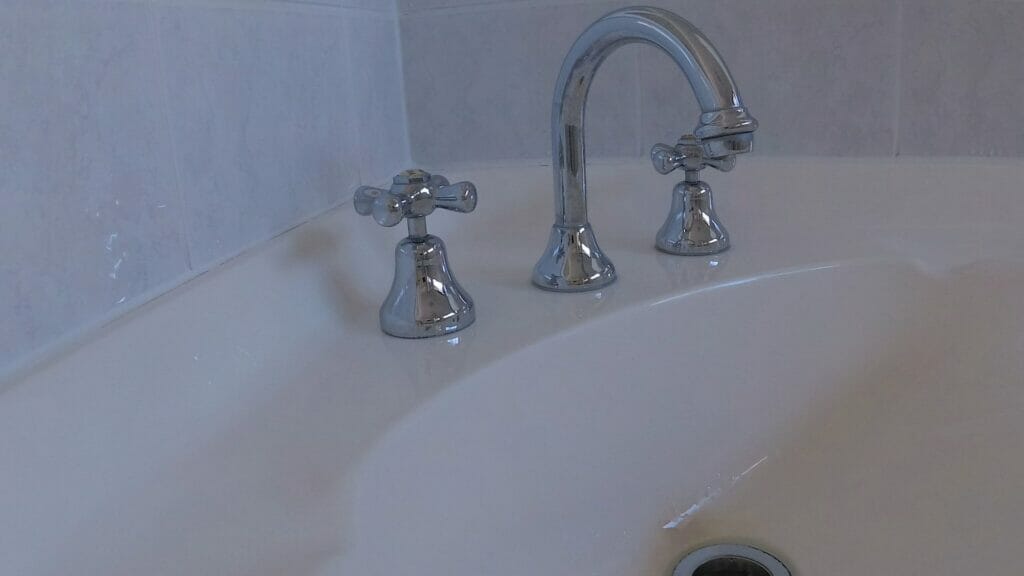
I finally managed to fix a leaking tap in the bathroom and after battling with this issue for a while I decided to share how to fix a leaking tap. I’m not a plumber by trade but the steps in this article and in the video helped fix my problem. If you don’t know what you’re doing and really need to fix a leaking tap, then I suggest you call your local plumber to get it fixed otherwise you may cause more harm than good.
There are several items you will need to fix a leaking tap and I’ve listed some below:

- TAP SPANNER SET
- MULTIGRIP PLIERS 250MM
- STRAP WRENCH
- TAP RESEATERS (MUST HAVE)
- SOFT TURN REPAIR KIT (MUST HAVE)
- ADJUSTABLE WRENCH
- TWEEZERS (OPTIONAL)
- SMALL FLAT HEAD SCREW DRIVER
The most important tools that I had to use to fix the leaking tap are:
- Soft Turn Repair Kit – BUY IT HERE
- Tap Reseaters – BUY IT HERE
Those are the two items I previously didn’t use and didn’t know about. After some research I decided to try them and they definitely fixed the issue (well for my case). You may have a different issue relating to your leaking tap so maybe watch the video and then determine if this video on HOW I FINALLY FIXED A LEAKING TAP
The process that I used is as follows and it’s shown in the video.
- Gather all the equipment listed above
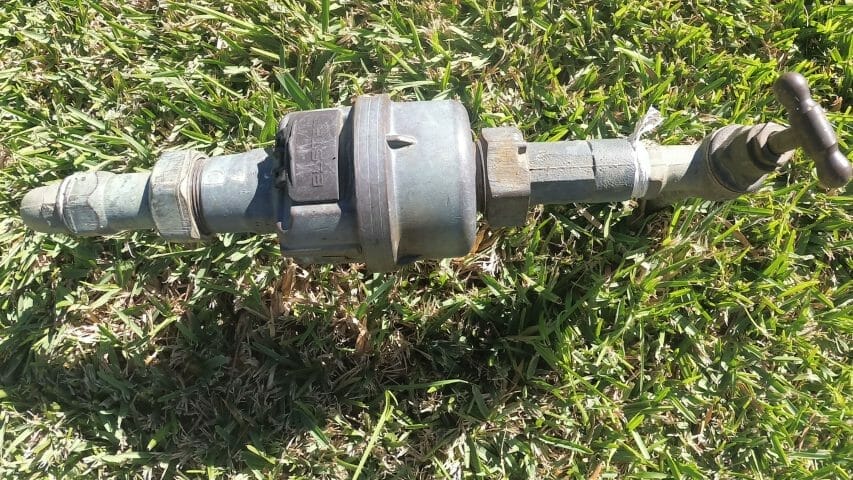
- Turn off the water at the main tap
- Remove the tap buttons
- Remove the handles
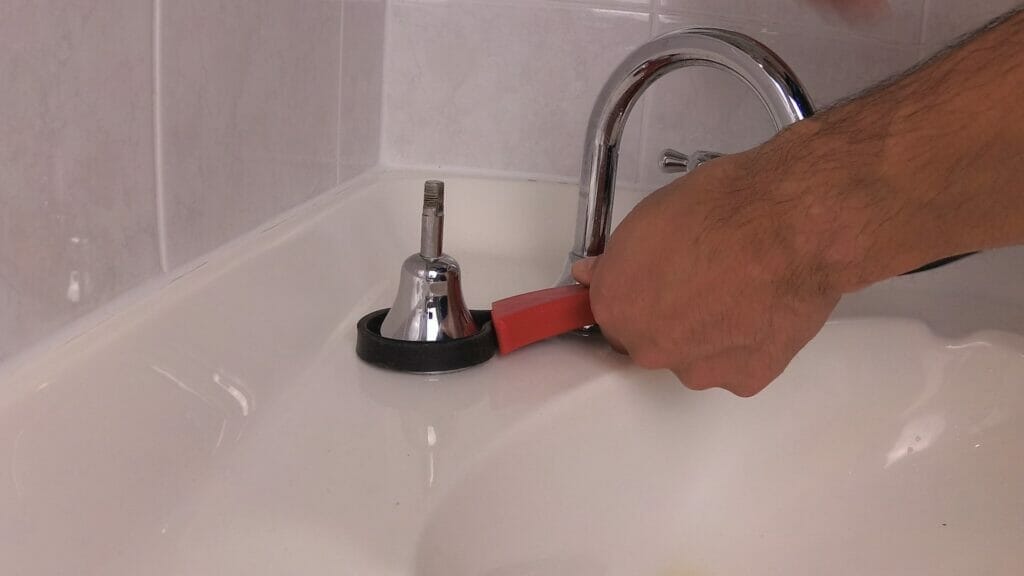
- Use a strap wrench to remove the flange
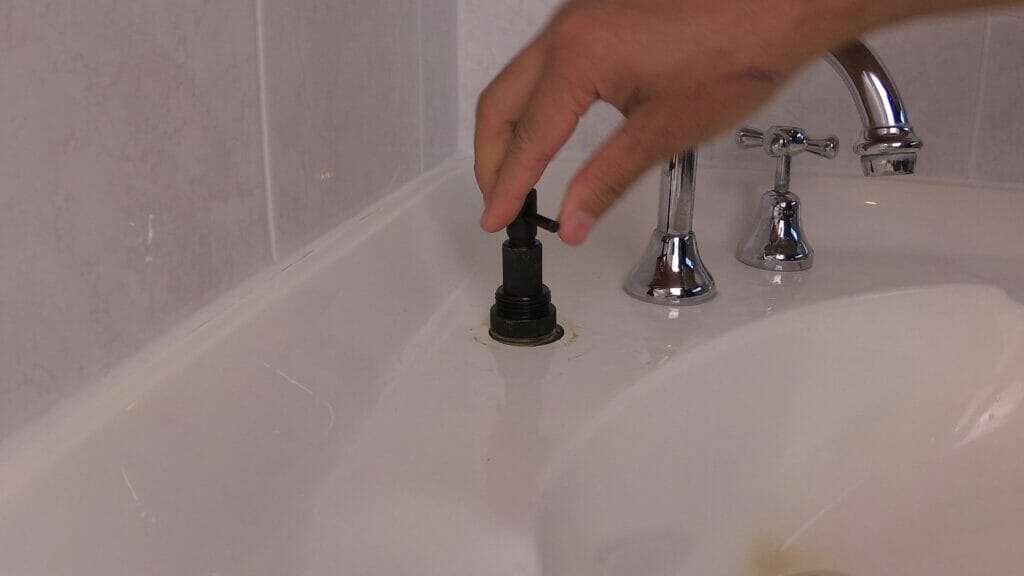
- Use the tap spanner set (21MM) and the adjustable wrench to remove the tap bonnet
- Use tweezers to remove the tap valve
- Use the tap reseater and grind the set until it’s shiny
- Inspect the seat
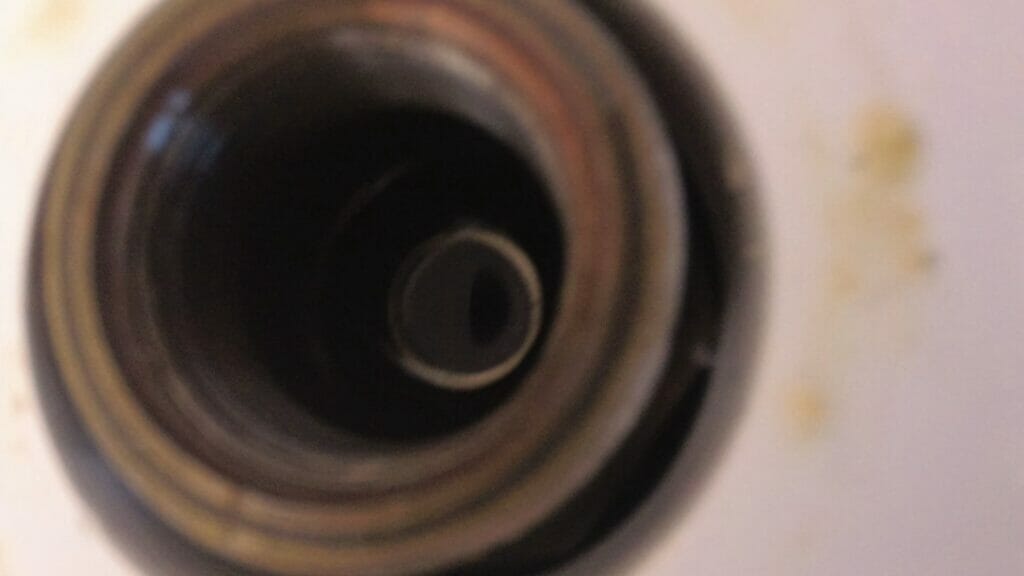
- Replace the o-ring by using a flat head screw driver
- Use the soft turn tap valves and then put everything back together
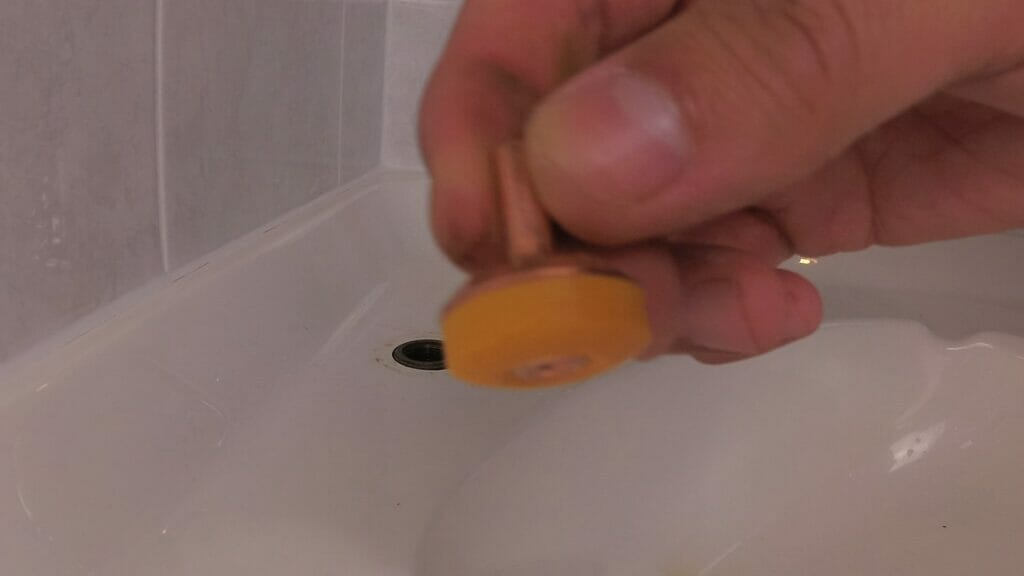
- Do this for the HOT and COLD taps
- Turn the water back on at the mains
- Test and see if there are any tap leaks
In the video I also mentioned about the quote: LEFTY LOOSEY, RIGHTY TIGHTY – this is an easy way to recall which direction you tighten or loosen a screw or bolt.
Below is a transcript of the video as well:
Hello, everybody in this video i’m going to show you how I fixed a leaking tap in a bathroom. As you can see in the video.
The tap is leaking. I’ve previously changed the washes a couple of times, but it has still been leaking. So in this video I will show you how I permanently fix the problem.
The first thing you need to do is make Sure you have all the right tools and i’m going to show you what tools that I used. You’ll need a tab spanner set multi-grip pliers 250 millimeters. You don’t have to have these by the way just makes it a lot easier: a strap, wrench, a tap reseeder just going to make sure you have one of these tap receivers.
It’s pretty important as well. You need a soft turn tap repair kit, and This is key. This kit was key in solving this problem and an adjustable wrench, some small tweezers and a screwdriver make sure you turn off the tap before you start any work.
You don’t want to leak any water. Just turn off the main tap and when you go inside just turn on the taps, turn it open make sure. There’s no water coming out.
Do that for the both the hot water and the cold water just open it all up, remove the tap buttons at the top, so both for the cold and the hot just remove both of them for now remove the handles i’m going to use this strap wrench To remove the basin flange, the reason why I use this is so that it doesn’t cause any scratches To the flange. Remember the same: lefty loosey, righty, tiny so to remove the flange go anti-clockwise to remove it, and if you want to tighten it, you go clockwise. So once it’s removed, i’m going to use these tap spanner set.
The one i’m going to use in particular is the 21 millimeter set. I’m going to use this to remove the tap On it, just make sure that it fits and then use the adjustable wrench or you can use the multi grip plier, just one of those two and just turn it anti-clockwise just make sure once it’s loose, you can Use your hand to untighten it and then just remove the top tap on it once you remove it, you see a little bit of water, maybe coming out And that’s fine, just inspect the body washer in my case, i’m going to just replace everything. So i’m going to replace the body washer you can then remove the tap valve.
I just used tweezers you can remove that using tweezers. Sometimes it just comes out when you remove the tap on it. So these are the actual tap valves that I used previously.
I’m going to replace those With the actual soft turn tap valve, and that was key now. The first next thing to do is to use the tap receiver and what that does? It basically grinds part of the the seat to make it more flat and more smooth. I’m just going to clean up any.
If there’s any water just grab a piece of paper towel, just soak it up grab all the water just keep doing that until you’re. Pretty Sure that there is less water, because you do want to make sure that the tap reset actually grinds the the surface with the top receiver just place it in you can screw it in. It should just screw in attach make sure it’s secured, and then you can adjust this part, the top part and then adjust the height so keep adjusting.
Until you know it’s Firm and you can’t move any further and then just spin the top wheel, and you can hear a grind and when you’re hearing it and feeling a grind, you know that it’s doing its job keep spinning it a few times now to remove It just remove the bottom part, just go anti-clockwise and it’s removed just inspecting it. I’m just going to show how how it should look like. Let’s see here, you can see that it’s shiny and that’s why you want to make it shiny and smooth.
Let’s pause it for a second: that’s how you want it to look shiny once! That’s done! All you need to do is change the o-ring. In order to change the o-ring, you got to re-just re-adjust the tap on it, So that the tap spindle shows the o-ring. Keep on winding it until you see the o-ring there you go: that’s the o-ring, that’s the black part, we’re going to remove and replace that o-ring to do that, i’m just going to use a screwdriver.
So this is the kit which has the o-ring, the body washer and the soft turn tab valve And replace this o-ring grab any screwdriver and just try to remove the o-ring. If it becomes a bit difficult, you can always cut it because you’re not going to reuse. It just pull it down and completely remove it.
So that’s without the o-ring get the new one, just roll it back up and down the O-rings done. You can hand, tighten it back so that the tap spindle is reconnected to the tap on it. You can use the handle for that as well.
If you really wanted to that’s how it should look like we’re now going to use these soft turn tap valves – and this is key to fixing the problem – the softened tap valves are meant to be used for people who have arthritis or Kids, who don’t have a Lot of energy to close the tap properly, even if it’s softly closed, it will do its job. Do a quick, clean and then we’re gon na insert the soft turn tap valve into the tap spindle and then put that in to the socket. Don’t forget to put the body washer and then just clockwise To tighten it, and then you just have to use the tap spanner set again, the 21 mil to tighten it once it’s tightened.
Just gon na put the the flange back on, you can hand, tighten this and then use the strap wrench to tighten it just make sure it grips, and then it tightens I like to just go as far as I can With the hand tightening I don’t like It too, too, tight in case. I have to open it up again, you put the handle back, [, Music ], just test it that you can open and close it we’re going to put the tap button back on once you’ve tested it to make sure you can spin it I’m going to just Finger tighten the tap button for now and i’m going to work on the right hand, side the cold water. The process is basically the same as what I showed you previously in the video.
So now i’m going to just speed up the whole process. Okay, so i’ve done the cold water side as well, and it looks like it’s ready to go next Thing to do is to make turn the main tap on turn it on and then we’ll go back and test it. Now that we’ve got water, let’s see how we go just turn it on close it, let’s see, if there’s any licking tabs, doesn’t look like it, which is great, just open and close, it again, no leaks, so this fix may work for you as well.
Just make sure you get the soft turn tap valve and also use the tap resetter. If you’ve got those two things which are the main things you may fix your licking tab. If this video helped you in any way give it a like and subscribe to the channel, see you in the next video.

If this article helped you in any way and you want to show your appreciation, I am more than happy to receive donations through PayPal. This will help me maintain and improve this website so I can help more people out there. Thank you for your help.
HELP OTHERS AND SHARE THIS ARTICLE
LEAVE A COMMENT
I am an entrepreneur based in Sydney Australia. I was born in Vietnam, grew up in Italy and currently residing in Australia. I started my first business venture Advertise Me from a random idea and have never looked back since. My passion is in the digital space, affiliate marketing, fitness and I launched several digital products. You will find these on the portfolio page.
I’ve decided to change from a Vegetarian to a Vegan diet and started a website called Veggie Meals.
I started this blog so I could leave a digital footprint of my random thoughts, ideas and life in general.
If any of the articles helped you in any way, please donate. Thank you for your help.
Affiliate Compensated: there are some articles with links to products or services that I may receive a commission.


