I recently decided to replace the ducted air conditioner filter material – that’s the grey material that blocks dust into the air vents for my Mitsubishi ducted system. You can actually vacuum and wash the air filter material but over time the material becomes brittle and it’s just easier to replace it.
This was actually my first time replacing the ducted air conditioner filter and the process was fairly simple even though I didn’t have all the actual tools. One tool I was missing was the spline roller that locks in the rubber to the material and the grill frame.
I purchased the material here: AIR CONDITIONER FILTER MATERIAL
Here’s a summary of the steps I used to replace the ducted air conditioner material. I also washed the grill frame as it accumulated some thick dust around the edges of each grill square.
- Remove the screw that holds the filter panel
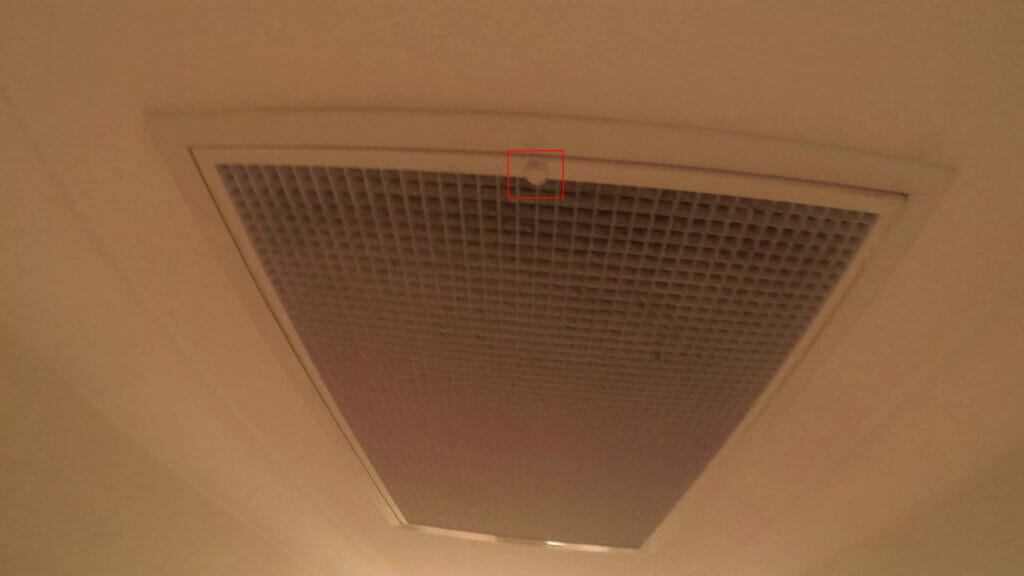
- Remove the filter panel from the hinges
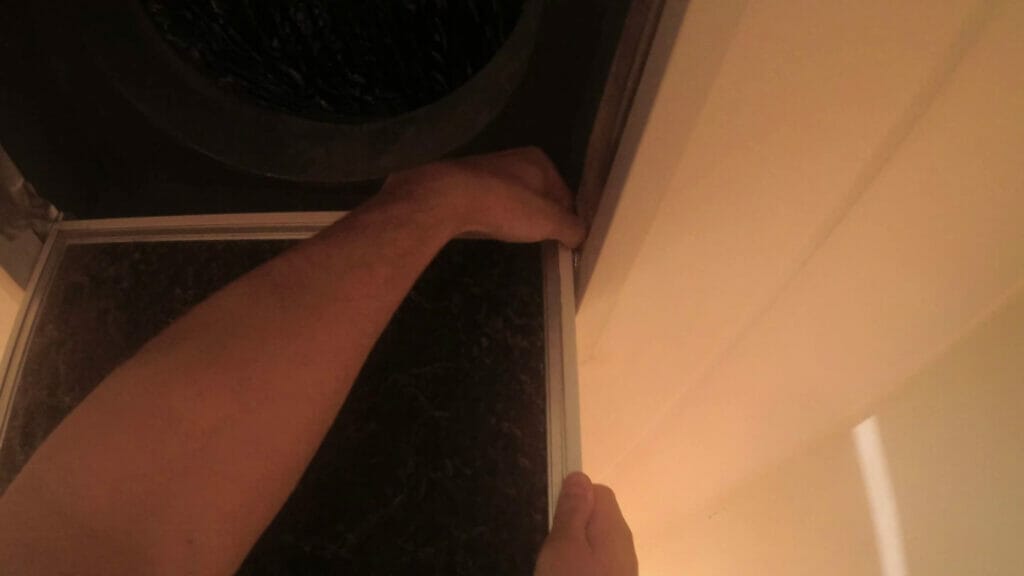
- Remove the old spline rubber
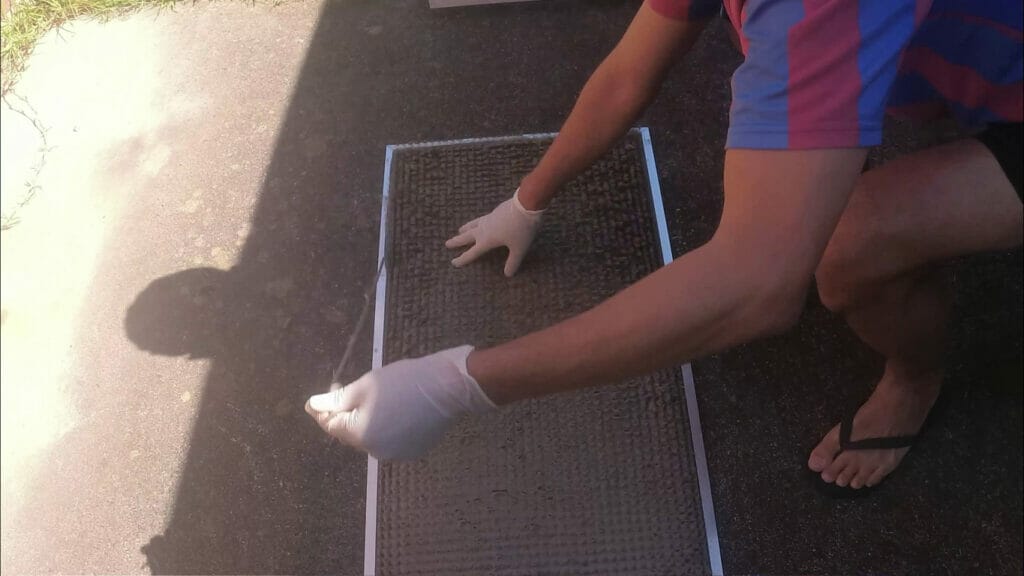
- Remove the old filter material and throw it away in a plastic bag
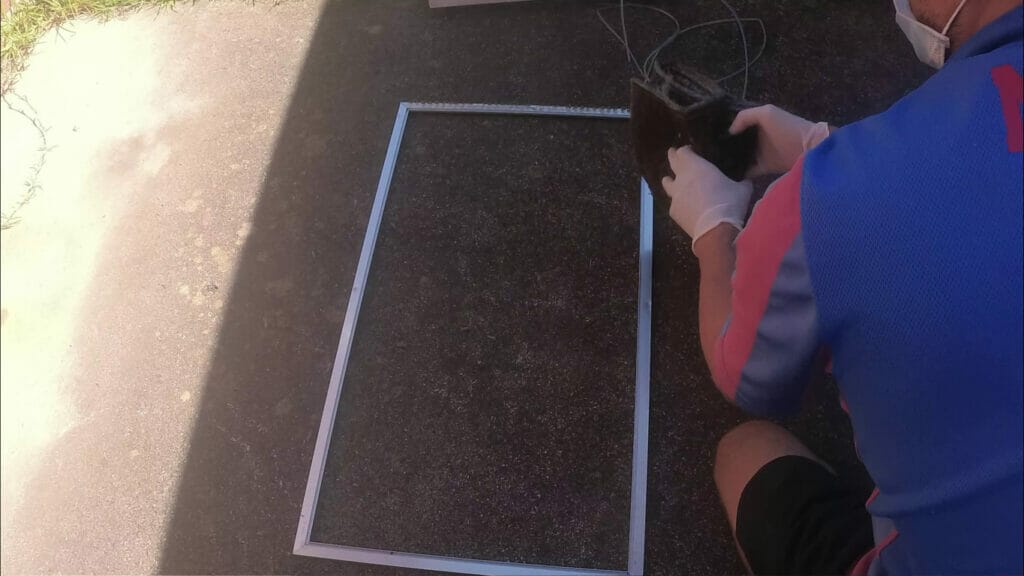
- Clean and wipe the frame

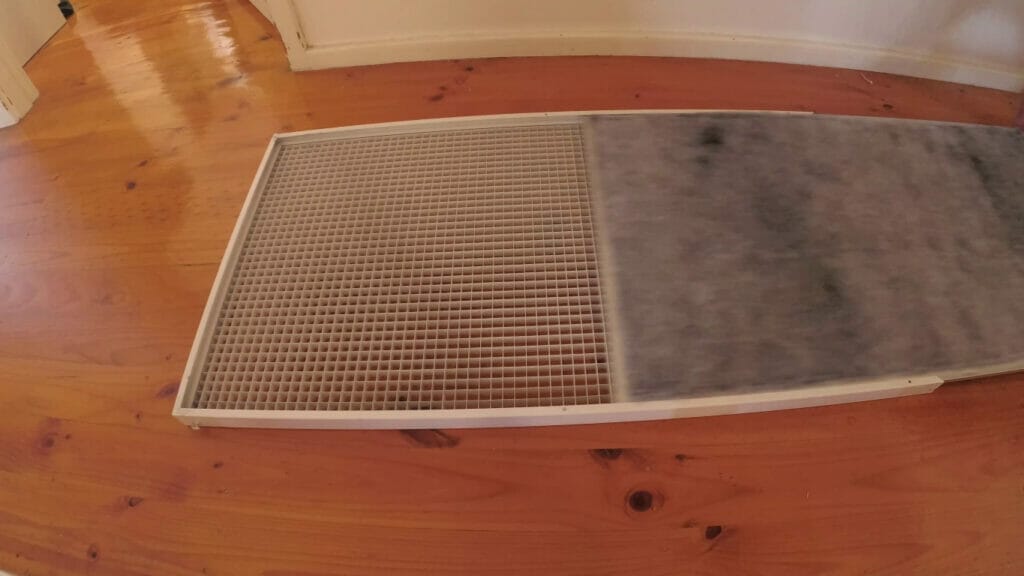
- Install the new filter material
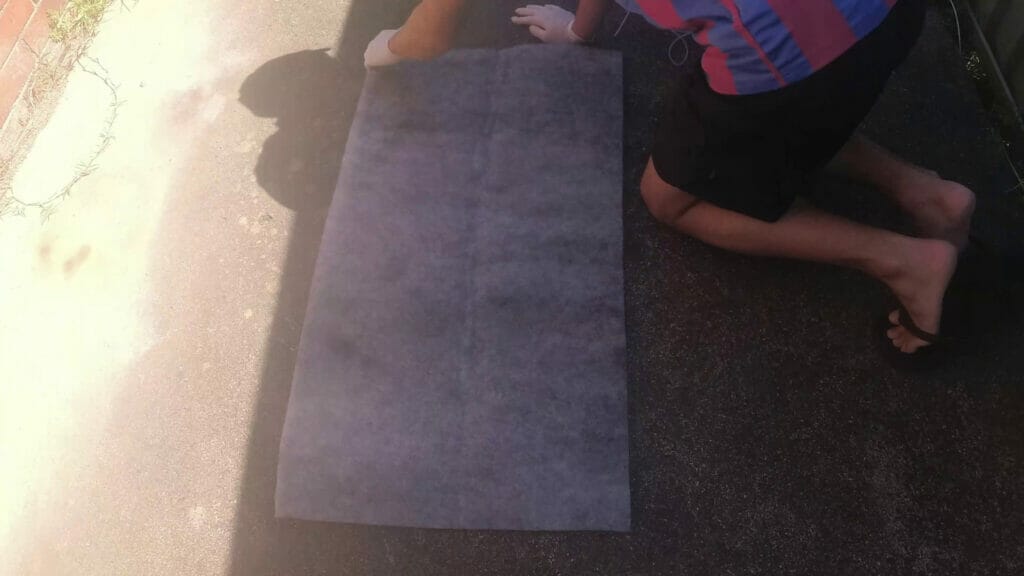
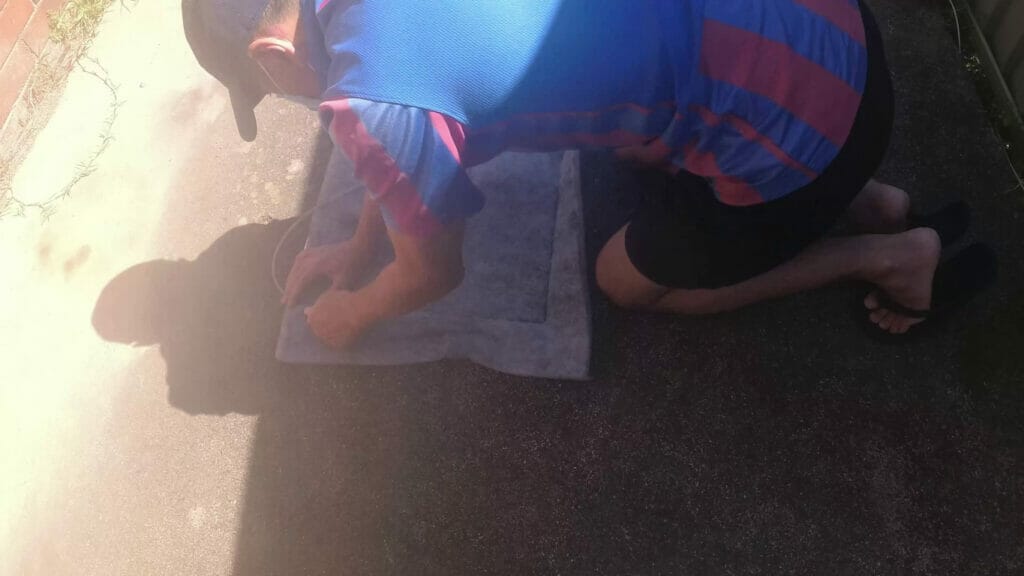
- Reinstall the old spline rubber using the spline roller tool. If you want you can also replace the old spline rubber
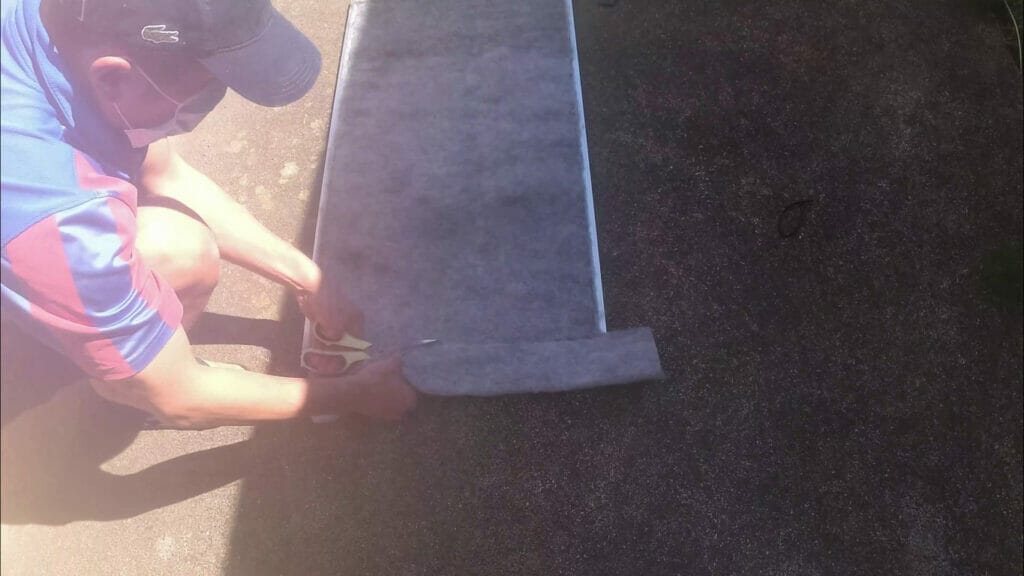
- Cut the excess material using a Stanley knife or a scissor
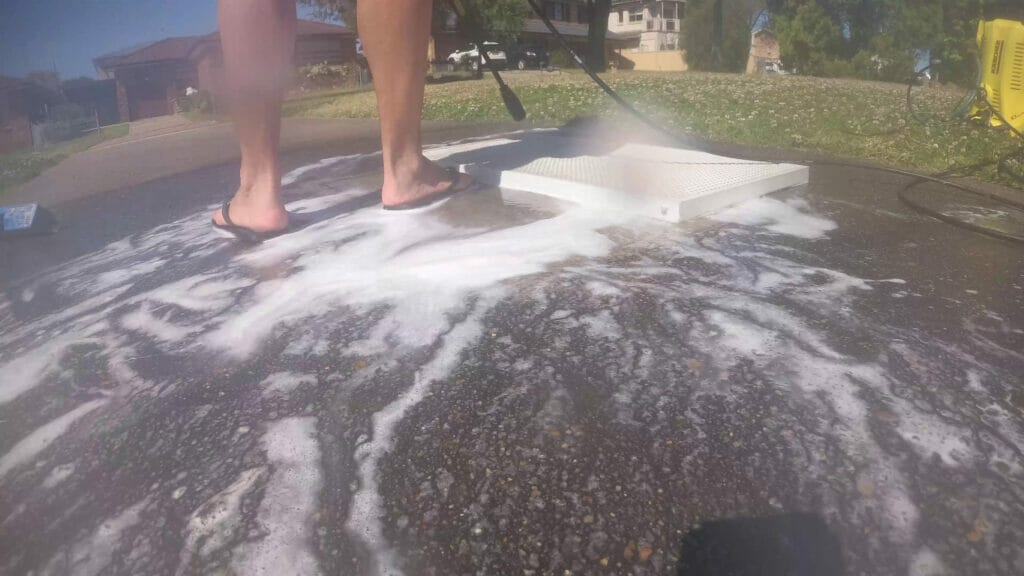
- Wipe the filter panel using a broom or wash the filter panel
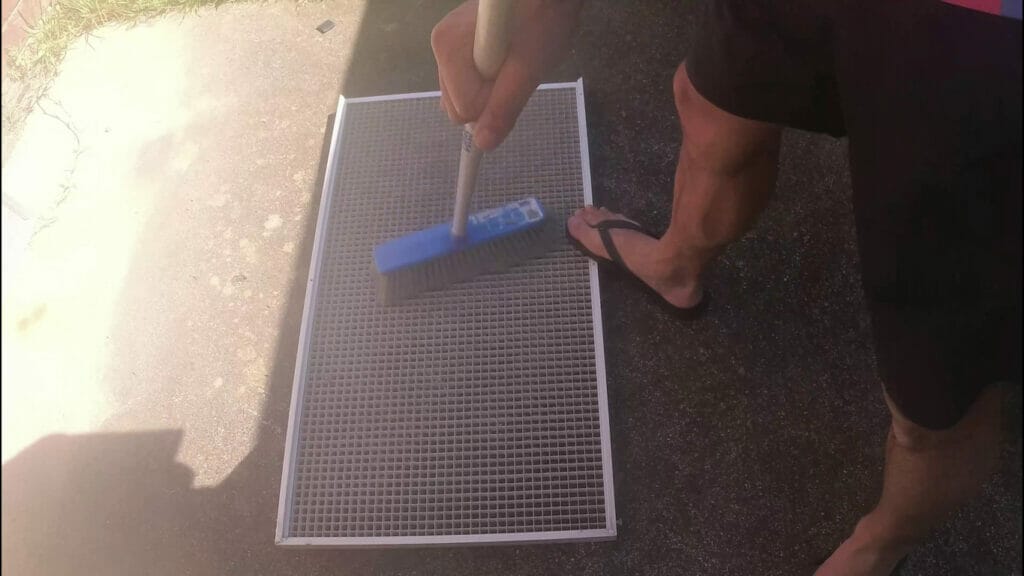
I used the Karcher K2 pressure washer
Install the filter frame into the panel
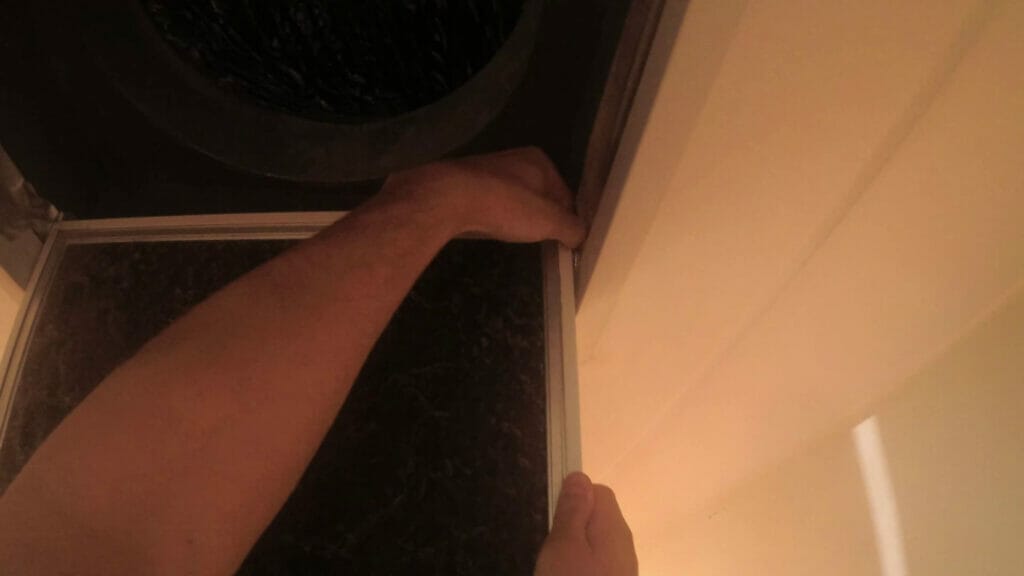
- Reinstall the filter panel
- Close the filter panel and tighten the screw
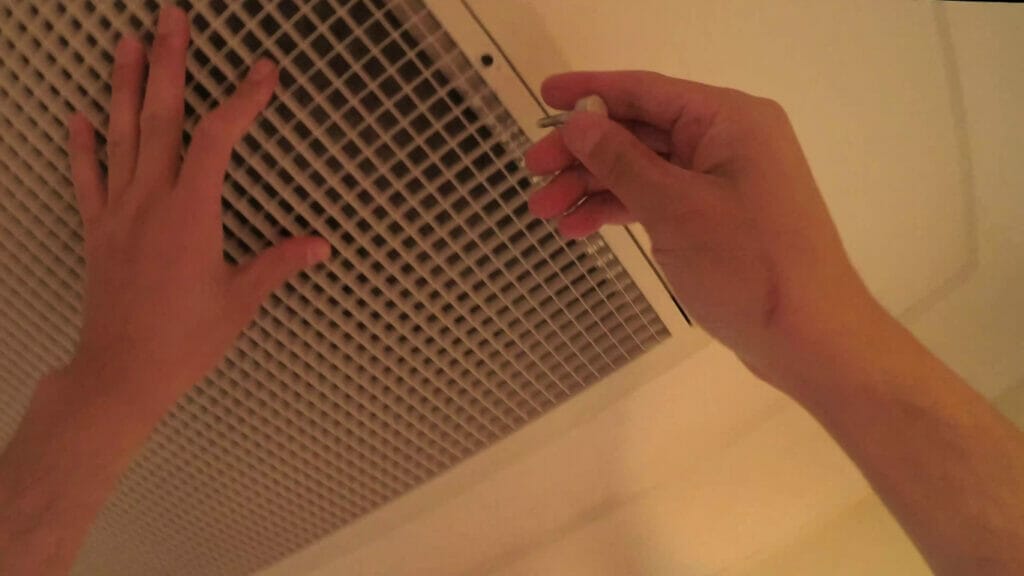
This is how the ducted air conditioner filter panel looks like after a good clean.
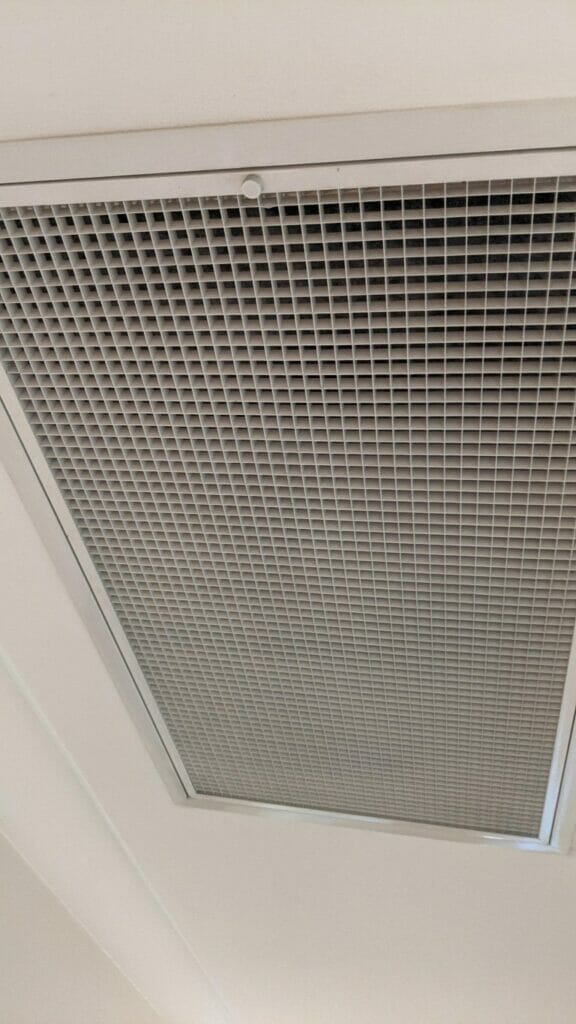
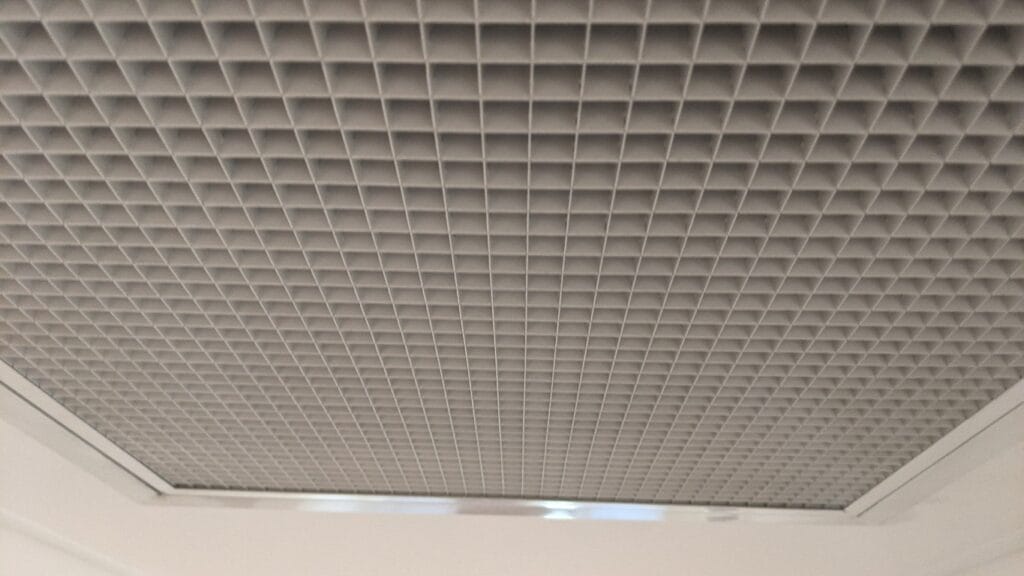
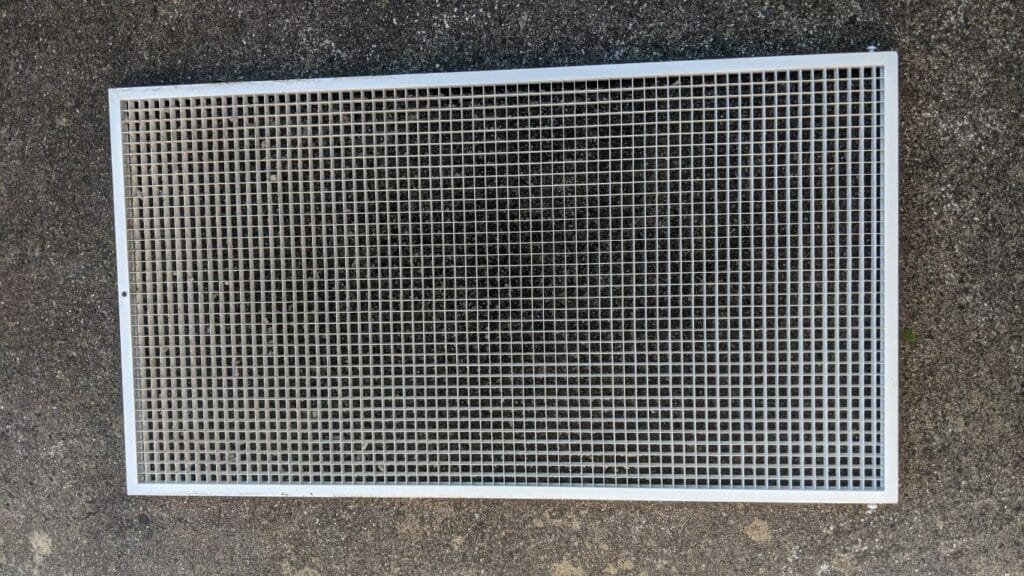
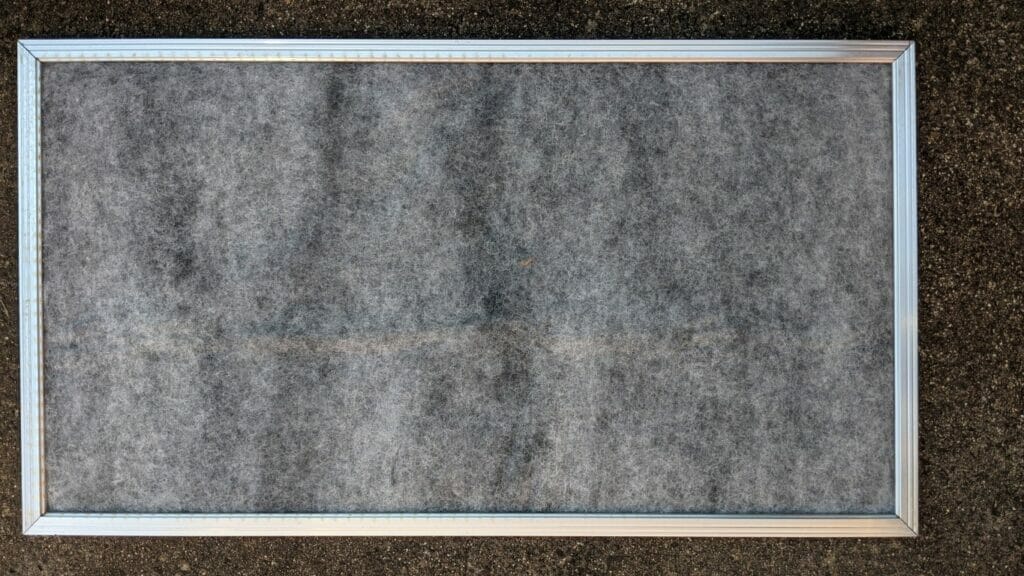
Once again, this was my first time replacing the ducted air conditioner filter material and I’ve learnt that the process can be better by using the right tools. If you know of a better way please let me know.
Here’s a video showing you the entire process of replacing the ducted air conditioner material.
Here’s the transcript of the video:
Hello, everybody in this video I’m going to show you how to replace the ducted aircon filter, [, Music ]. The brand that I have is a Mitsubishi and this filter needs a bit of a clean.
So all you have to do is remove the screw Drop. The filter down you can actually remove the filter slide, there are two sections of it, but I’m planning to actually remove the whole frame as well. That’s because the actual frame has a lot of dirt and dust.
So I thought I’d clean that as well. There are two hooks that are on the side here, so You just gotta, lift it up and gently remove it. There is a bit of tape at the top here, so just gently try to lift it up and remove it.
This is actually the first time I’m actually removing this. If there is a better way of doing it. Just leave me a comment so that I’ll know how to do it.
The next time, I’m removing it So once it’s removed just push the tape back as well. There’s a tape on the side and there’s a hook just make sure the tape is put back nicely. As you can see, the actual filter is very dusty.
Just make sure you wear a mask and some gloves you can, if you want to vacuum it and all wash it, but I prefer to just replace the whole filter since it’s been several years since this filter was replaced, you just need to remove the spline rubber That goes around the actual filter, just remove it all out once that’s all done, get the filter roll it up and throw it in the bin. So what I’m doing now is replacing the filter material so just throw in the older way and I’m going to install the new one, so then it’s a g3 rated material. I will put A link in the description of where I bought mine from so what I’ve decided to do is give the frame a wipe before installing the new material.
So I have a few antiseptic wipes, just wipe it around the entire frame and just give it a good rub and give it a good clean. You see a lot of the dirt is removed when you use the wipe and you just clean it once the frame is wiped, Put the new filter material over it. What you just want to make sure you do, is you just make sure the entire frame is covered on one side as you need to cut the excess? Now you use the spline rubber.
I don’t have a spline roller, so what I’ve been doing is I’m gently pushing it in with my fingers or some other material? If you have something That is plastic now, this process will take a little while so just make sure you push the actual spline rubber into the groove, and just do that all around you can use a utility blade or a sharp knife to remove the excess Material, But in my case, I decided to just use a scissor and just cut around. I’ve also decided to wipe the filter panel, which has the grilles the edges looked pretty dirty, so I just gave it a wipe. I also decided to spray using a special hose gun and just uh clean it as much as I can.
I think that’s better than just using a broom to wipe it so I’ll show you how I use the pressure hose gun to see here. I am using the pressure hose gun and some detergent to clean the filter panel basically sprayed as much as I can on the gaps and around along the grills, and it turned out pretty good, so I Removed all the dirt that was stuck there. I went through pretty much each of the gaps and just cleaned it.
You can also see that once I removed the panel from the floor, I also got rid of a lot of dirt. That was on the driveway. I did end up cleaning the driveway as well because it did look a bit strange having an area without The dirt, just square-shaped since the filter and the panel are nice and clean.
I’m gonna do the next part of the work inside the house. So slide in the frame with the filter material into the panel, there is a screw that locks in the frame into the panel, so just Screw that in there are a couple of screws, so just make sure you screw all of them in so I had Around two on each side make sure the screws are nice and tight so that the actual frame doesn’t come out just inspect it and if everything looks good, you can move on to the next step of putting it onto the hooks. So this is how the filter panel looks like once it’s all nice and clean.
You can see there’s hardly any dirt on the edges, very nice and clean, so good job next step is to put the panel on the actual grooves again just lock it in it’s pretty easy to do. This should just slide in You might need to hold on to the tape. That’s on the actual edges of the area, let’s make sure that it’s locked in and then close the panel and that’s it put the screw back in and you’re done now.

If this article helped you in any way and you want to show your appreciation, I am more than happy to receive donations through PayPal. This will help me maintain and improve this website so I can help more people out there. Thank you for your help.
HELP OTHERS AND SHARE THIS ARTICLE
LEAVE A COMMENT
I am an entrepreneur based in Sydney Australia. I was born in Vietnam, grew up in Italy and currently residing in Australia. I started my first business venture Advertise Me from a random idea and have never looked back since. My passion is in the digital space, affiliate marketing, fitness and I launched several digital products. You will find these on the portfolio page.
I’ve decided to change from a Vegetarian to a Vegan diet and started a website called Veggie Meals.
I started this blog so I could leave a digital footprint of my random thoughts, ideas and life in general.
If any of the articles helped you in any way, please donate. Thank you for your help.
Affiliate Compensated: there are some articles with links to products or services that I may receive a commission.


