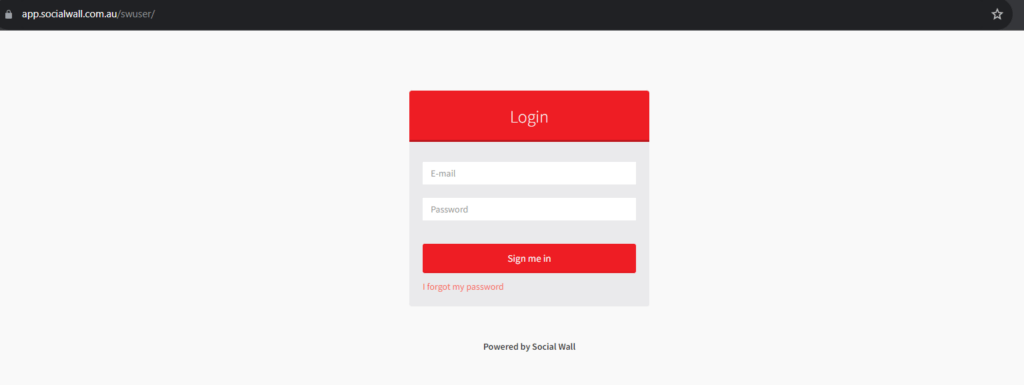
It was finally time to move the Social Wall app to its own domain app.socialwall.com.au. Previously the app was built on the main website which included an instance of WordPress for the main site but the directory structure was a bit messy and managing the app on Bitbucket was confusing.
I, therefore, decided to move the app folders to their own domain and left the WordPress instance on the main site. That meant cloning the app from Bitbucket was much simpler and easier to understand especially for our new developers.
The migration process was easy for me to do and I thought I’d just document it here. The first step was to create the new domain name and it made sense to use app.socialwall.com.au This also allowed for the DNS entry to be easily changed when we move the hosting. At the moment it’s hosted on AWS.
For those who don’t know what our social wall product does let me quickly give you our brief outline.
Social Wall is a SaaS tool that creates a digital wall full of your social media posts and even custom posts. It is used for events and for displaying on websites, digital wayfinding, digital signage, and projectors. By using our digital signage software, the Social Media Wall can be displayed in various ways including having the ability to show sponsor banners and images.
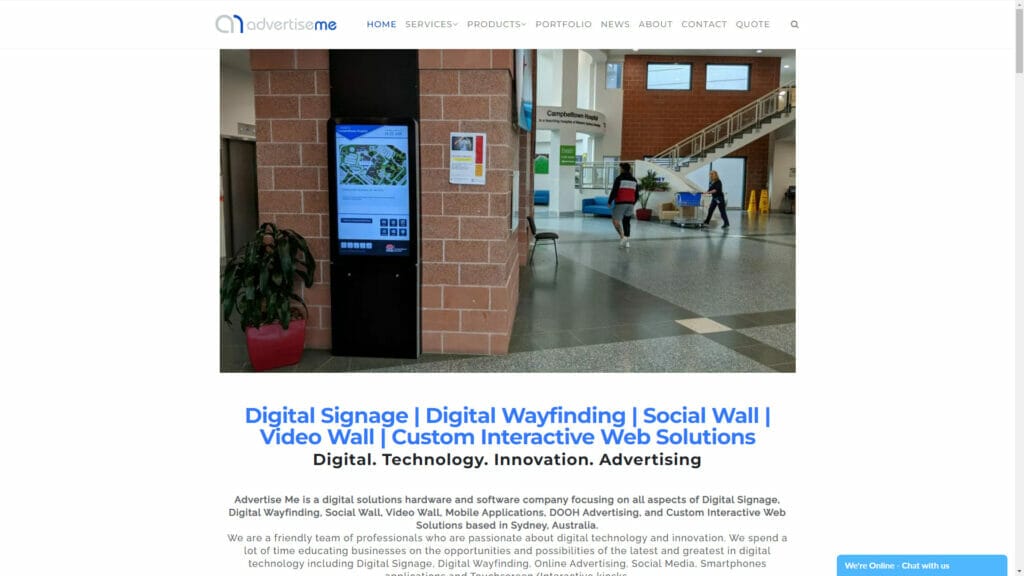
This is one of the many digital solutions tools from Advertise Me – a digital solutions company based in Sydney Australia that I started with my brother.
Now back to the migration, there were several configuration changes I needed to make. In particular, all the references on the server to https://sociallwall.com.au had to be changed to https://app.socialwall.com.au. There are two ways to do this, one was to use a file scanning tool to do a search and replace. This includes the activation links and email template that is sent. The other was to just simply manually find each reference and then make the changes.
Now, what happens if there are other websites referencing the old links? In this particular scenario, we need to use redirect links and it involves using the .htaccess file. In this file, you create redirect links and point the old paths to the new website. Here’s what I had to do:

Redirect /swuser/ https://app.socialwall.com.au/swuser/
Redirect /admin/ https://app.socialwall.com.au/admin/
Redirect /social-feed/ https://app.socialwall.com.au/social-feed/
Make sure to test these redirect links and verify they work. If everything works the next step is to monitor the access log files to make sure there aren’t any website hits to the old links. It is important to do this step before deleting the system and app files from the server.
If everything is done correctly, the users will not notice any changes, and will be seamless. More importantly, there will be no outages and don’t forget to add the new domain to your website monitoring system – we use BetterUptime.