In this post, I’ll share my thoughts on the Xiaomi portable vacuum cleaner (model number SSXCQ01XY) in particular I will share with you how long it takes to fully charge the vacuum cleaner mini, how long the battery lasts at two different speeds, which power adaptors you can use, how to open and empty the container and clean the filter.

The reason why I decided to buy this Xiaomi portable vacuum cleaner was for work at Advertise Me. I have previously taken the Dyson handheld vacuum cleaner at job sites to clean the inside of the Digital Wayfinding kiosks. The Dyson was pretty bulky to carry around and the Xiaomi seemed more portable and can be easily charged via USB-C using a power bank.
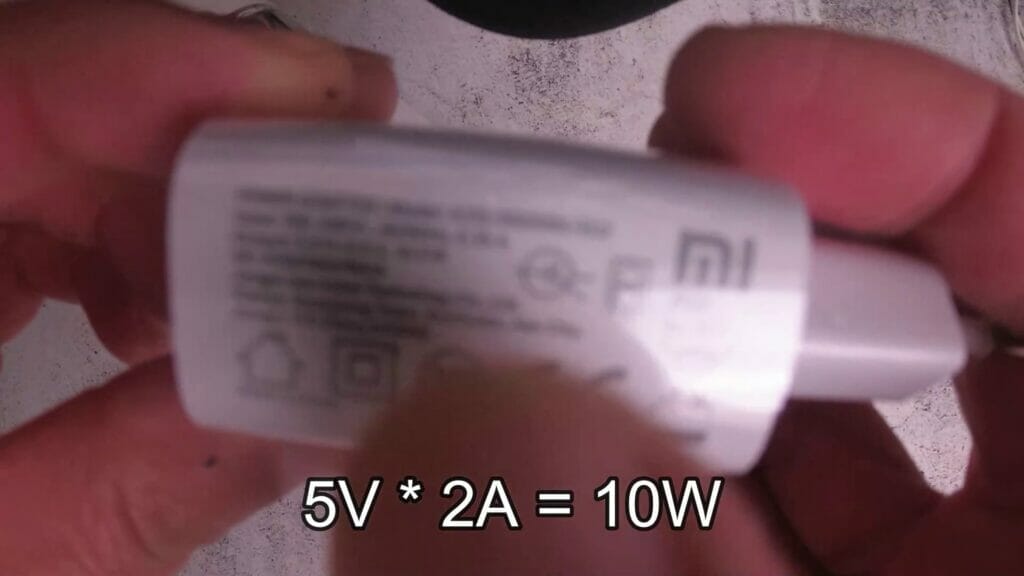
When I received the unit I was disappointed to see that it came with a travel adaptor that converts the EU plug to AU. I prefer not to use these types of power adaptors. Luckily, you can use a standard mobile phone adaptor to charge the unit. You just need to check to make sure the power settings of the adaptor can charge at 5 Volts at 2 Amps (total of 10 Watts). You also need to make sure you have a USB-C charging cable to charge the unit.
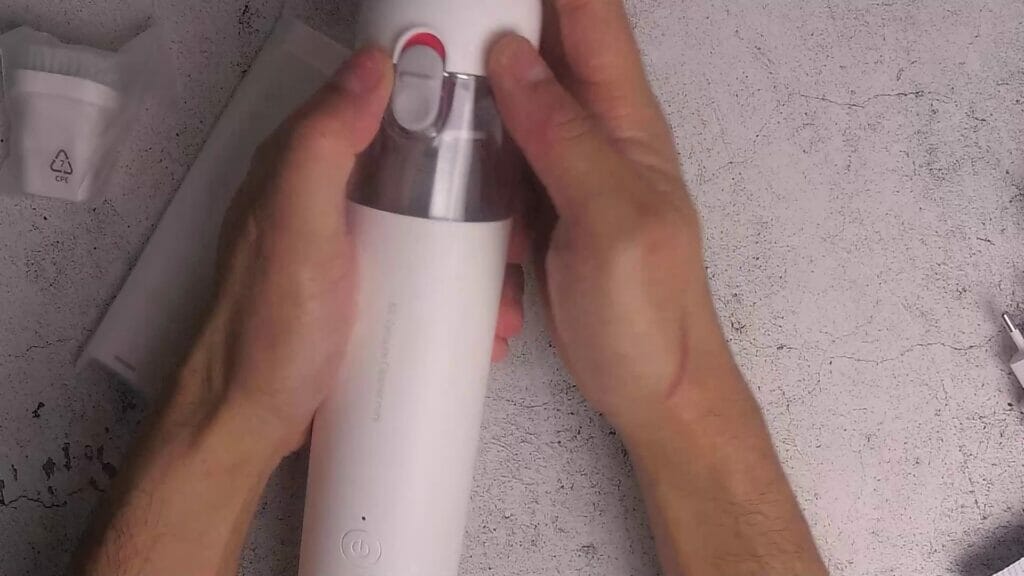
The Xiaomi portable vacuum cleaner does look like a large flask when you first take it out of the box and one of the first things you would try to do is push the grey leaver to turn it on but it won’t work. The actual button to turn the vacuum cleaner on and off is near the bottom, just above the MI logo.
After using the Xiaomi portable vacuum cleaner mini, I have things that I wished would have improved. Here’s the list:
- The unit blows air from the bottom so when you’re holding the vacuum cleaner you can feel the air blowing into your arm
There are no indicator lights to show how much battery is left - It takes a few hours to fully charge the unit from a flat battery. I think that’s a bit too long
- There is no charging dock. In order to charge the unit you will need to lie the vacuum cleaner horizontally as the charging port is at the bottom
- The storage container is relatively small
- You can’t charge and use the unit at the same time

HOW LONG TO FULLY CHARGE THE XIAOMI VACUUM CLEANER MINI?
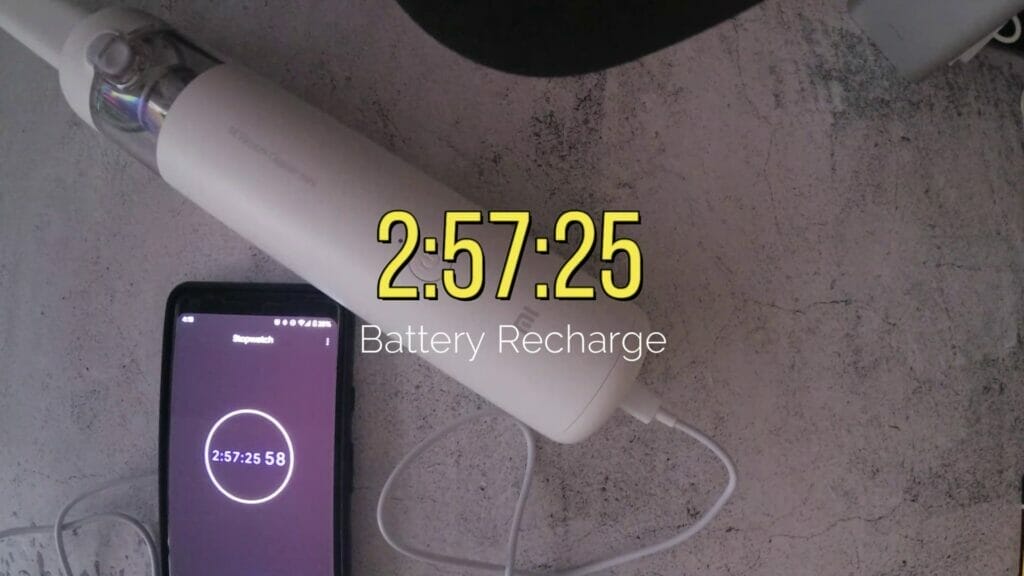
As I mentioned previously, it takes a few hours to charge the unit from a flat battery. To be exact, in the video I recorded how long it took and I was surprised that it actually took 2 hours and 57 minutes. That’s almost 3 hours!
There are two suction speeds. When the on/off button is pressed once, it uses the slower speed and when pressed twice it uses the higher speed (more suction).
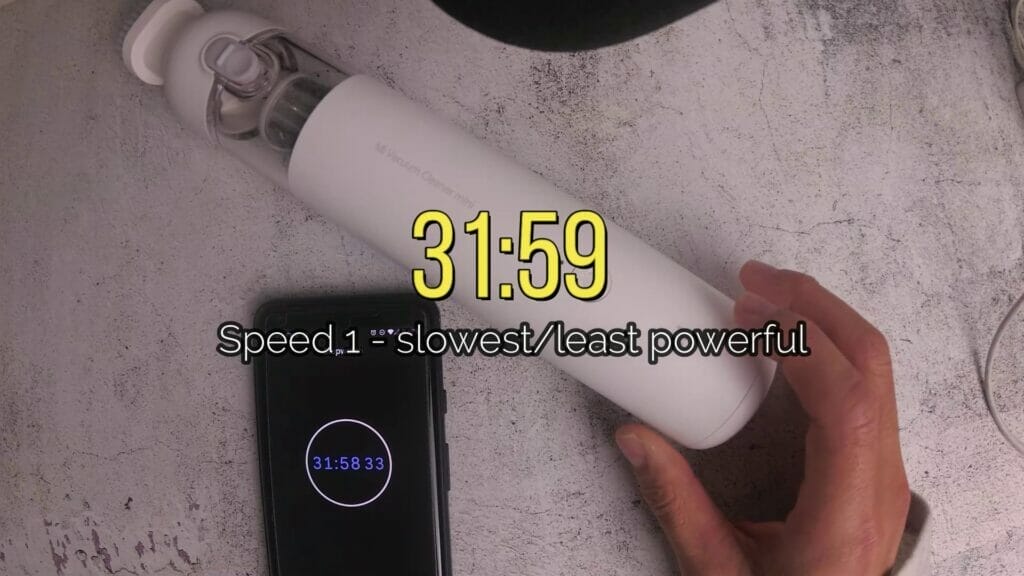
HOW LONG DOES THE BATTERY LAST AT SPEED 1?
Speed 1 isn’t very strong. You may get away with cleaning dust with this speed and in my test, it would only last for 32 minutes of continuous use.
HOW LONG DOES THE BATTERY LAST AT SPEED 2?
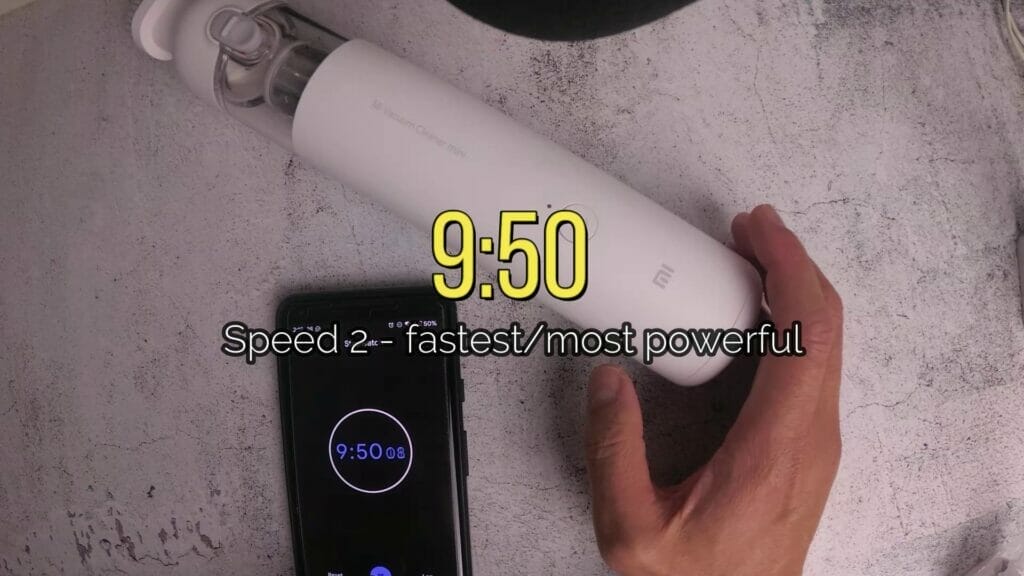
Speed 2 is much stronger than speed 1 and you’ll be able to clean most things except for large objects such as cereal. However, cleaning things such as dust from a laptop, computer parts, desks, cabinets, bookshelves will do the job. Based on my tests, the Xiaomi portable vacuum cleaner mini will only last for 9 minutes and 50 seconds of continuous use. If you see the indicator light flashing amber, it means the unit is running out of battery and you will need to charge it.
CLEANING THE UNIT
In the video, I showed you steps on how to clean the unit. You need to twist the bottom part out and then pull the filter module.

FINAL THOUGHTS
This is a great little portable unit. It’s easier to carry and weighs less than other handheld vacuum cleaners. Although, if I didn’t need it for work, I honestly wouldn’t have purchased it. It is a great little unit to have around the office desk or in your bedroom to quickly remove dust or small particles of dirt. You can purchase the unit here if you think it will come in handy:
BUY XIAOMI PORTABLE VACUUM CLEANER MINI
Here’s the full video of the unboxing, review and tests I conducted:
Here’s the video transcription:
Hello, everybody in this video. I will be unboxing this Xiaomi vacuum: cleaner, mini, I’ll open it up and I’ll show you the model version.
Let me open this up right here. Okay, so here we go, corn is a bit damaged. It’s a bit of a broken Box here, so this model is SSXCQ01XY.
It has approximately 0. 5 kilograms white in colour. It’s meant to have a battery capacity of 2 000 milliamps. It will have the power adapter, but apparently, it comes with the wrong Power adapter for the country that I’m in so I’m interested to see what it comes with. These are good for cleaning your keyboard cleaning, other parts of the house very portable, easy to use. Let me just open up the top now flask.
Just from the first impression, it looks like a flask, it has a brush head long nose, a brush head adapter charging cable, the manual and yes, it’s got the wrong connector. That did send me the adapter, but I prefer not to use this so I’ll use my own adapter. It looks like It’s a USB cable anyway, so I can use the USB A port from another adapter and the other end is USB C, which plugs into the actual vacuum cleaner.
Let’s try the vacuum cleaner, I’ll, open this up so yeah from the first impression. It looks like a flask in terms of size Grab a ruler. It is about 26 centimetres um, it’s fairly light.
It does come with so you’ve opened this up. No, this is to open it up if it’s red, it’s locked. So if this part is red, push it up to the red section, it’s locked You’ve got to push it down and then press this button.
It opens up the holder and then you can throw away all the small rubbish. The charging port is at the bottom. Usbc, so it’s got these two adapters here for connectors. You can’t directly connect to to the top here or what’s got this extension, nozzle uh just plug it in here, plug it in here and you’ll, extend it like that. It’s pretty long! Actually, quite long yeah, so let me turn it on it’s blowing Air from the bottom. It’s on. It doesn’t really tell you how much battery is left. You can change the speed you press it again. So it’s got two speeds look like it’s running out of battery, so I need to change this I’ll change this.
If you see the light flashing amber, it means that it needs to be charged just like that. You need to charge it now. This is the original power adapter that I received it’s 2 volt 2 amps, which equates to 10 watts, which came with the converter, I’m not going to use that. What you can use is is an iPhone charger. You can use this or I’m also using an Asus viva, stick charger as long as you’re using something that equates to 10 watts. You should be able to charge the device. I’m now going to show you how long it takes to charge this Xiaomi vacuum cleaner. Based on my tests, it took 2 hours, 57 minutes And 26 seconds, so roughly three hours, I’m now going to show you how long the battery lasts on the Xiaomi vacuum cleaner mini.
This is at the first-speed setting, which is this least powerful setting and according to my tests after a fully charged unit, it lasts for 31 minutes and 59 seconds, so roughly 32 minutes of usage continuous usage. That is that’s how long it lasts. I’m not going to show you how long the battery lasts on this Xiaomi vacuum cleaner. So this is after it’s been fully charged and it’s at the highest setting so the most powerful setting. So it’s the second speed and it lasts for nine minutes and 50 seconds. So, after roughly about 10 minutes of continuous use, the vacuum cleaner is now fully charged. I’m gonna vacuum some dust off this keyboard. There is some dust all over this keyboard and also on the laptop here. So, let’s see how good it is this camera down like this, and let’s see This is the first thing it’s not as powerful. The thing is that when you’re holding the vacuum cleaner, the air comes from the bottom. It seems to like blow air into your body. That’s one thing: I noticed it’s very quiet.
Lastly, pick up all those dust particles. The first thing to do is, getting one of those bigger, nothing cleaner, isn’t just happening. It is convenient having a portable. The other thing that I notice is the way you have to hold this simply. You have to hold it because of the size You have to hold it yeah like upright, and it does blow into. I don’t know my sleeves one. Another thing that I notice is the way you need to change this because the actual charging is at the bottom. Here you have to lie the vacuum cleaner on its side, plug in the charge, charging Cable like this, plug it in and then let it charge it would be good if there was some sort of like a docking station where you can dock this and then it will charge the other thing is: if you want to disconnect the nozzle
There isn’t anything to store this, so it might easily get lost. The nozzle might easily get lost so having this connection, like that, all the time does take up a bit of room and that’s it. So if I would recommend this if you have some small areas where you want to vacuum, for example, your desk area with the side of your drawer tables things like that if you wanted to quickly vacuum, then yes, I would recommend this product, otherwise, just use your normal vacuum. The cleaner might be more powerful than this now it’s time to clean the unit just need to pop this down. When you see the red section, it means it’s unlocked, so you just push it down just empty all the content. I found that something gets stuck into this lever. Just need to pull it out.
You can even use your fingers or some tweezers to just clean it up it’s a little bit stuck on the sides. You can also get a little small brush if you really wanted to and just clean it out. I’m just gonna quickly show you how to remove the top section to make it easier so just twist open so twist it anti-clockwise, the top section, will come out from the base and you’ll be holding the clear top section and remove the filter. You gotta go to the bottom of this plastic container. You just have to twist it to unlock anti-clockwise again, so just anti-clockwise like this, and you see the filter, as you can see, it’s fairly dusty and dirty from some of the cleanings that I’ve been doing. Just need to get a bit of a clean there, not sure whether you can replace those filters, but there could be some aftermarket filters just clean all these little components. You can use a little brush to brush it off.
If you wanted to just give it a wipe and that’s it, that’s how you clean the unit, it’s pretty easy and straightforward Once it’s all cleaned just need to connect it all back together. Do that just make sure you lock it in it shows the red section is not visible. So that’s the top section now put in back the filter. Just drop it in one thing to check is to make sure that it’s locked so turn that around and now it’s in a lock state, So lock it in and then lock that into this plastic section and we’re done that’s it connect the base back and we’re done so, just to summarize, I’m going to show you how to detach all the different compartments again so to touch the top part just twist it to the right and the base will be removed.
Now, with the top part with the filter in it, you can remove the bottom filter you just pull it out and then to remove the actual filter from the base cover just twist it open and then just put it back in and that’s done so that’s how you remove and replace the tops section and The little components: so here’s some bonus footage for you guys. This is me cleaning some small motherboards. This is an Intel NUC, so I’m just cleaning the dust off this motherboard around the front and the back where the fans are.

If this article helped you in any way and you want to show your appreciation, I am more than happy to receive donations through PayPal. This will help me maintain and improve this website so I can help more people out there. Thank you for your help.
HELP OTHERS AND SHARE THIS ARTICLE
LEAVE A COMMENT
I am an entrepreneur based in Sydney Australia. I was born in Vietnam, grew up in Italy and currently residing in Australia. I started my first business venture Advertise Me from a random idea and have never looked back since. My passion is in the digital space, affiliate marketing, fitness and I launched several digital products. You will find these on the portfolio page.
I’ve decided to change from a Vegetarian to a Vegan diet and started a website called Veggie Meals.
I started this blog so I could leave a digital footprint of my random thoughts, ideas and life in general.
If any of the articles helped you in any way, please donate. Thank you for your help.
Affiliate Compensated: there are some articles with links to products or services that I may receive a commission.
