I recently installed a dash cam that I purchased on sale and wanted to share the video quality and some of the key lessons I’ve learnt. The dashcam model is UL-TECH 1080p (you can get the same camera here: https://ebay.to/3iZ09kU) and the box included a Front and Rear camera, 32 GB MicroSD card, windscreen suction mount and the cables. Here are all the items that were included:
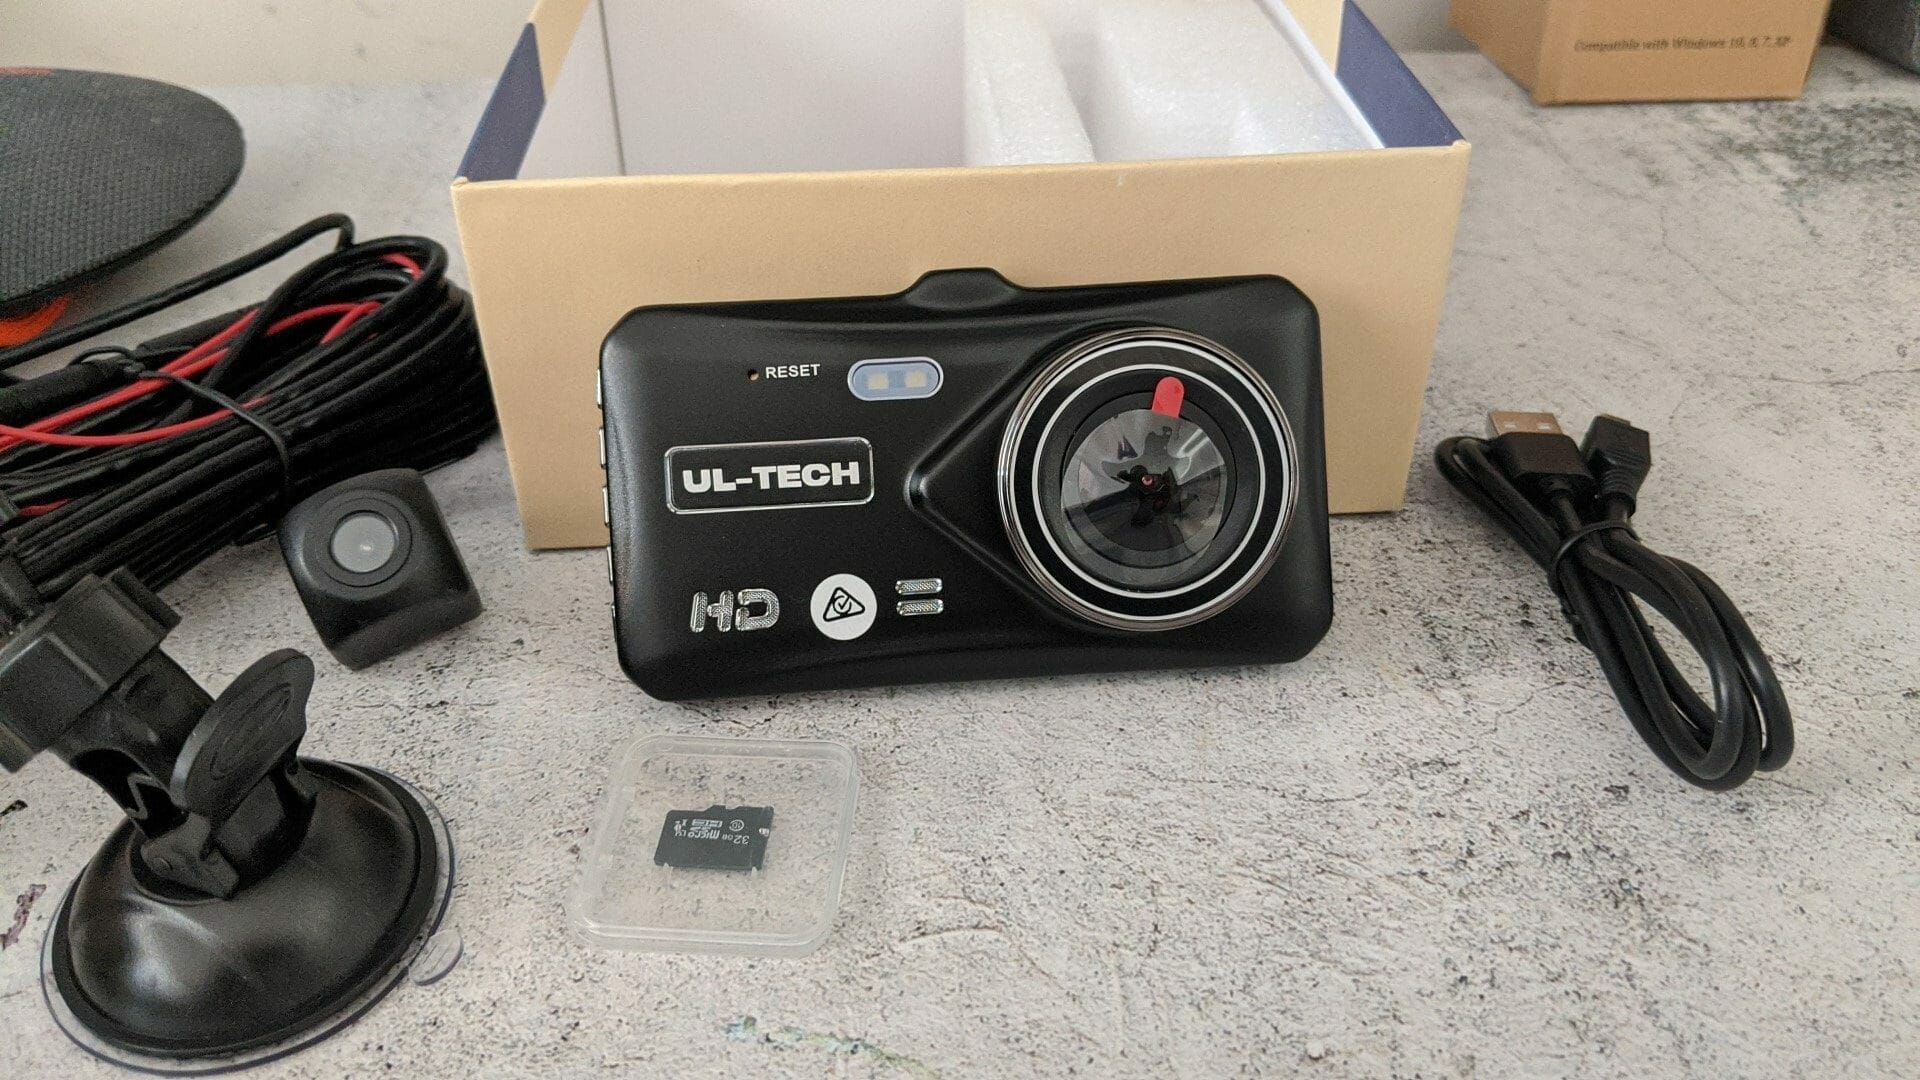
The unit comes with the following features:
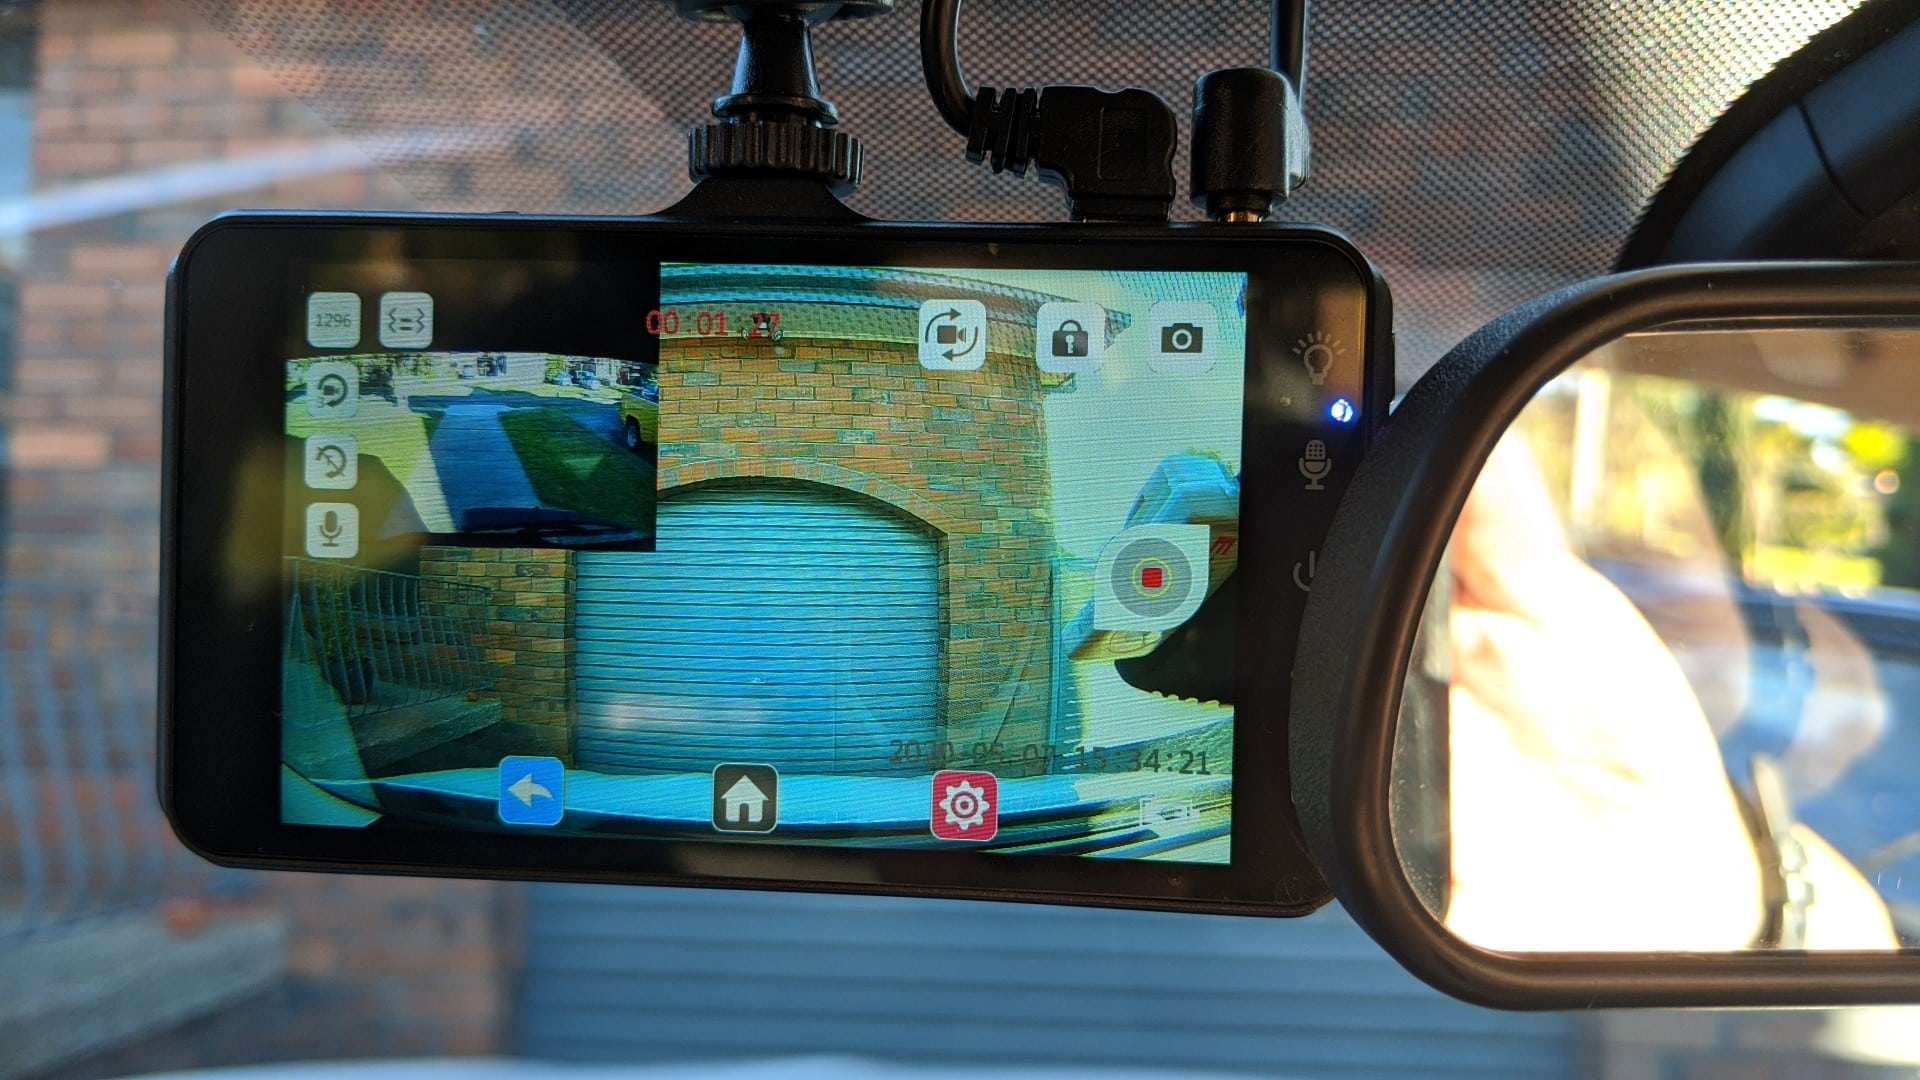
Screen Size – 4.0 Inch IPS touch screen
Wide Angle View -Front: 170 degree wide angle (6 fisheye lens)
Back: 120 degree
Video resolution – HD 1080P high resolution that can display video clearly.
Automatic Recording – When engine is switched on, the recorder automatically starts to open the recording function.
When engine is switched off, the recorder automatically saves the contents of the recorder and shut down. Recorded video segment is stored in the TF card. When the memory is full, the recorder will cover the earlier recorded image.
Loop Recording – Support Gap-Less Loop Recording
Full 1080P High Definition video (Loop) recording you don’t need to worry on limited storage.
Parking Mode Sensor – Camera will automatically turn on and shot video when the car is shaking.
Gravity Sensor – Automatically activate video lock to protect evidence video.
Motion Detection – When the lens senses a moving object, the state of the machine will change into camera and will start recording.
Night Vision – Support night vision which gives you a clear video even at night
Support TF card – Come with a High Speed Memory card, Class 10 32GB to save important videos to protect it from being overwritten.
Class 10 Micro SD Card that allows you to save recordings from Dash Camera unlike ordinary SD Cards.
Designed to withstand the toughest conditions with shockproof and durable design.
Battery: Built-in battery
Audio: Built-in Microphone /Speaker
Rear View Function – In any state if there is reverse, reverse image is displayed on screen
Emergency Locking Function – Protect the current video from being covered or overwrite.
Camera Switching Function
Suction Cup mount – Keeping it intact & in place as you drive, making it safe easy to operate.
Anti-shake technology – with the newest and best technology to effectively avoid image blurring caused by moving objects.
Image Processing WDR (Wide Dynamic Range) – Adopt internationally advanced double (long & short) exposure techniques, reformat video images to be optimal. Images is commonly overexposed in the strong sunshine, and hardly to be taken in the dim light conditions, WDR capability gets the issue resolved.
Connect to PC – Insert TF card case with a USB cable to connect computers , you can watch or copy videos to your computer.
Here’s a video of unboxing the dash cam and also the video quality that I recorded.
In summary, the quality for the front camera was good during the day and at night. The number plates were readable. However, for the rear camera, the quality wasn’t that great and you can sort of make out the number plate during the day and at night you won’t be able to read any.
I installed the front dash cam on the left hand side of the rear view mirror.
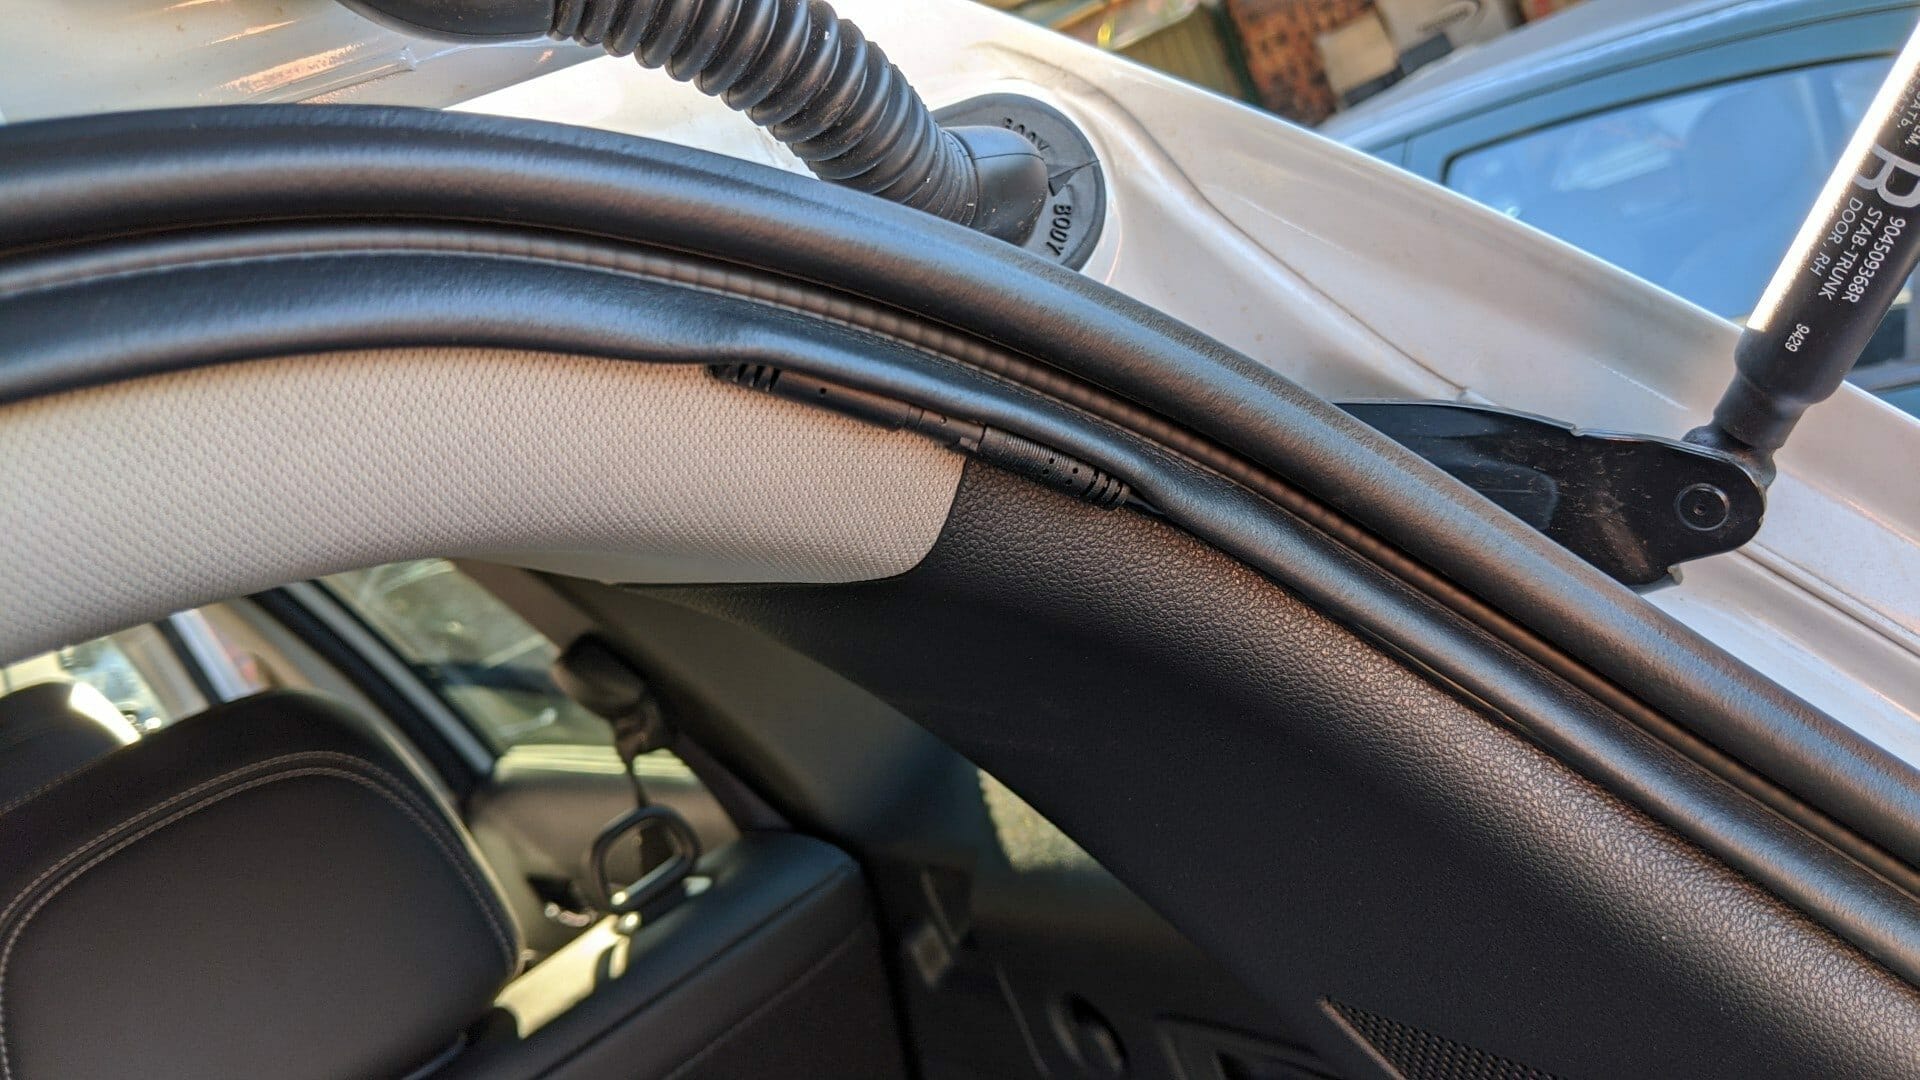
I didn’t get a chance to film installing the cameras because I needed to use both hands. I basically routed all the cables and tucked them away near the rubber trims and any gaps I could find.
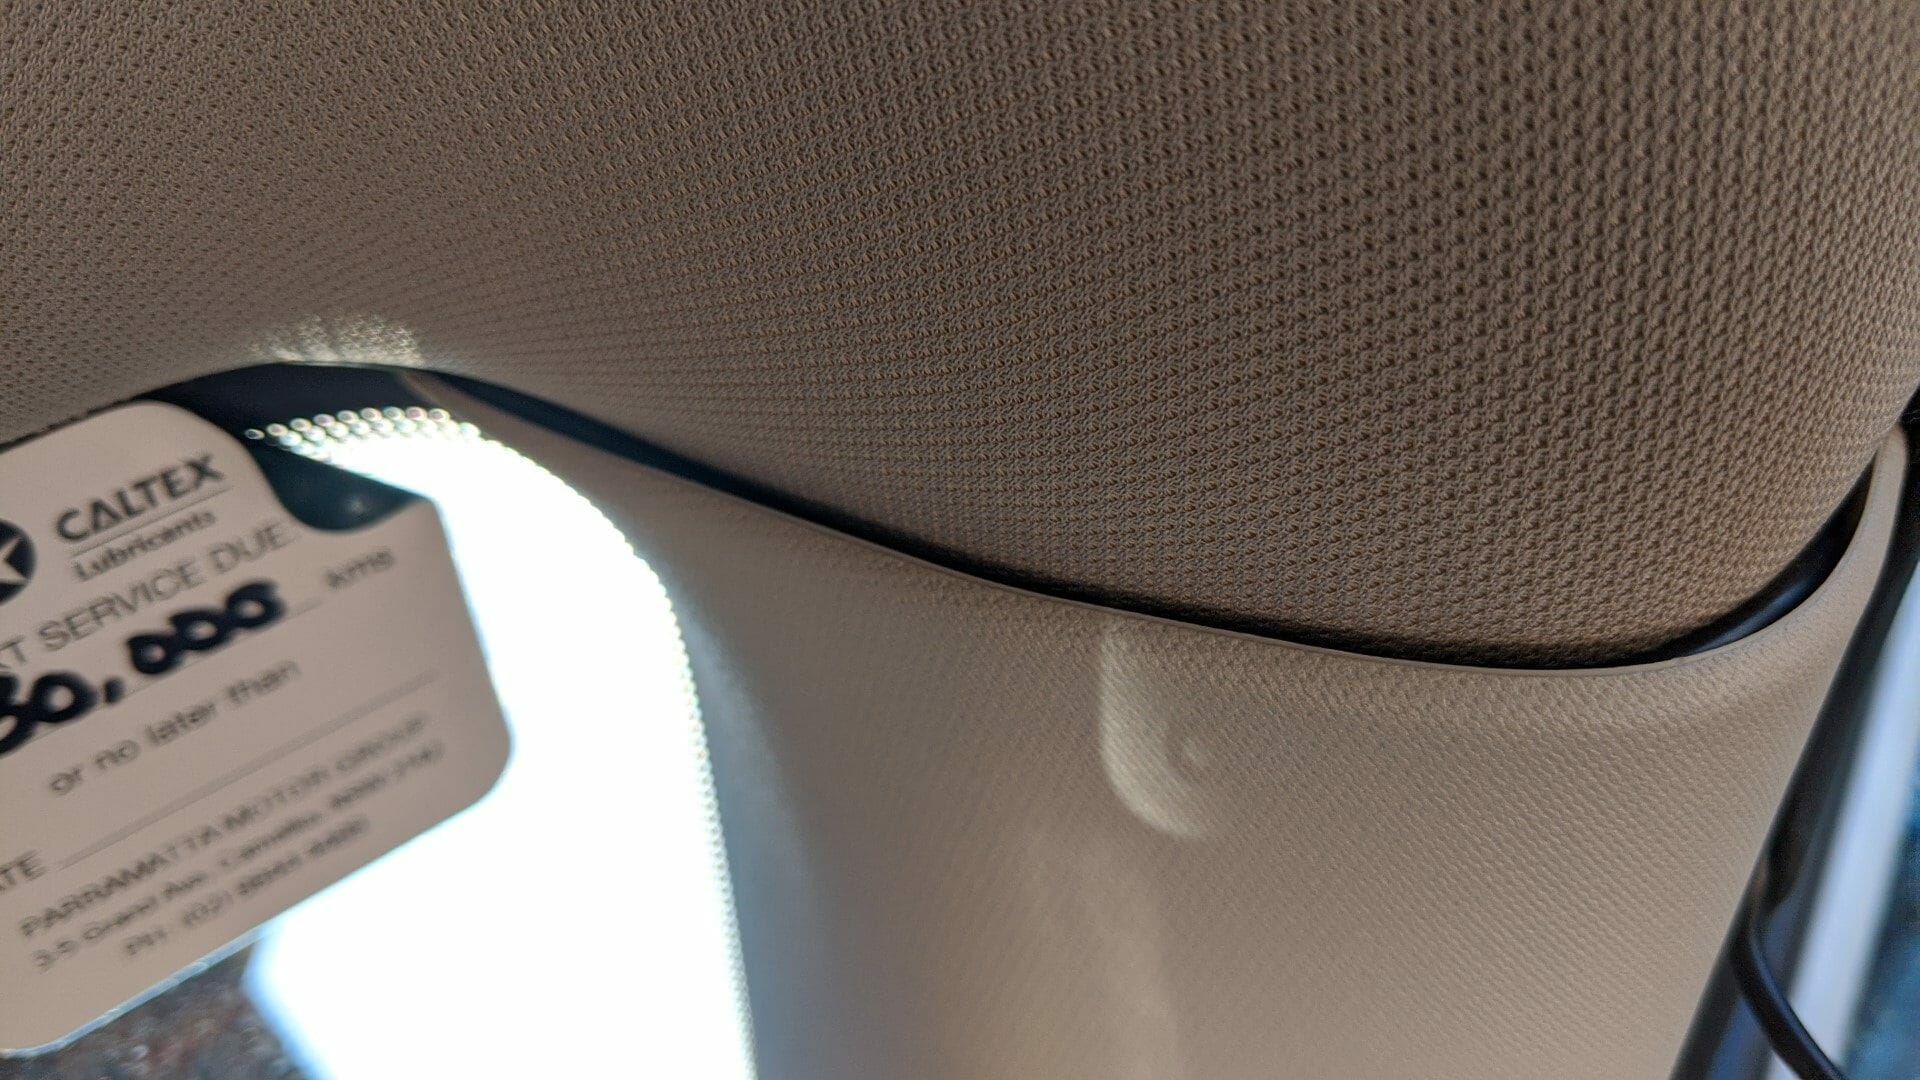
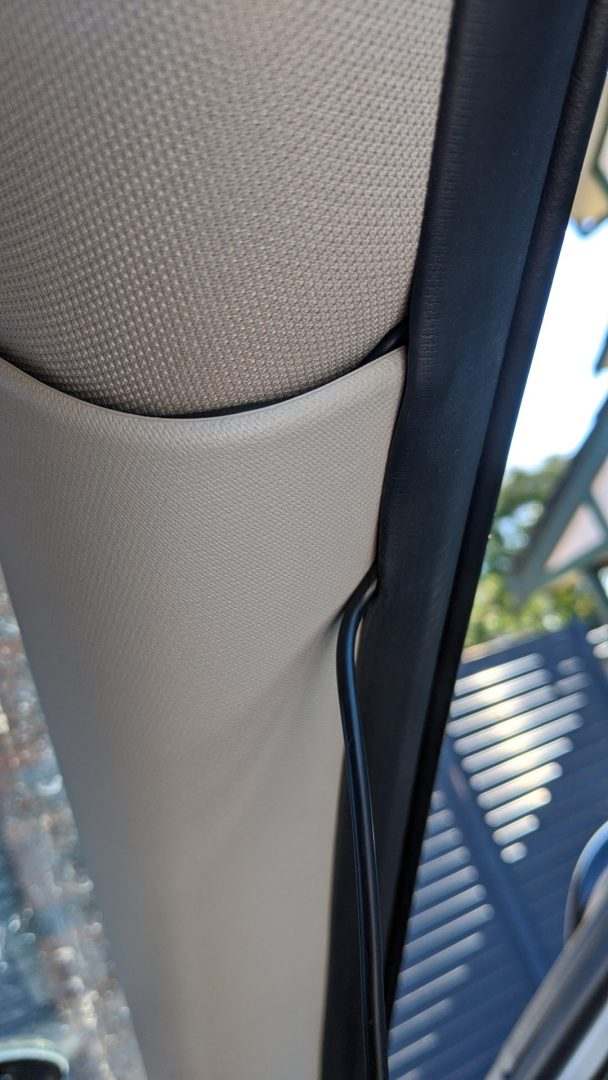
The cables were easy to install except for the one located at the rear. There is a section on the cable for the rear camera that just sticks out. I’m assuming that this should have been mounted inside one of the trims. I didn’t use any additional tools besides my fingers to run the cables.
Here’s a photo of the rear camera.
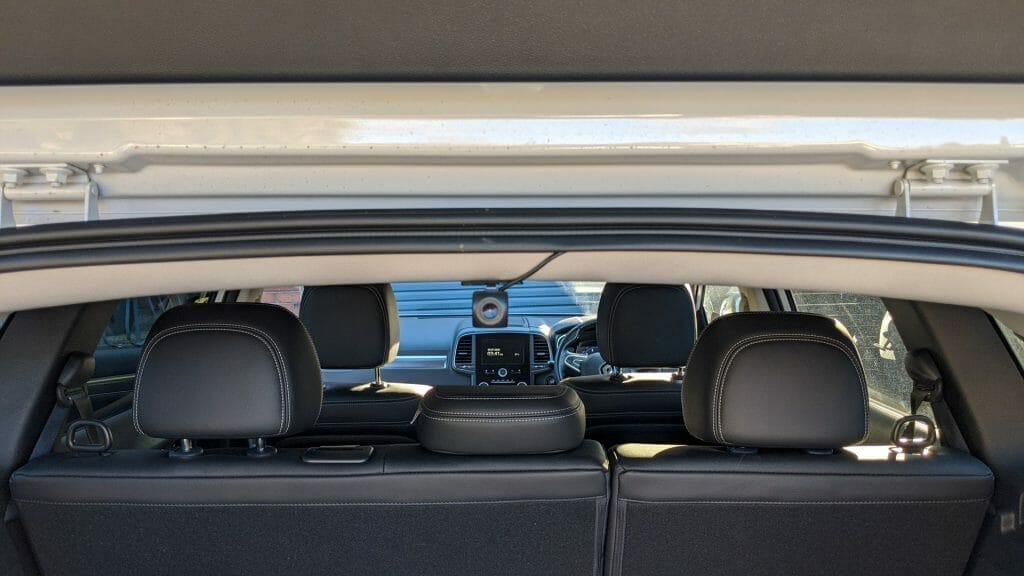
The package also included a double-sided tape which I used to stick the rear camera to the inside roof. It also came with some screws but I decided not to make any holes on the material. If it was an older car, I would have screwed the rear camera to the ceiling of the car because the double-sided tape wasn’t strong enough. I ended up using a stronger 3M double side tape because the one that it came with wasn’t strong enough.
For now, this is a good enough dash cam and I do hope to upgrade to the BlackVue in the near future as the video quality and features is much better than the UL-TECH.
If you’re after the same camera you can buy it from here: https://ebay.to/3iZ09kU

If this article helped you in any way and you want to show your appreciation, I am more than happy to receive donations through PayPal. This will help me maintain and improve this website so I can help more people out there. Thank you for your help.
HELP OTHERS AND SHARE THIS ARTICLE
LEAVE A COMMENT
I am an entrepreneur based in Sydney Australia. I was born in Vietnam, grew up in Italy and currently residing in Australia. I started my first business venture Advertise Me from a random idea and have never looked back since. My passion is in the digital space, affiliate marketing, fitness and I launched several digital products. You will find these on the portfolio page.
I’ve decided to change from a Vegetarian to a Vegan diet and started a website called Veggie Meals.
I started this blog so I could leave a digital footprint of my random thoughts, ideas and life in general.
If any of the articles helped you in any way, please donate. Thank you for your help.
Affiliate Compensated: there are some articles with links to products or services that I may receive a commission.