At Advertise Me, we’ve been using the Intel NUCs with the vPro technology for our digital signage players. The main reason why we decided to use these players is because they have a remote KVM (Keyboard Video Mouse) feature so if you get the blue screen of death in Windows or you simply want to reboot the digital signage player remotely you can do so with the Intel AMT (Active Management Technology) feature.
For a list of all the Intel NUCs that support vPro see this link: https://www.intel.com.au/content/www/au/en/support/articles/000031997/intel-nuc.html
I recently encountered an issue where the IP addresses I statically assigned to the Intel AMT network interface changed. The client provided me with the wrong IP address and I needed to figure out how to remotely change this – I didn’t want to drive to site just for this. After some research, I found out there was a tool called the Intel AMT Configuration Utility that you can install on the Host PC (the NUC that needed the AMT network interface to be changed). I decided to give it a try and it worked. Note: I was still able to remotely connect to the NUC via the Windows OS so I simply installed and ran the utility. To use this tool simply follow these steps:
- Download the Intel SCS (Setup and Configuration Software) ACUWizard tool version 12.2.0.163 from here: Intel AMT Configuration Utility
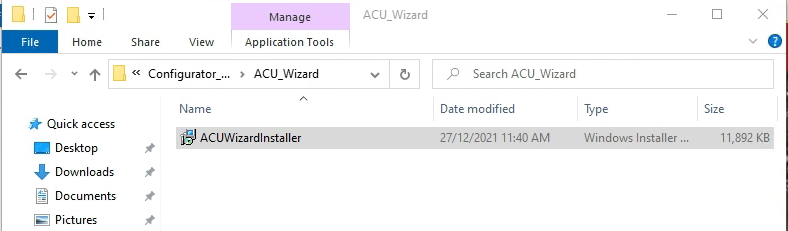
- Once you download the tool extract the files and run the installer file called ACUWizardInstaller.exe
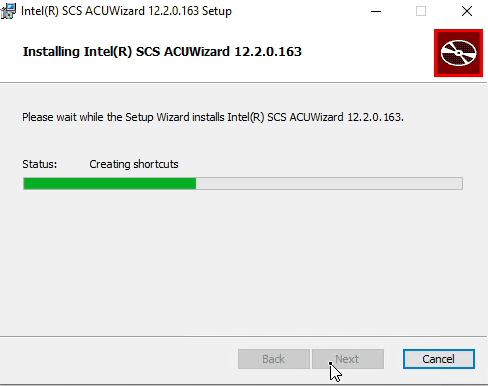
- Press next and accept all the defaults
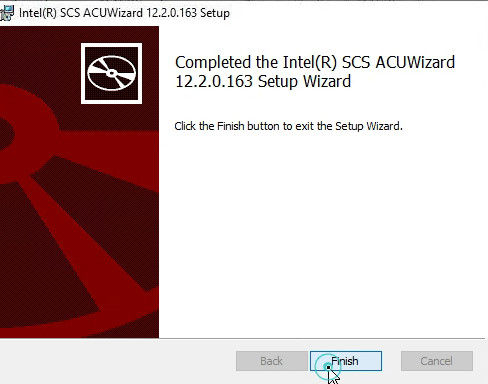
- Click finish when the install is completed
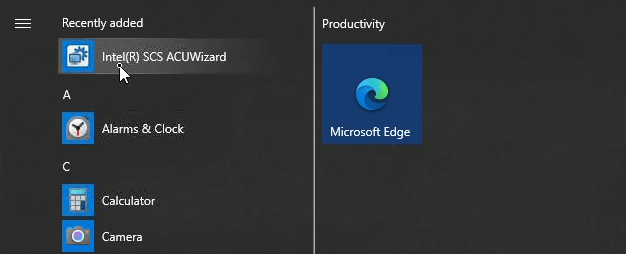
- Go to the start menu and run the recently installed app called Intel SCS ACUWizard
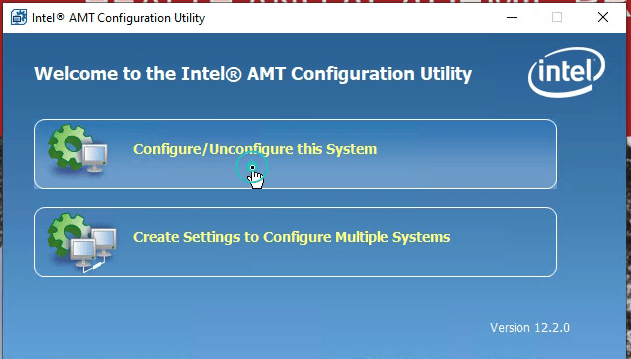
- Cick on Configure/Unconfigure this System
- The tool will then gather the system data:

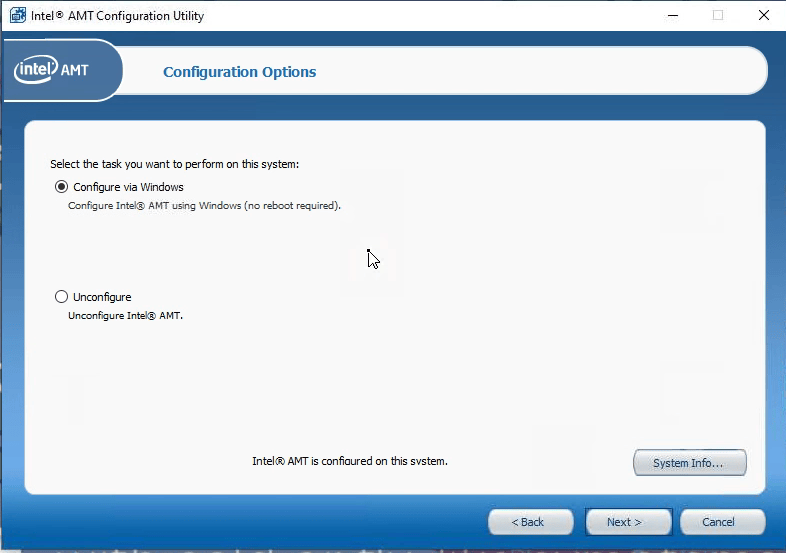
- Click on Configure via Windows and click next
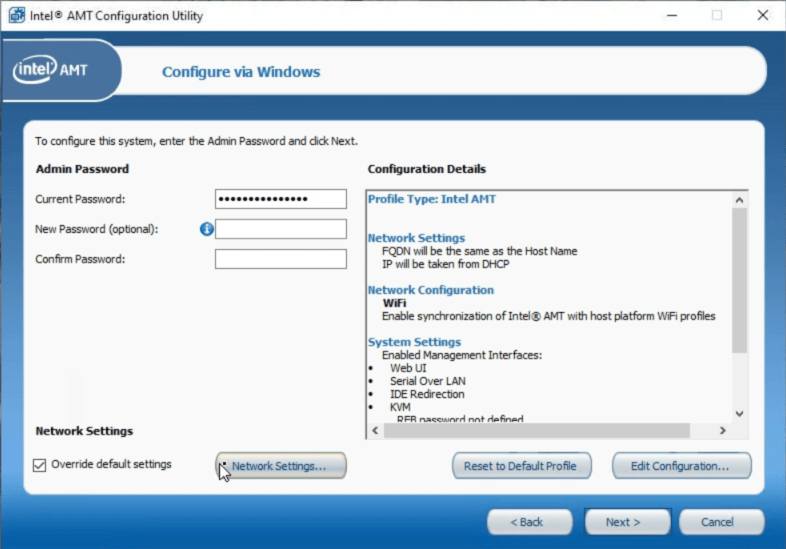
- You need to enter the admin password. By default the admin password is admin. If you’ve set the password to something else make sure you use that and then leave the New Password empty.
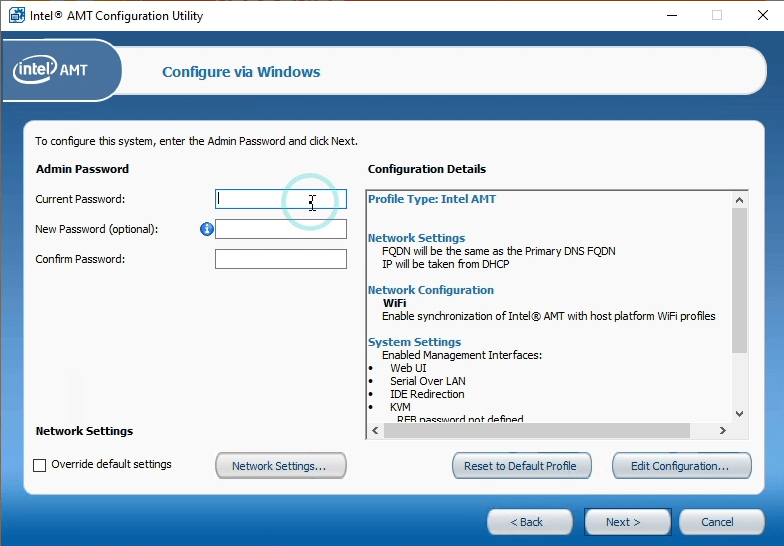
- Click on override default settings and then Network Settings
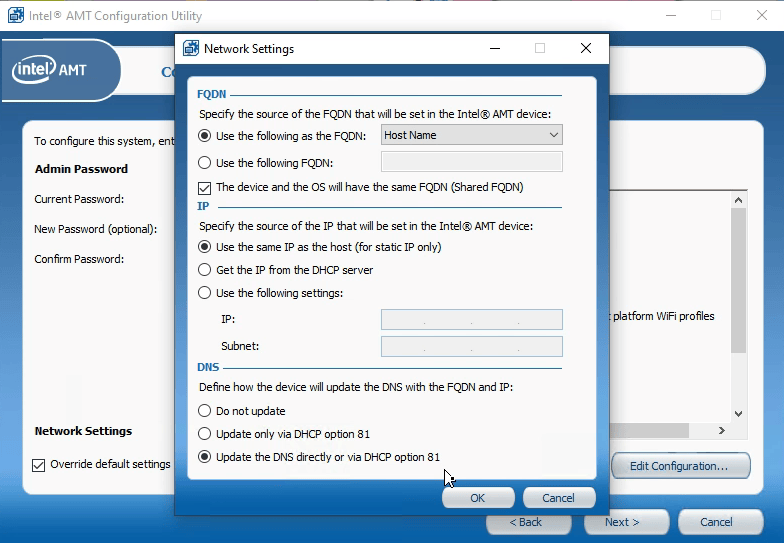
- Click on Use the same IP as host (for static IP only) and then click OK. If you know the IP address, you can also set it manually by selecting Use the following settings and then click OK
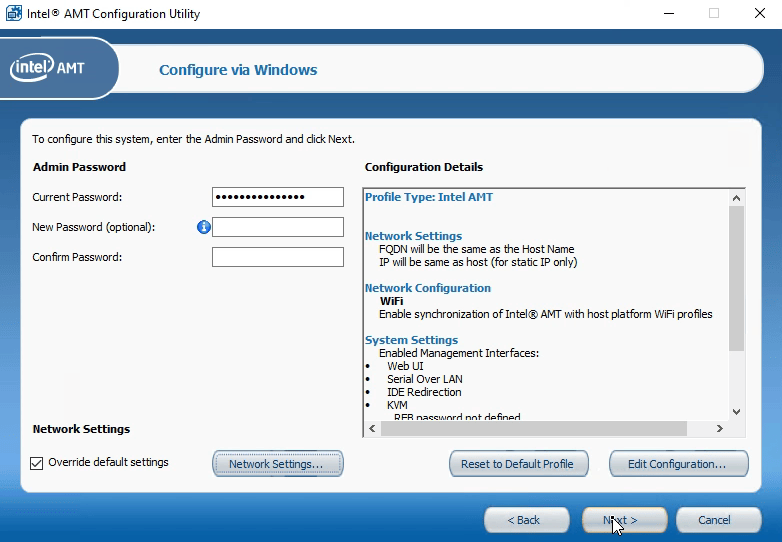
- Click next
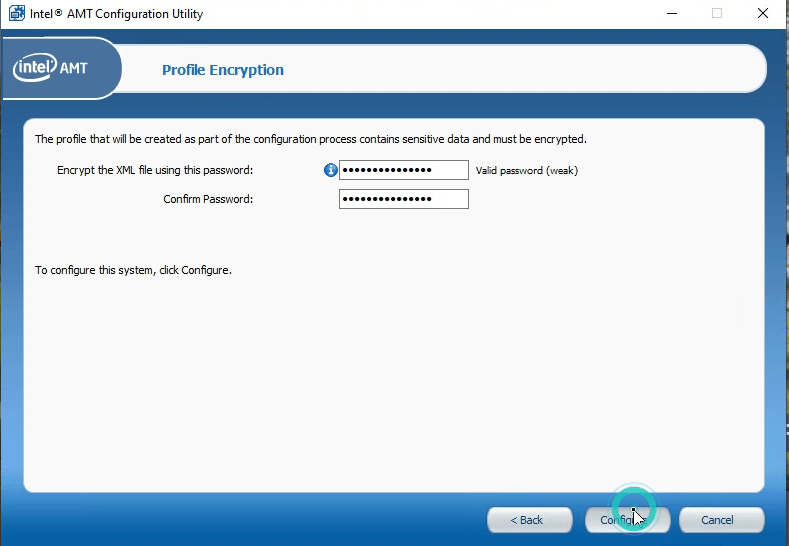
- Enter the same admin password to encrypt the XML file.
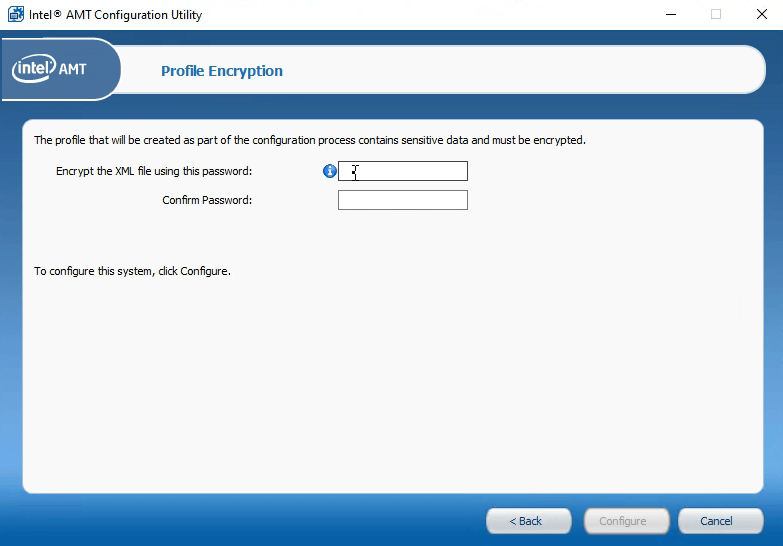
- Click configure
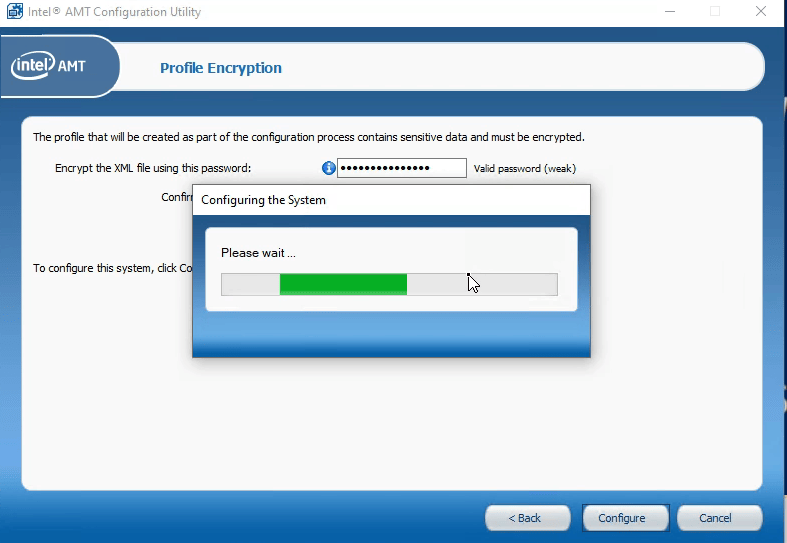
- The utility will the configure the system
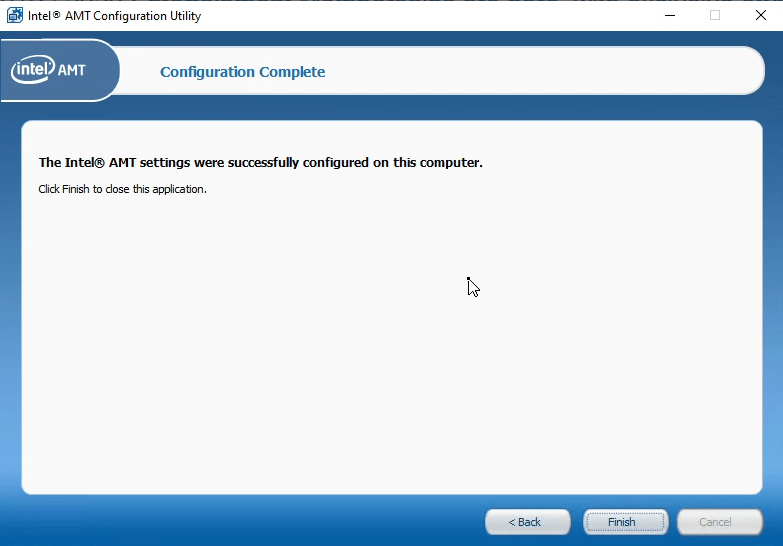
- You will see a message saying that The Intel AMT settings were successfully configured on this computer message when done.
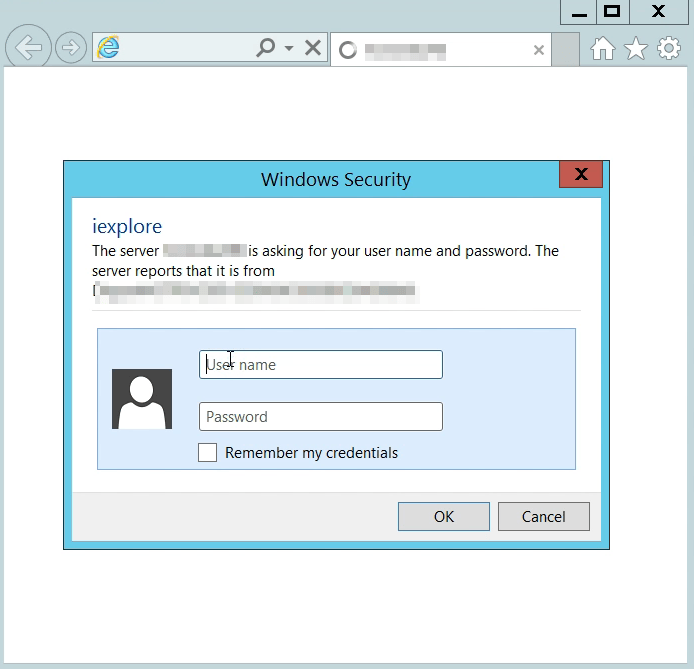
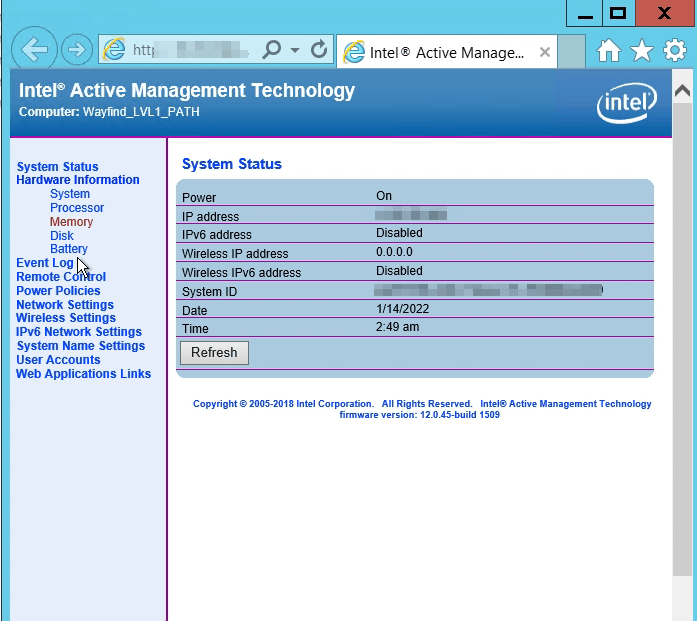
- That’s it. You should now be able to connect to the Intel AMT via the browser by using http://[ip address]:16992/index.html
The Intel AMT port being used is 16992
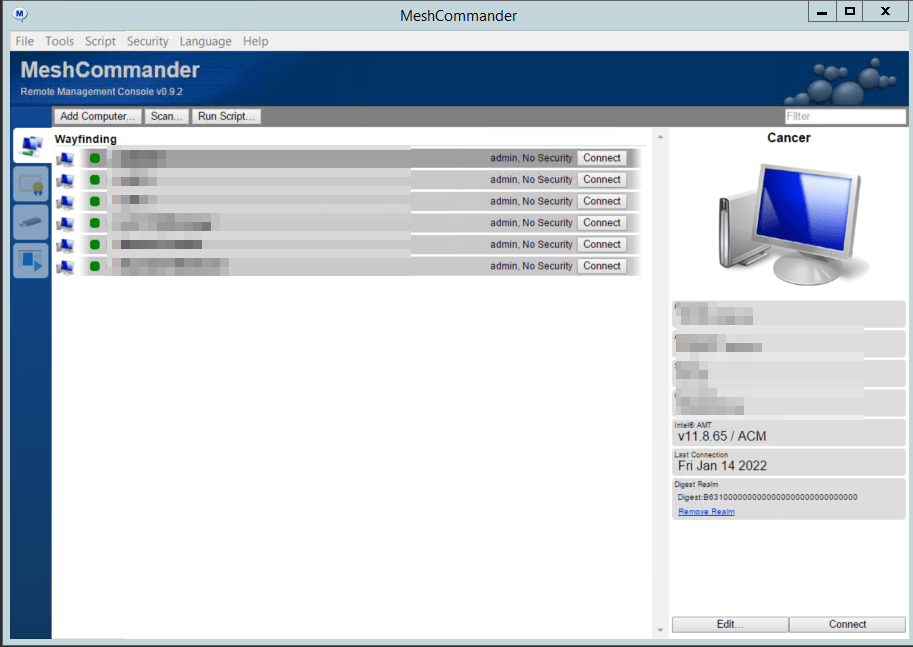
- This is how the Intel AMT dashboard looks like.
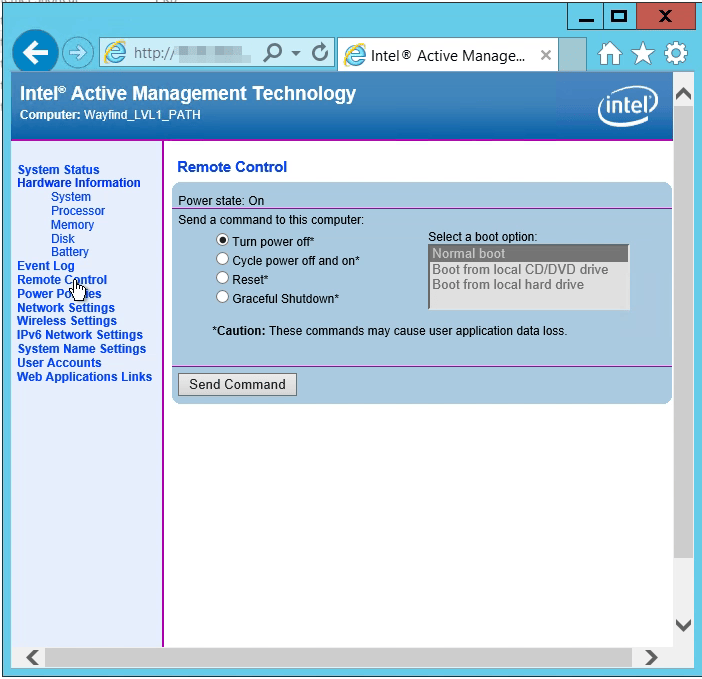
- From here you’re able to Remote control the device by turning the power off, cycle power off and on, reset or even perform a graceful shutdown.
Once it’s on the network and you can connect to the Intel AMT dashboard, you can use another tool called MeshCommander to perform the other functions such as using the Remote Desktop. If you want to know more about this tool you can read more about it here: OPEN SOURCE TOOL FOR INTEL AMT MANAGEMENT CONSOLE